How to use Rocketadmin agent with a local Docker installation
Rocketadmin offers you the opportunity to connect to databases (hosted on your servers through the use of our Rocketadmin agent.
This user guide will illustrate the procedure for establishing a connection using a MySQL database on localhost server as simple example. Nevertheless, the instructions can also be utilized as a reference when creating connections to other types of databases and host addresses.
Experienced Rocketadmin users who are well-versed in Docker configurations are advised to review "How to generate a token" and then proceed directly to the Github instructions.
Prerequisites
Install Docker
The Rocketadmin agent requires the installation of Docker Desktop, which includes Docker Compose and Docker Engine, and is compatible with Linux, Mac, and Windows operating systems.
Prepare a database
Using a database tool of your choice, create a database or configure an existing one, and fill your tables with the necessary data.
For example,
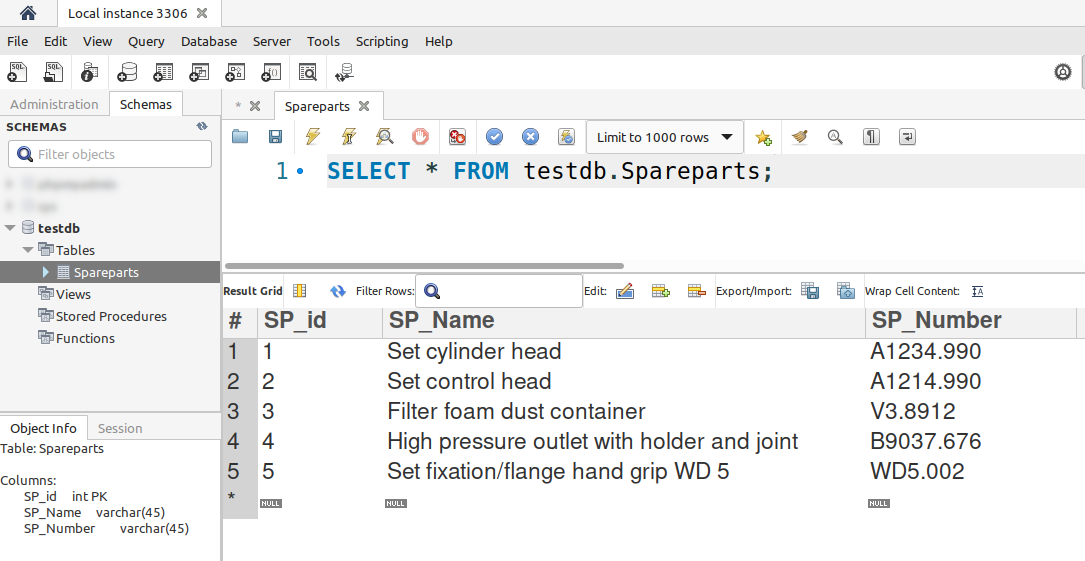
Ensure that the database server is operational.
Configure the environment
Generate Rocketadmin token
-
Sign in to your Rocketadmin account.
-
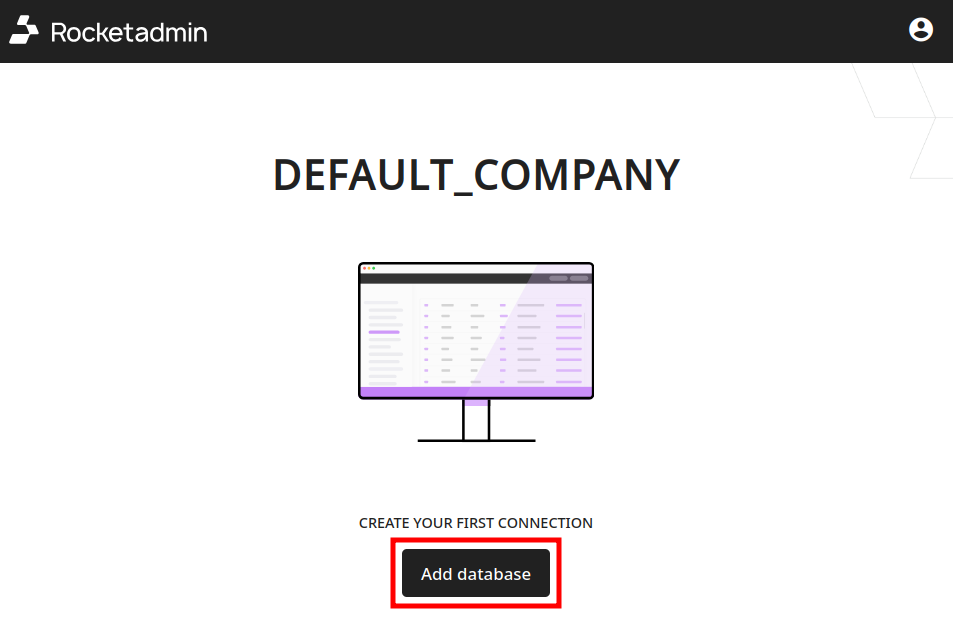
In the Dashboard click on Add database:
-
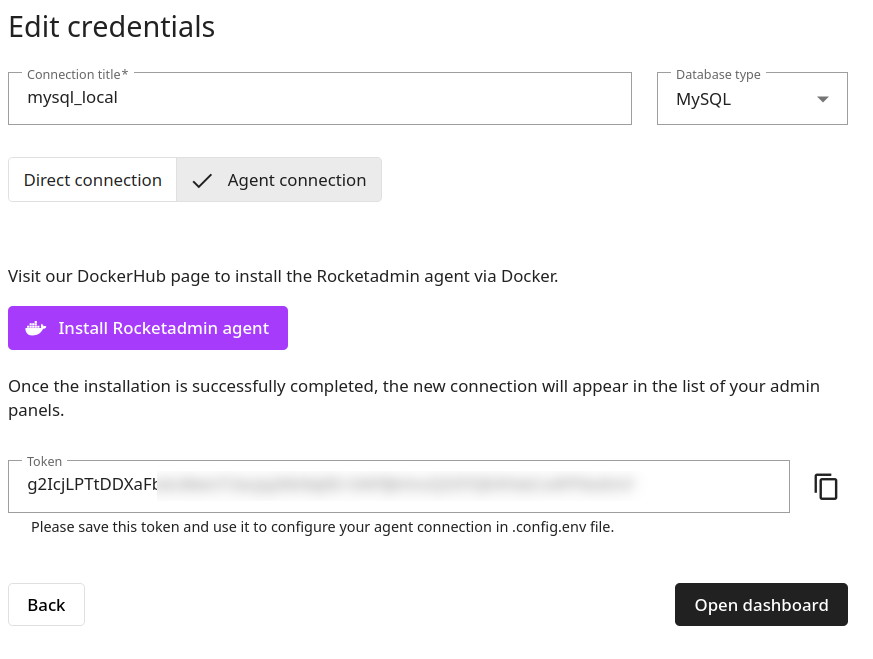
In the Connect a database screen:
-
enter a name for the connection
-
select your database type
-
click on Agent connection
-

- Click on Add:

- After the Token field appears, click on to copy your unique connection identifier:

Save the token for later use.
If the Rocketadmin agent configuration screen is reloaded/closed or you click on Back, a new token will be generated.
Create environment configuration file
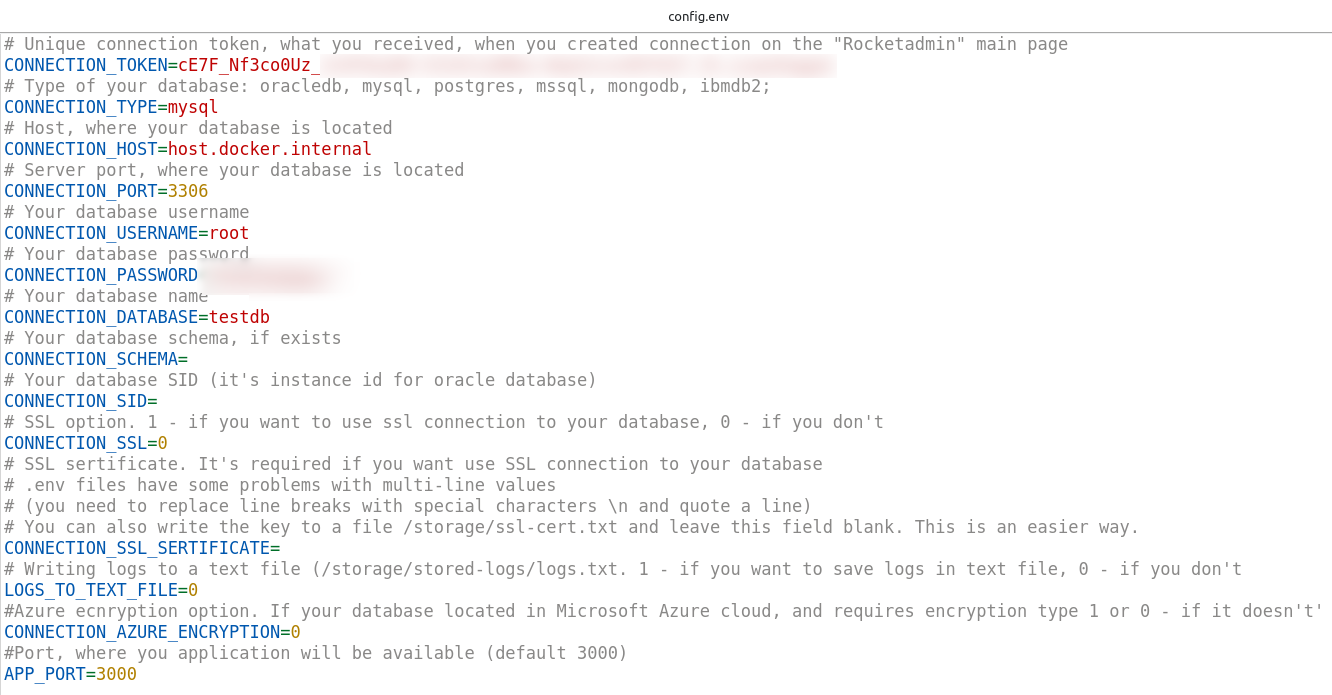
The Rocketadmin agent requires particular data input. The most efficient way to pass the information is by creating an environment configuration file that includes all necessary variables, such as the saved token, database type, host, port, credentials, and other security-related details.
You can download the configuration template from the Rocketadmin Github page:
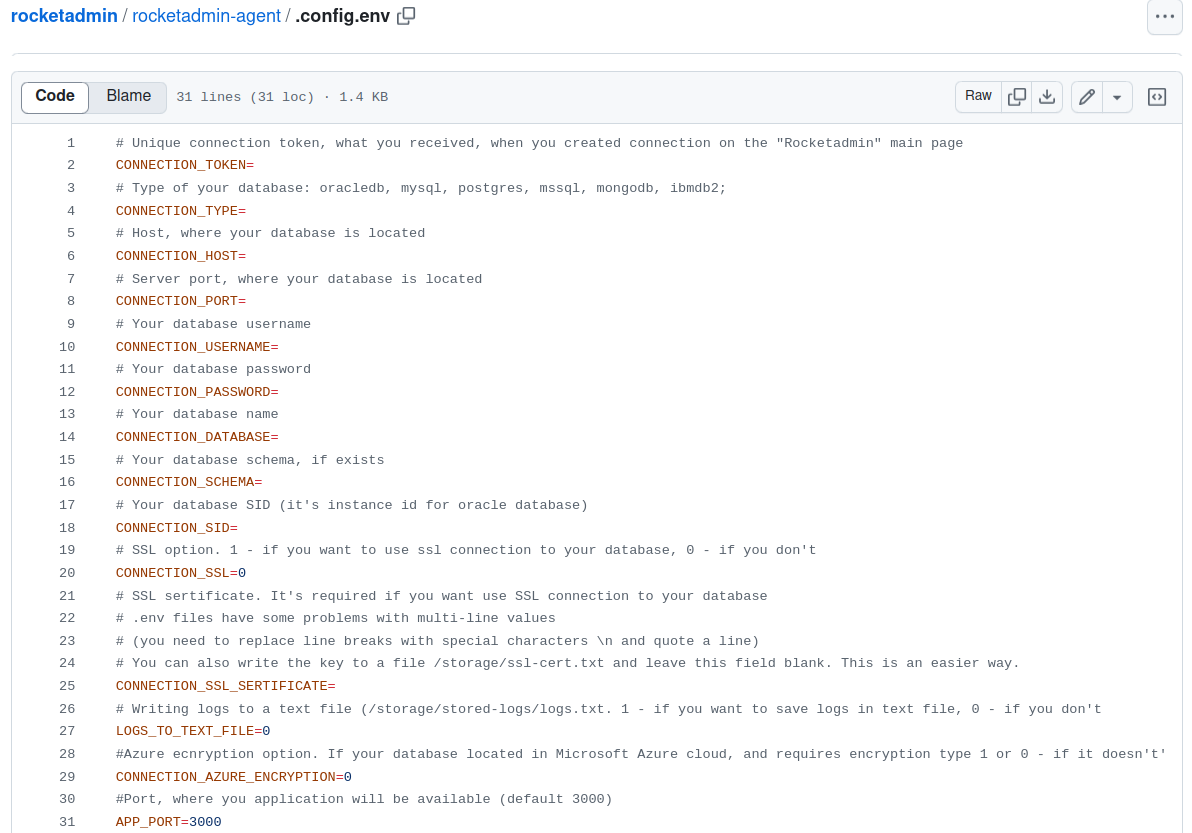
Complete the necessary information and save the environment file.
Here is a representation of what a config.env file could resemble:
Install and run Rocketadmin agent
- Open the Terminal application or Command prompt (depending on your operating system) and execute the following command:
docker pull rocketadmin/rocketadmin-agent:latest

- After the successful pull, execute the following command from the folder where your config.env file is located:
docker run --network=host --env-file .config.env rocketadmin/rocketadmin-agent:latest

If the connection is established successfully, the following messages appear:
-
Application launched
-
Connected to the remote server

Review your database in Rocketadmin
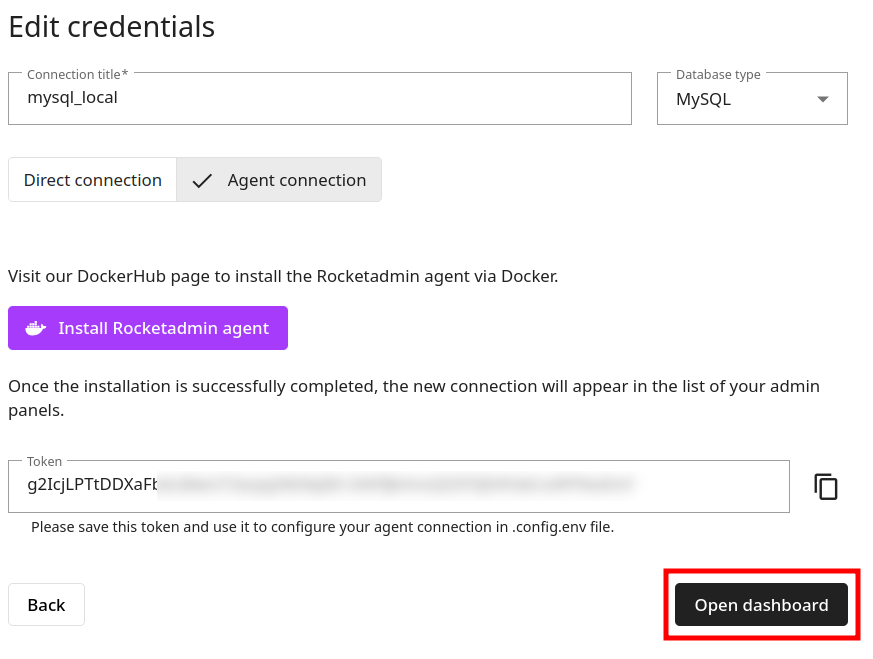
To display your connection, database and table you need to go back to the Rocketadmin connection screen and click on Open Dashboard:
The database and table appear in the Dashboard:
