How to connect your AWS DynamoDB with Rocketadmin
This user guide outlines the procedure for establishing a Rocketadmin connection to an AWS DynamoDB database.
The instructions are general and do not contain any detailed explanations on specific AWS features. To learn the fundamentals, find best practices and experience the full AWS potential, please visit https://docs.aws.amazon.com/.
AWS settings
Create DynamoDB table
-
Sign in to your AWS account.
-
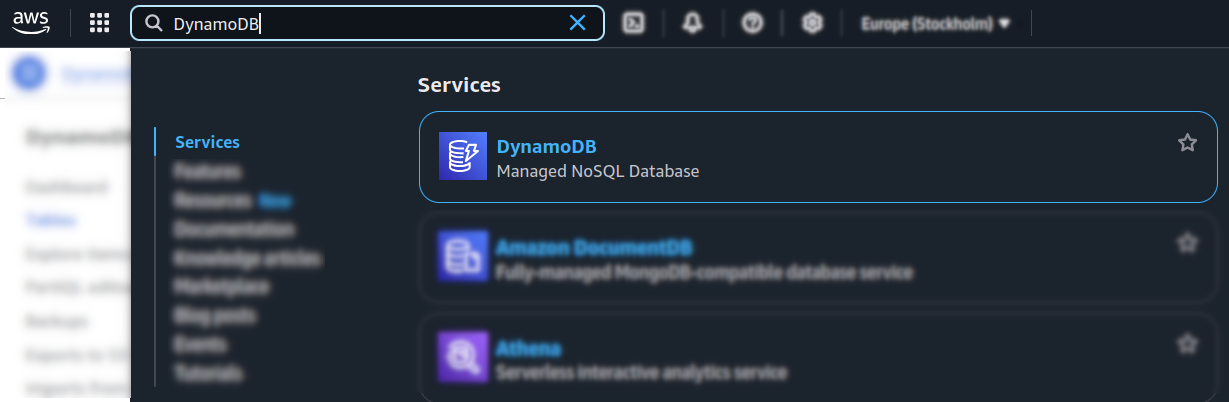
From the Dashboard enter DynamoDB in the Search field:
-
Click on DynamoDB.
-
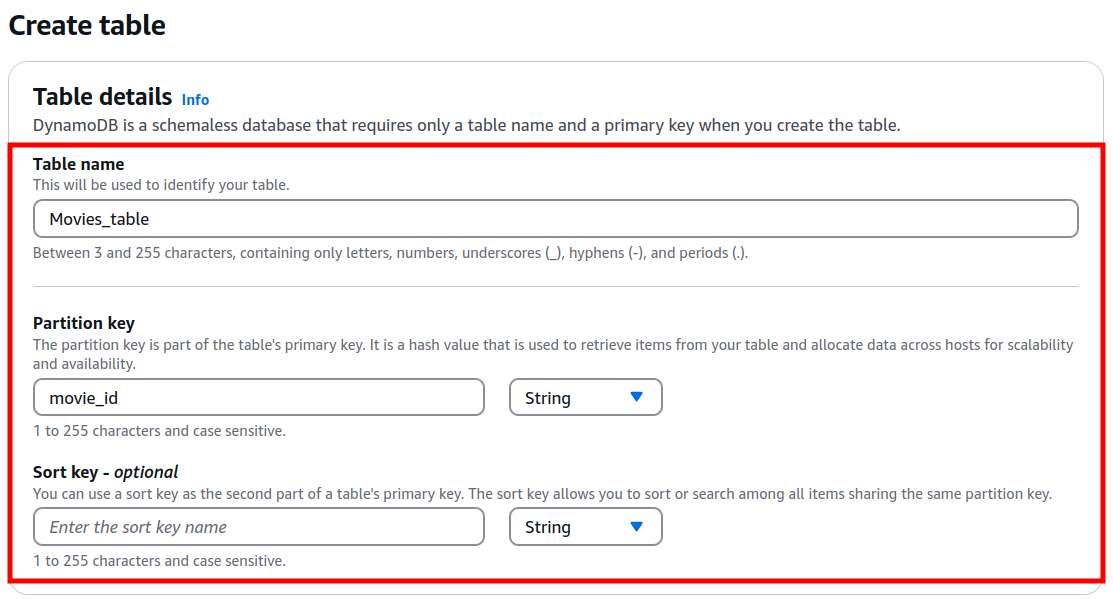
In the next screen click on Create table:

-
Fill in the following information:
- Table name
- Partition key
- (optionally) Sort key
-
Select Default or Customized settings based on your preferences:

-
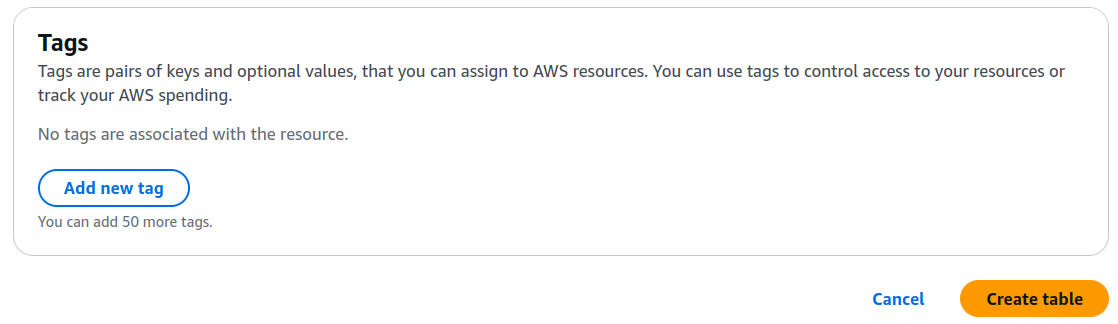
You can optionally add tags:
-
Click on Create table.
-
Wait a few moments until the table status becomes Active:

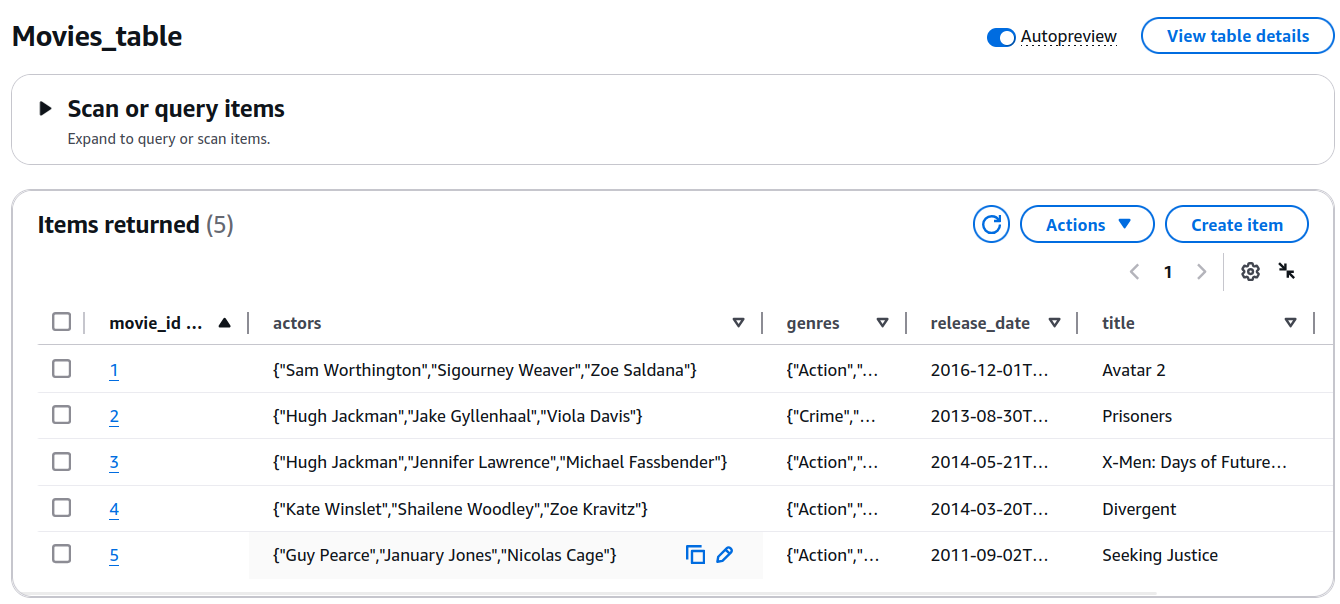
Add items to the table
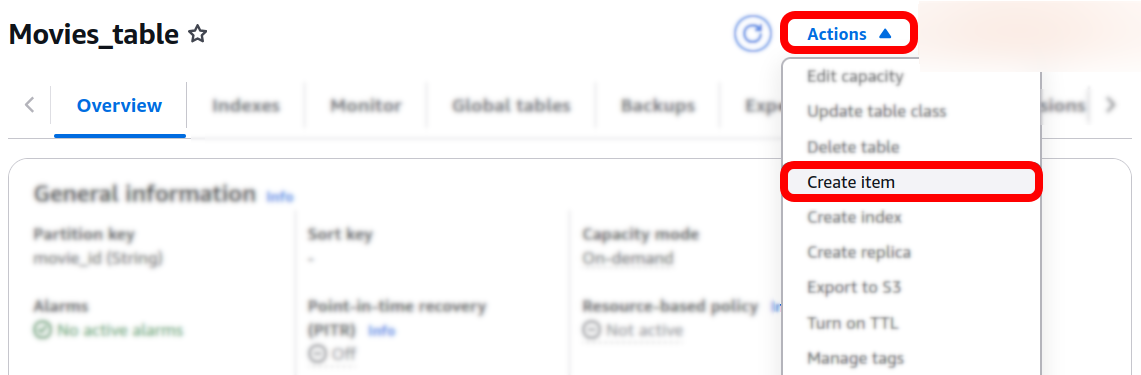
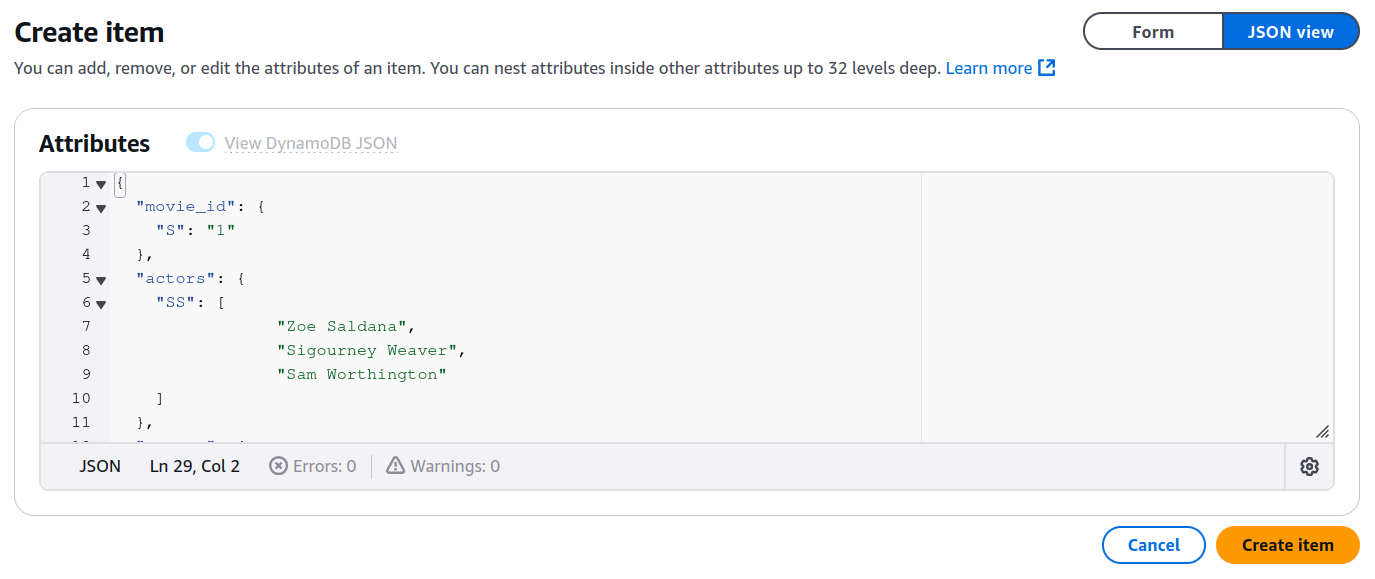
- In the table's Actions menu click on Create item:
- Add some items, for example:
Manage table access
Table permissions
-
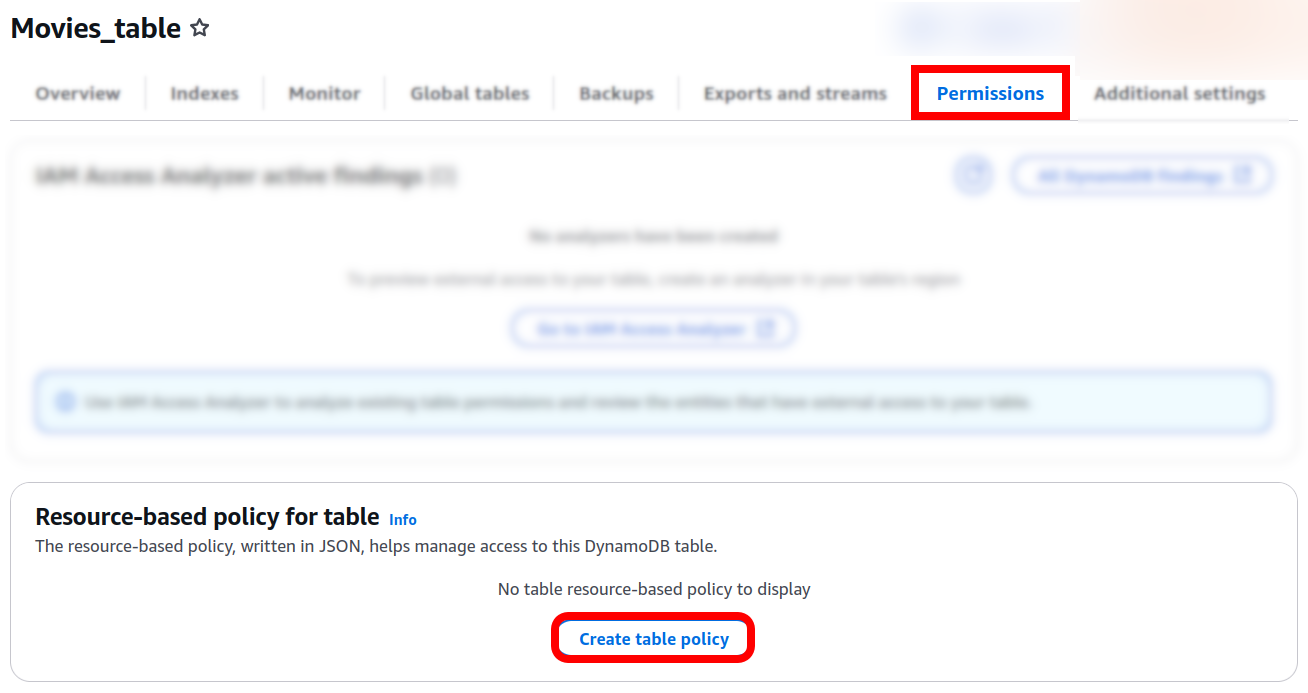
In order to grant access to the table, navigate to the Permissions tab:
-
Click on Create table policy.
-
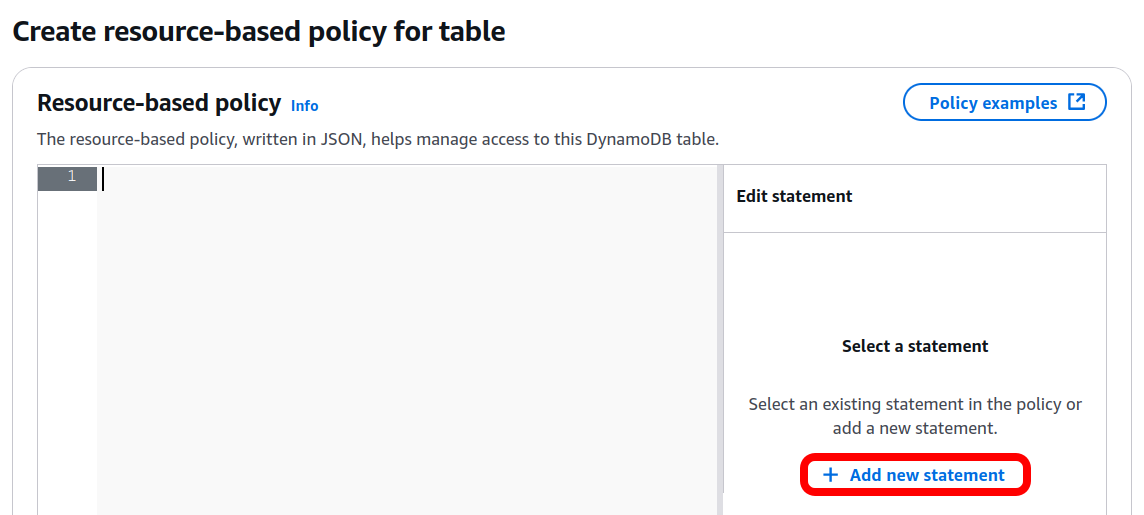
In the resource-based policy screen click on Add new statement:
-
Select some actions, for example, Scan, Query, PutItem, UpdateItem:
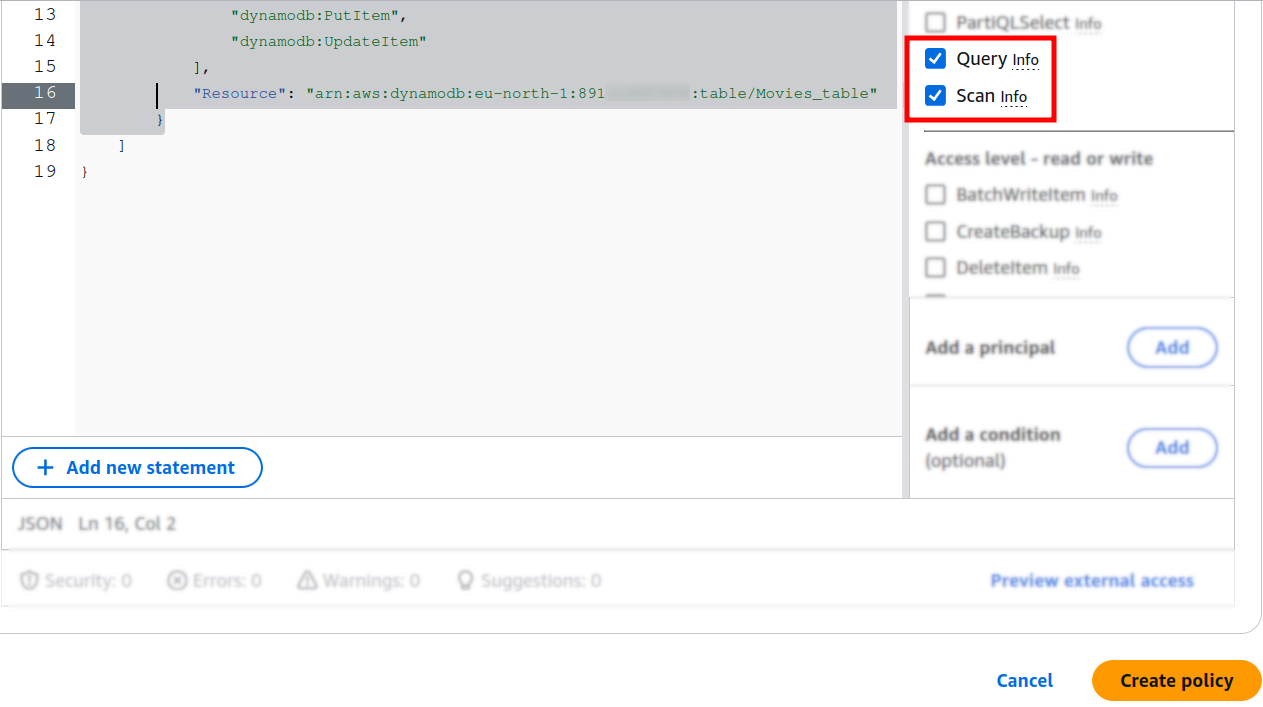
-
Click on Create policy. Your settings are applied.
User permissions and credentials
-
From the Dashboard enter IAM (Identity and Access Management) in the Search field:
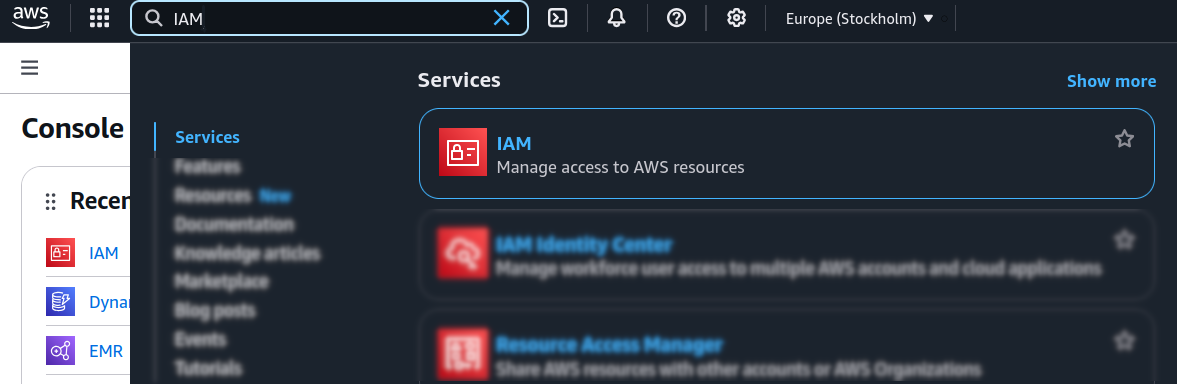
-
Click on IAM.
-
Choose the Users menu and click on your username:
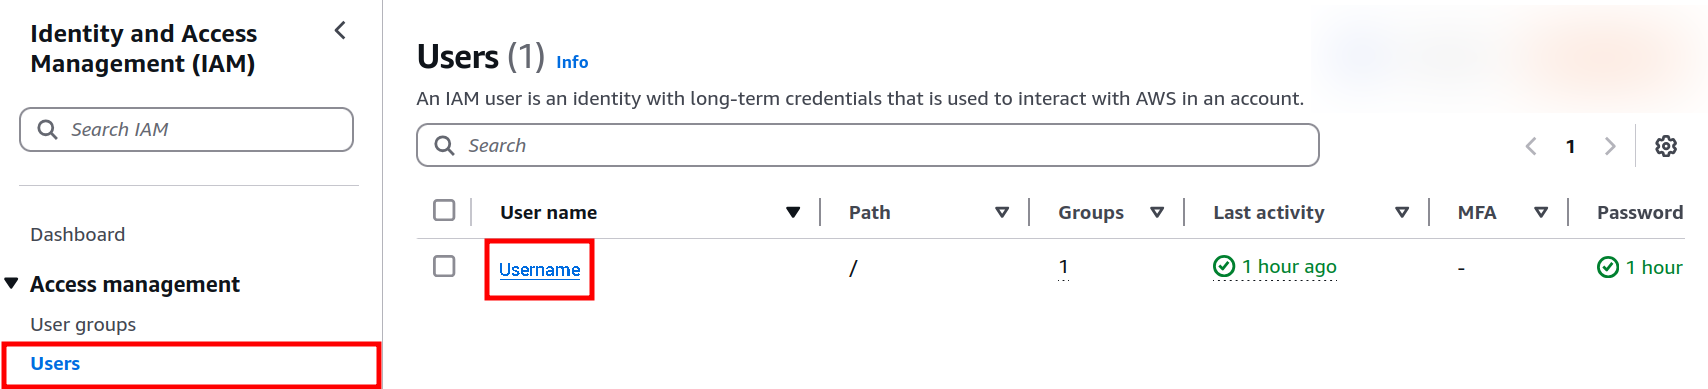
-
In the Permissions tab expand the Add permissions menu and click on Add permissions:
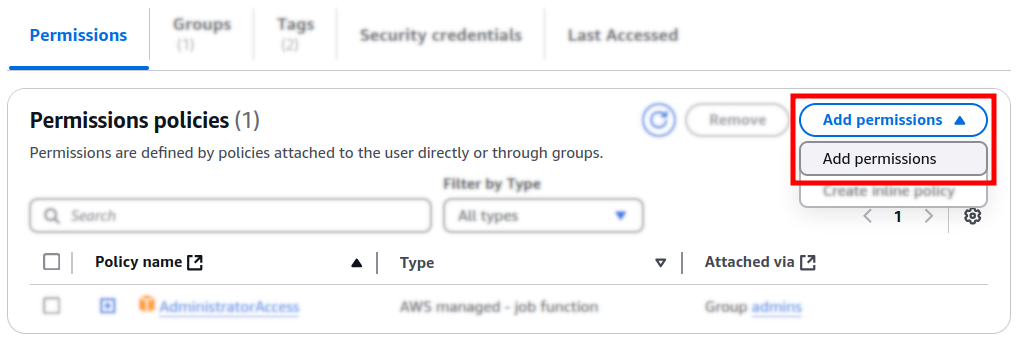
-
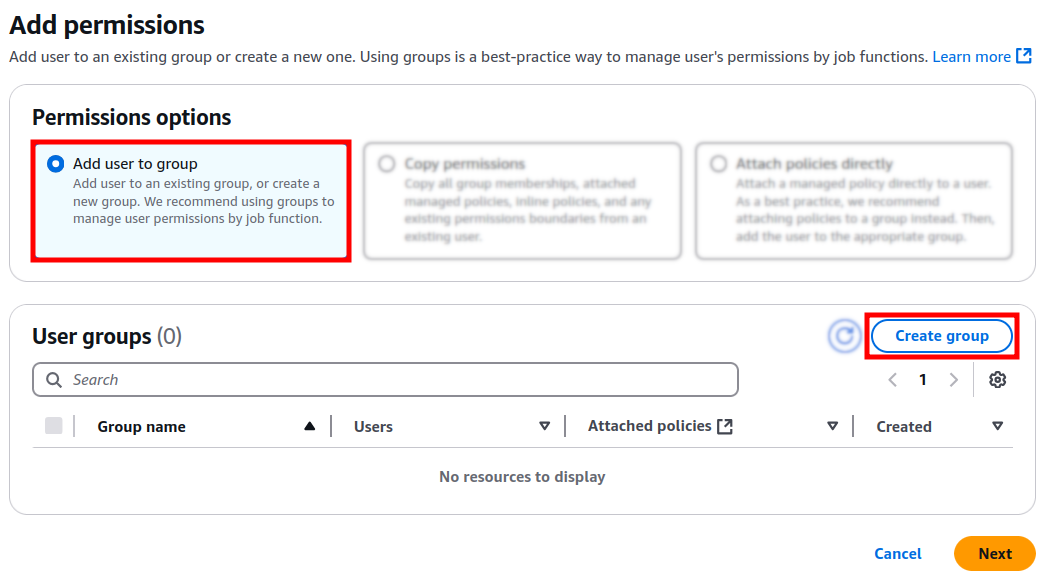
In the next screen leave the preset option Add user to group and click on Create group:
-
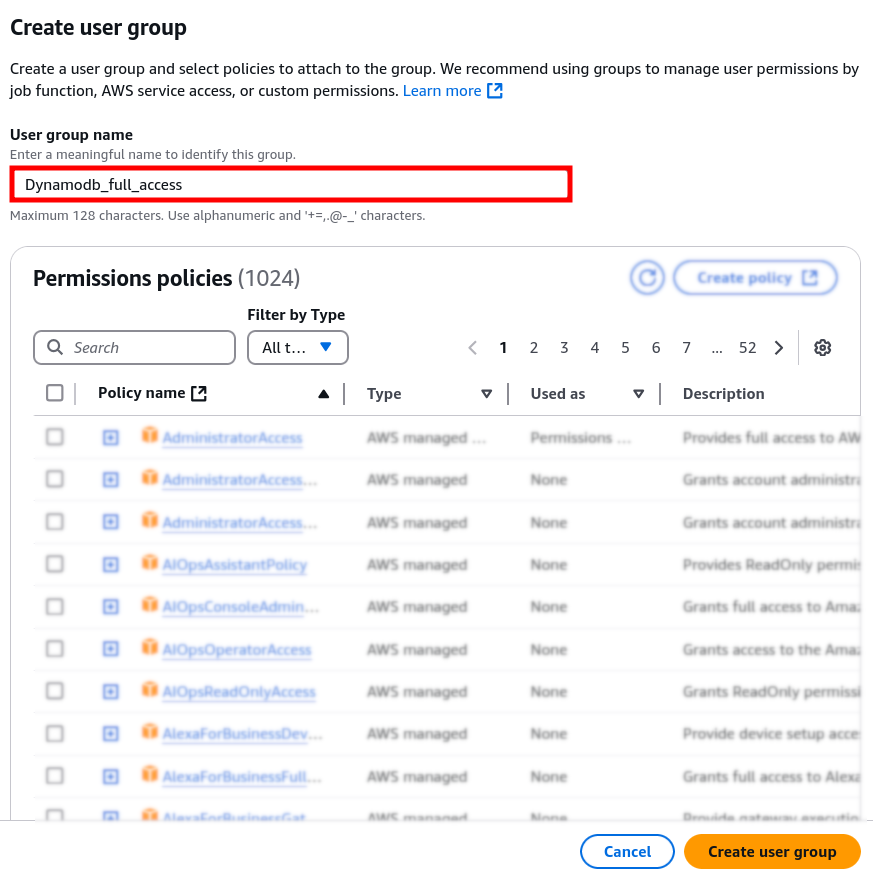
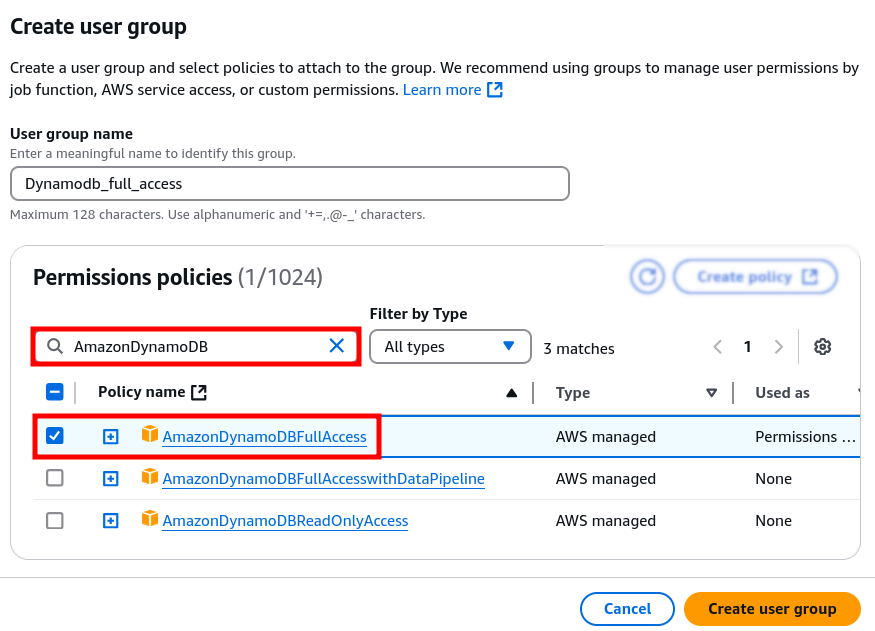
Enter a meaningful name to identify the group:
-
Search for suitable DynamoDB policies and highlight those that align with your needs:
-
Click on Create user group.
-
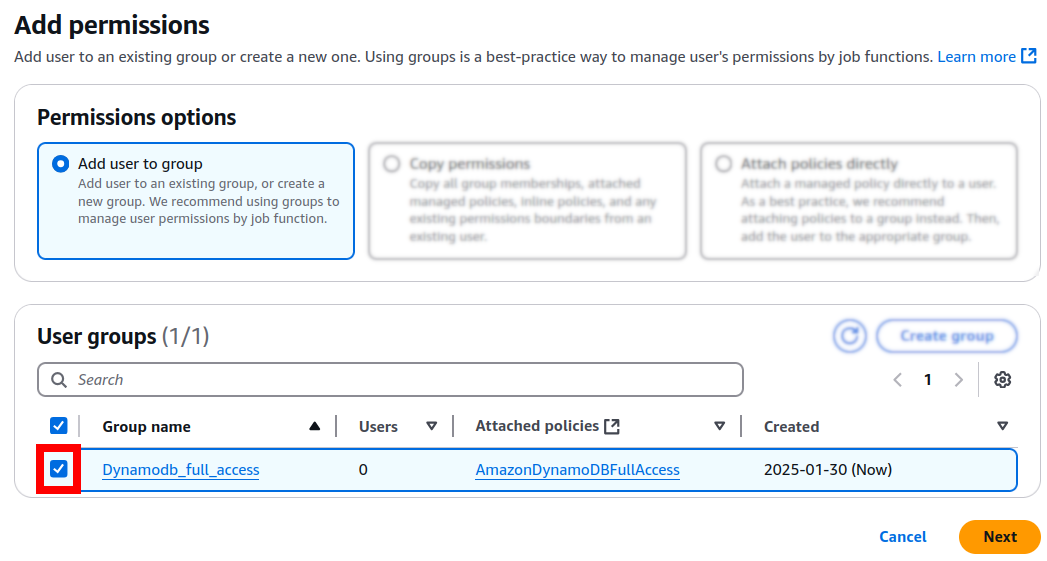
Mark the group and click on Next:
-
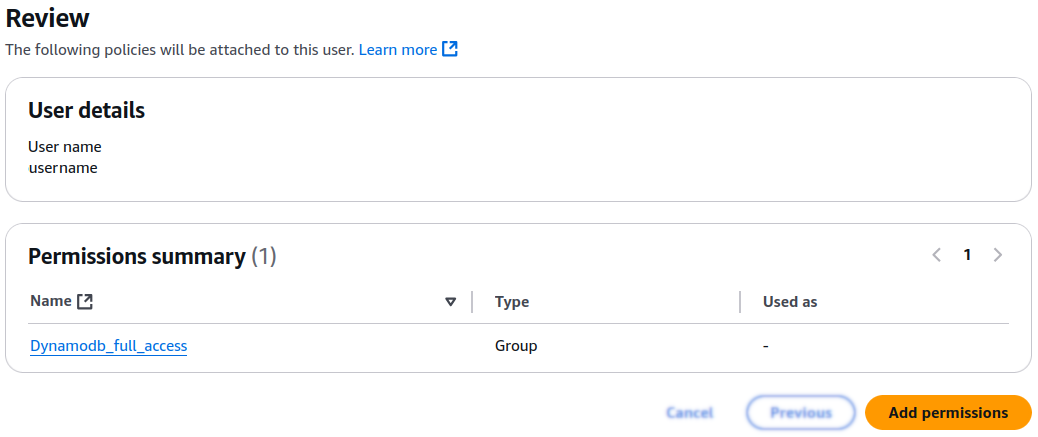
Review the settings and click on Add permissions:
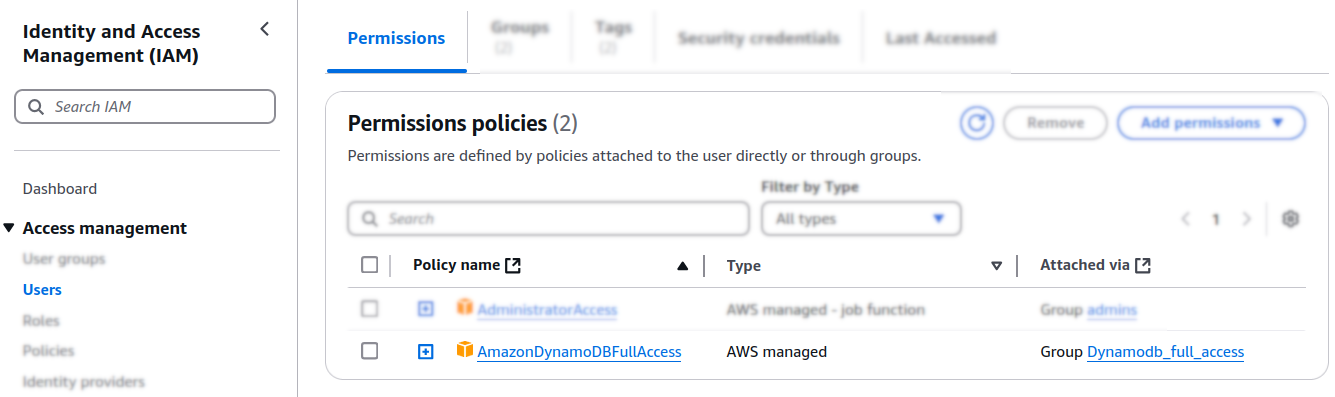
The policies are updated:
-
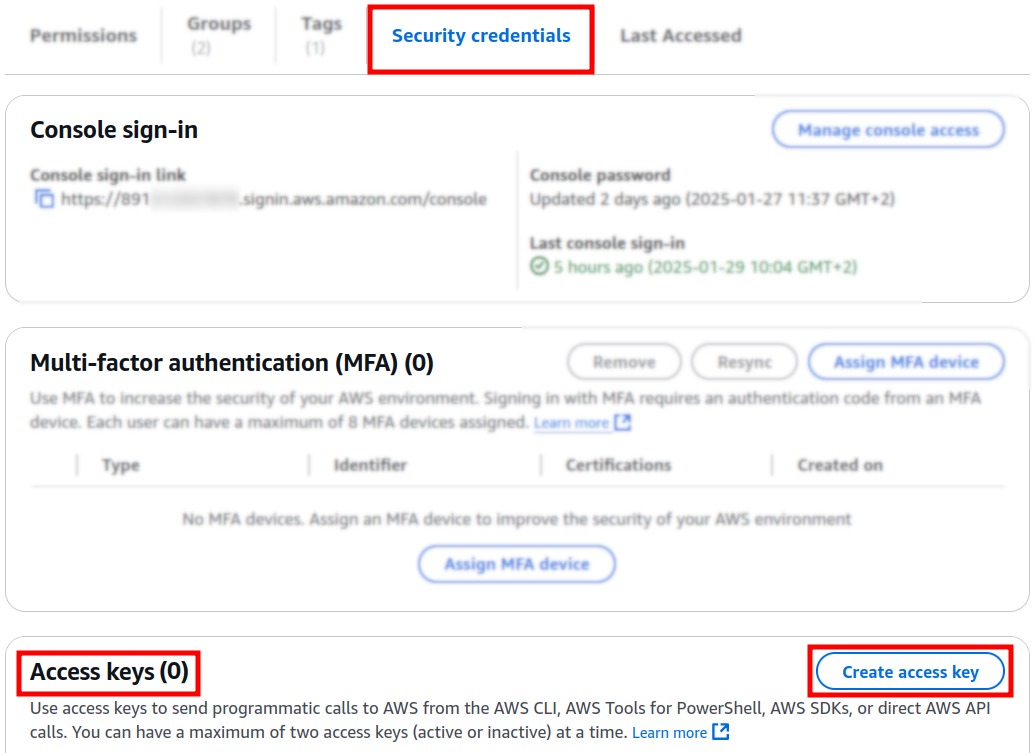
Navigate to the Security credentials tab and scroll down to the Access keys section:
-
Click on Create access key.
-
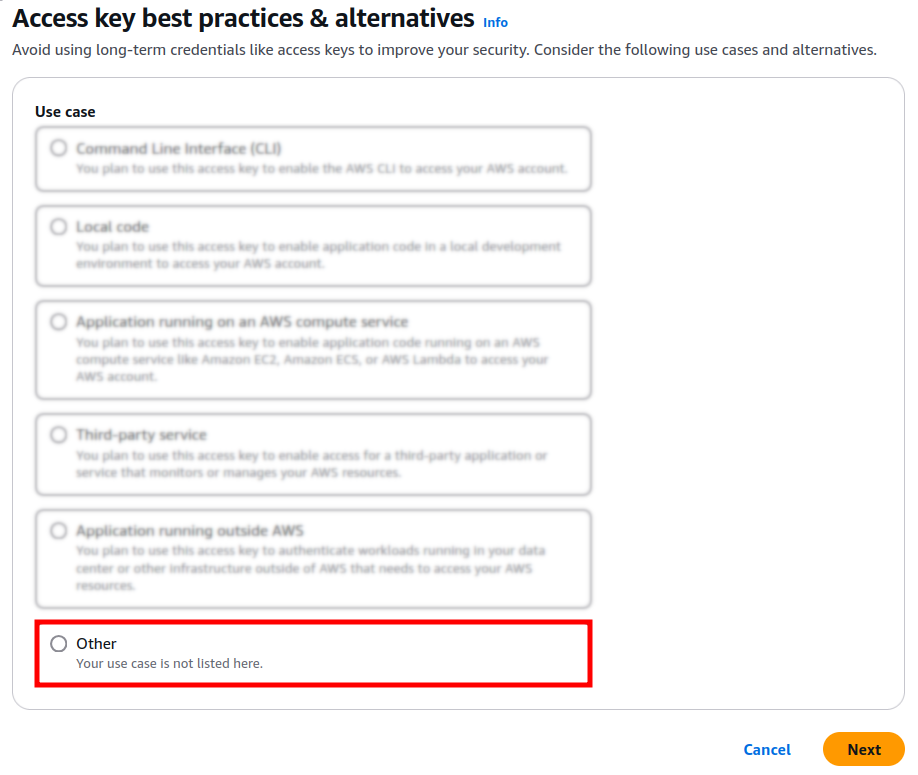
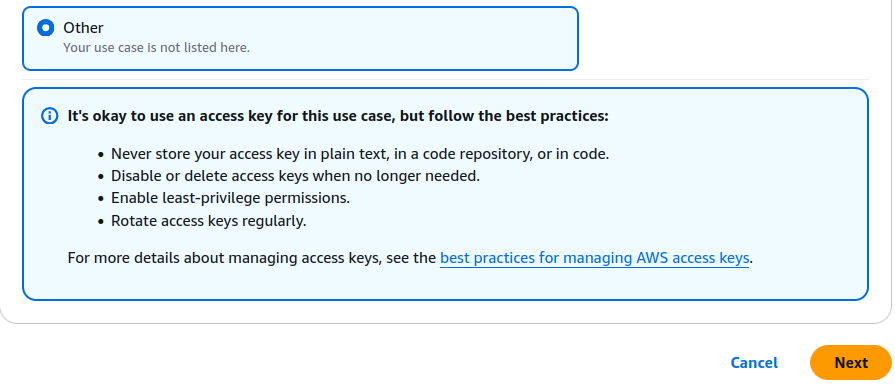
Select the option Other and click on Next:
-
Review the best practices suggested by Amazon and click on Next:
-
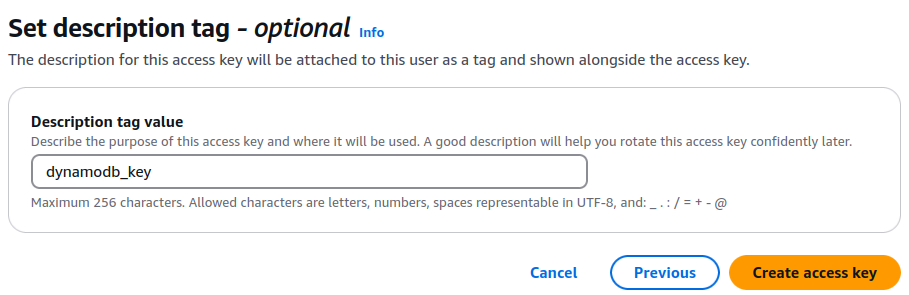
You can optionally add a description tag:
-
Click on Create access key.
-
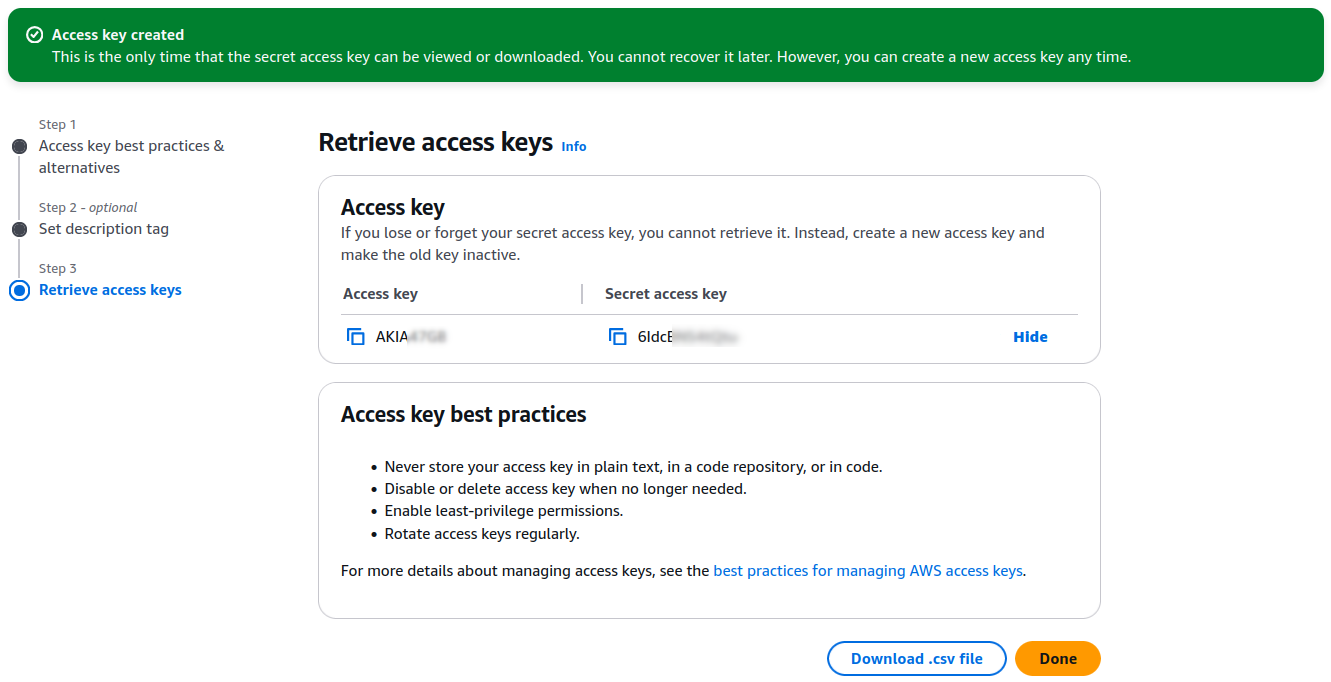
In the next screen you have the opportunity to copy and/or download your Access key and Secret access key. Please note that this is the only time these keys can be viewed and downloaded:
-
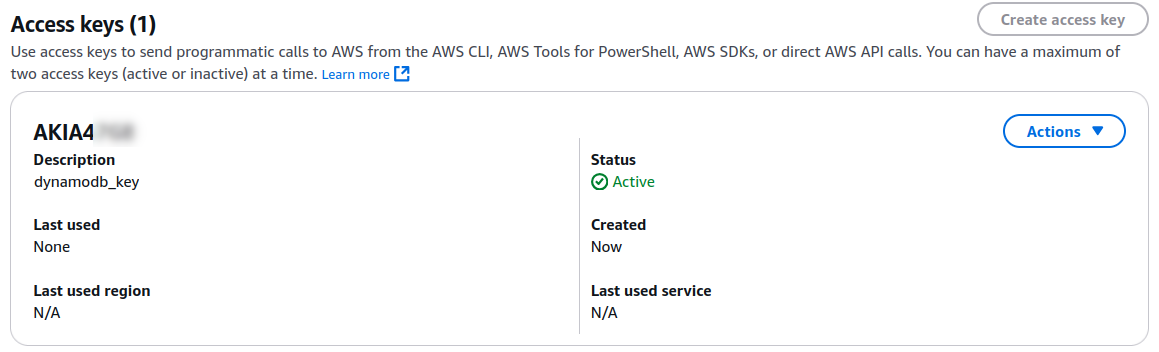
Click on Done to complete the action. The new access key appears in the Security credentials tab:
Rocketadmin settings
The final steps of this guide include creating a Rocketadmin connection to the AWS DynamoDB and reviewing the data in the table. Follow the guidelines:
-
Sign in to your Rocketadmin account.
-
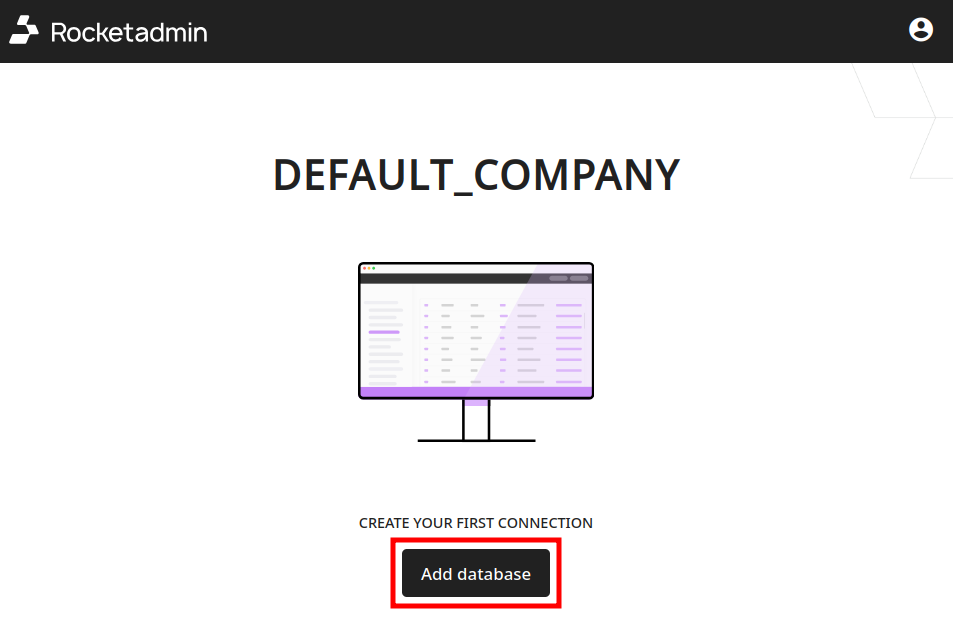
In the Dashboard click on Add database:
-
In the Connect a database screen:
-
enter a name for the connection
-
select DynamoDB as database type

-
-
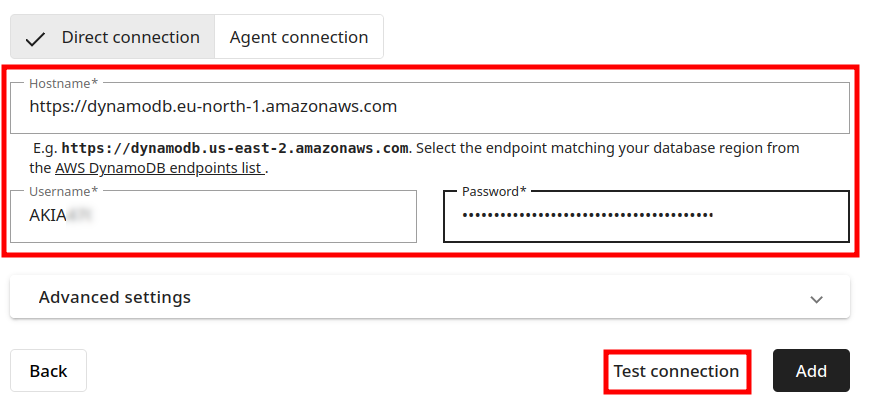
Enter the following information in the connection's details:
-
Hostname: the endpoint matching your database region. For the full list of Amazon endpoints, please visit https://docs.aws.amazon.com/general/latest/gr/ddb.html#ddb_region
-
Username: your Access key
-
Password: your Secret access key
-
-
Click on Test connection.
-
Once the connection is successful, click on Add.
Your table appears in the Dashboard:
