How to connect your DigitalOcean database with Rocketadmin
This user guide outlines the procedure for establishing a Rocketadmin connection to a DigitalOcean PostgreSQL managed database.
Although the manual primarily focuses on PostgreSQL as an example, it can also be utilized to establish connections with various other types of databases supported by DigitalOcean.
The instructions are general and do not contain any detailed explanations on specific DigitalOcean features. To learn the fundamentals, find best practices and experience the full DigitalOcean potential, please visit https://docs.digitalocean.com/.
DigitalOcean settings
To create a DB instance
-
Sign in to your DigitalOcean account.
-
In the Control panel expand the Manage menu:

-
Click on Create database.
-
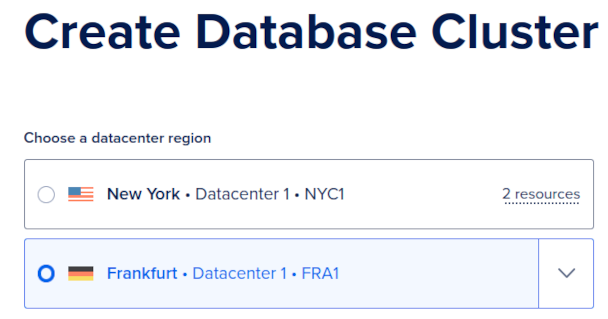
Choose a datacenter region, for example:
-
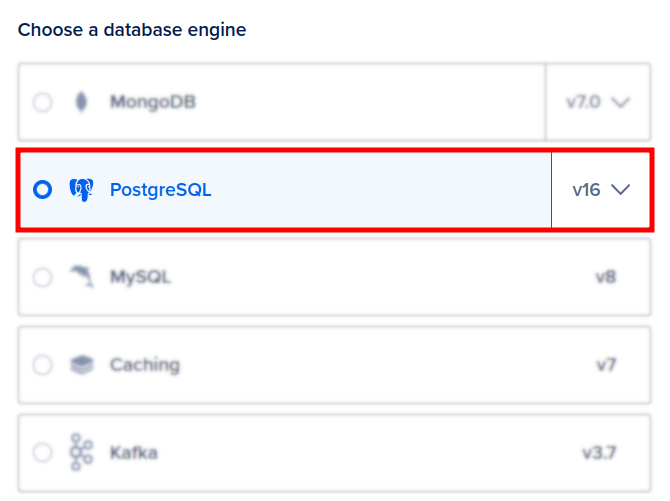
Choose PostgreSQL as database engine:
-
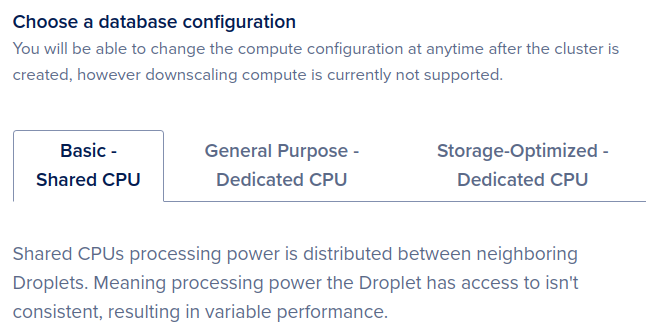
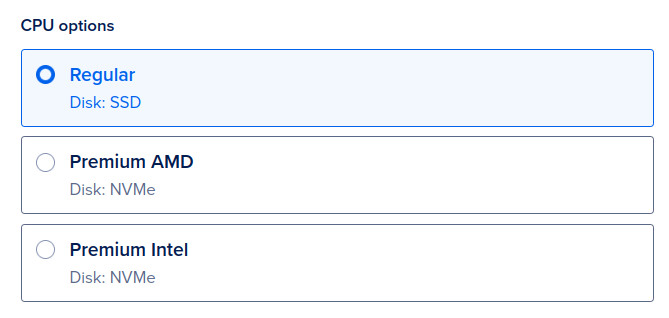
Choose from the available CPU options depending on your preferences:
-
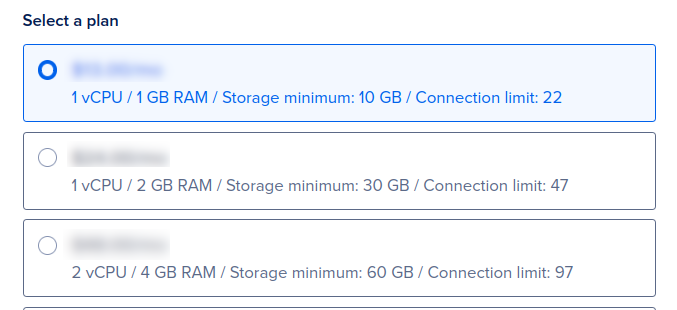
Select a price plan:
-
Choose a storage size:

-
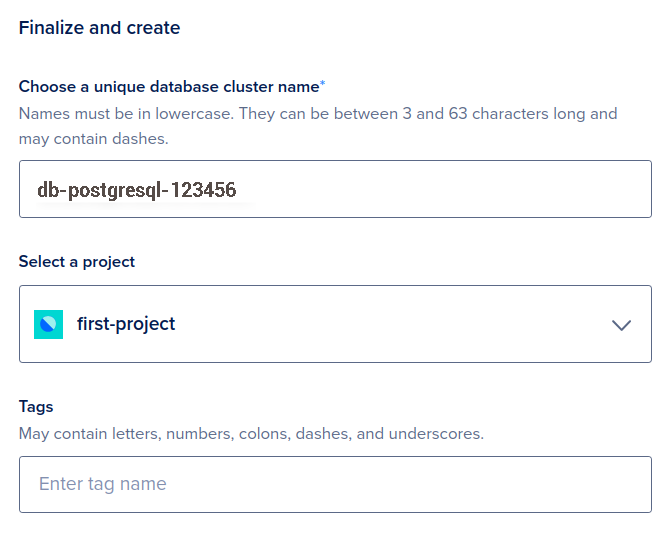
Enter a unique name for your database cluster and select a project, for example:
-
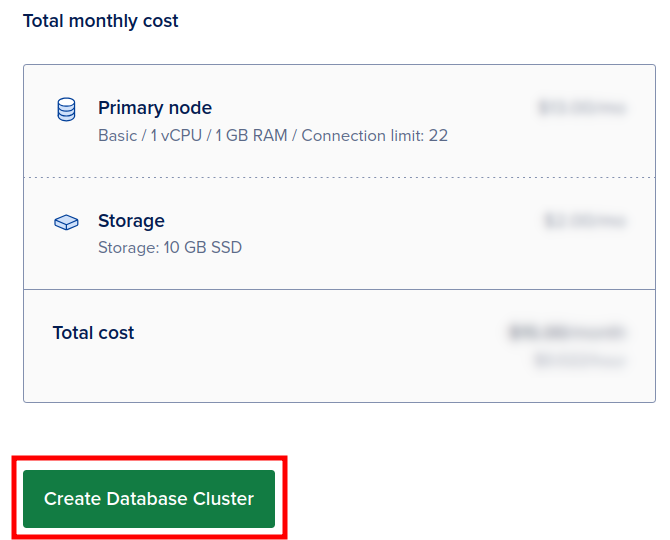
Review the pricing plan and click on Create Database Cluster:
-
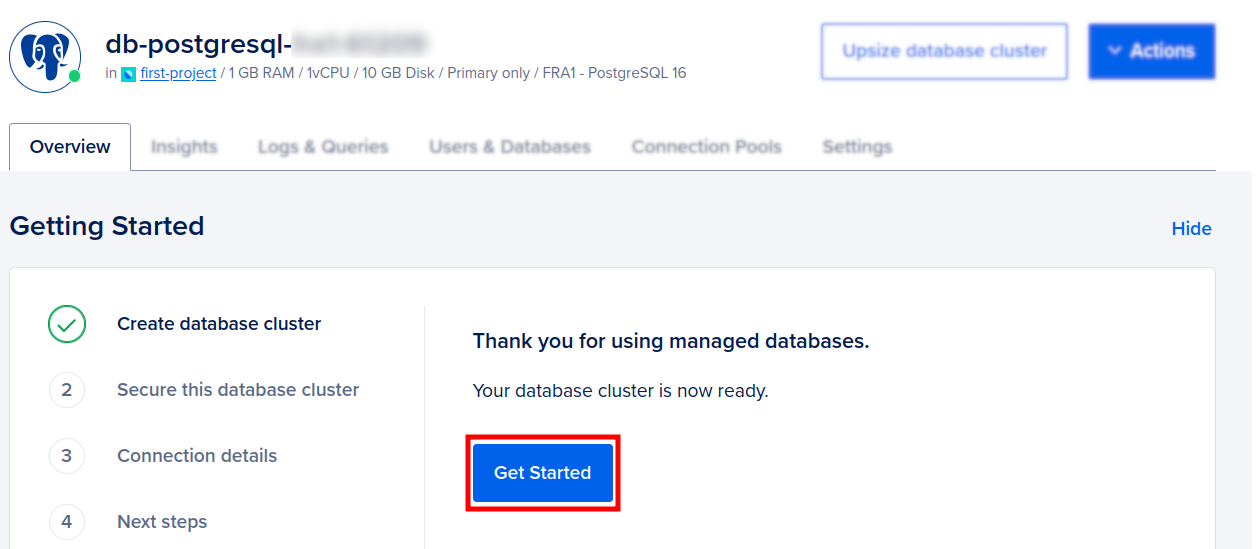
You are redirected to the next screen. Wait a few minutes for the setup to complete the cluster creation:
-
Click on Get Started.
-
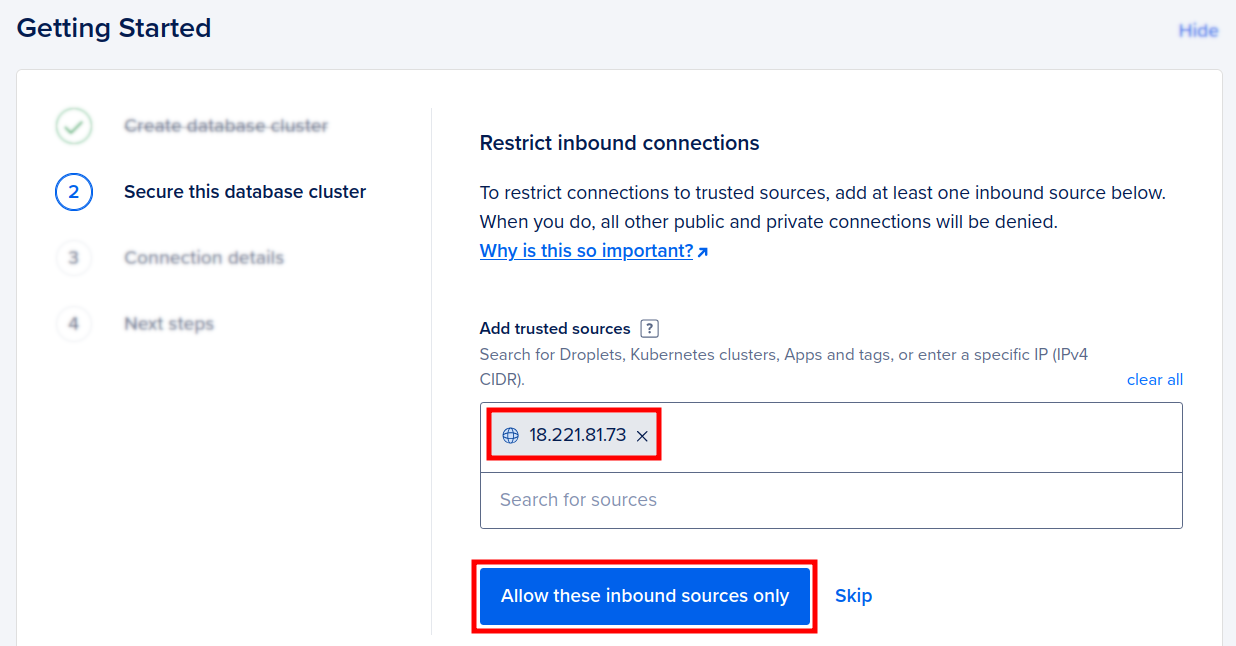
In the Secure this database cluster screen add to the inbound rules the Rocketadmin IP address - 18.221.81.73, as trusted source, granting us access to your database:
-
Click on Allow these inbound sources only.
-
In the Connection details screen:
-
copy the connection data
-
download the CA certificate

-
-
Click on Continue.
-
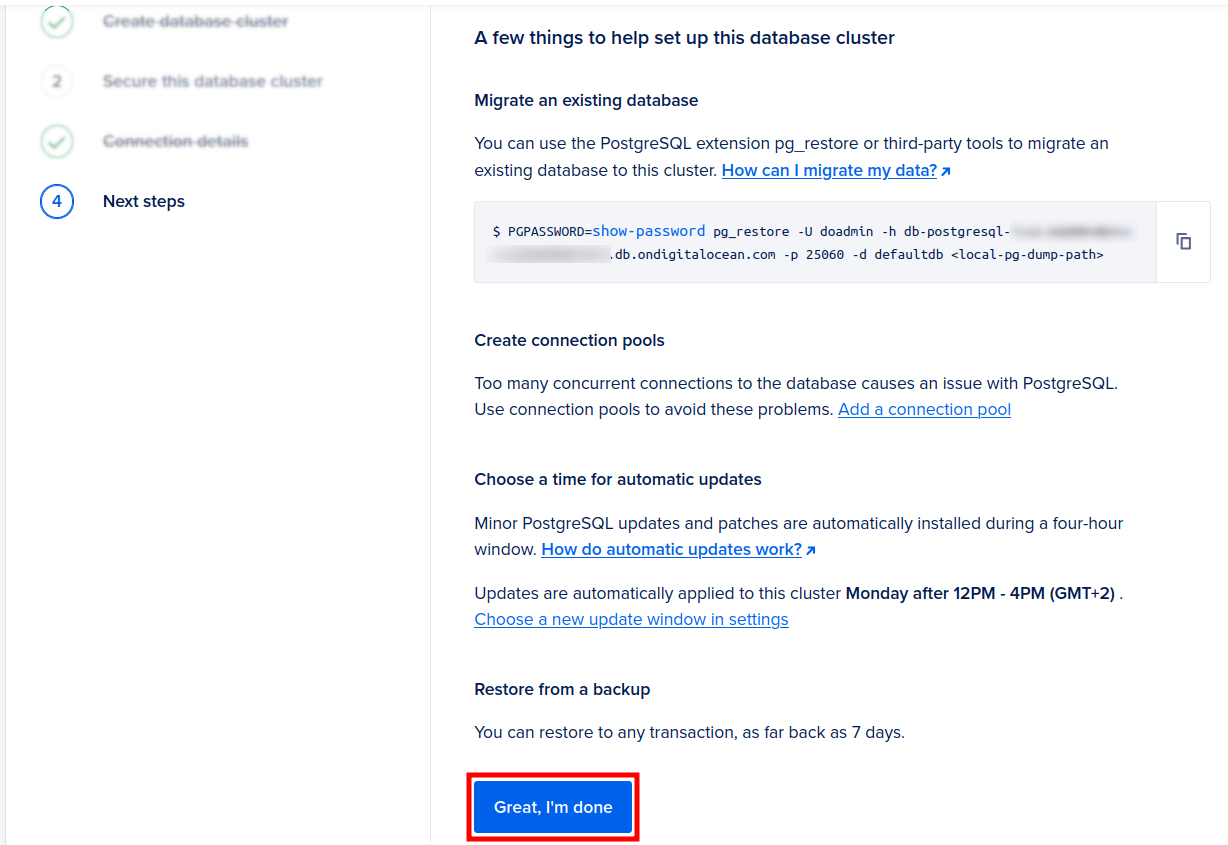
In the next screen you can review the DigitalOcean instructions on how to migrate an existing PostgreSQL database to this cluster:
-
Click on Great, I'm done.
The configuration of the database cluster has been finalized.
PostgreSQL settings
You need to create at least one table in your database or migrate an existing PostgreSQL database to DigitalOcean. Use a database management tool of your choice to access the DigitalOcean cluster.
In order to connect to the database from your local server, you need to add its IP address to the inbound rules of the created database cluster.
To connect to the database
-
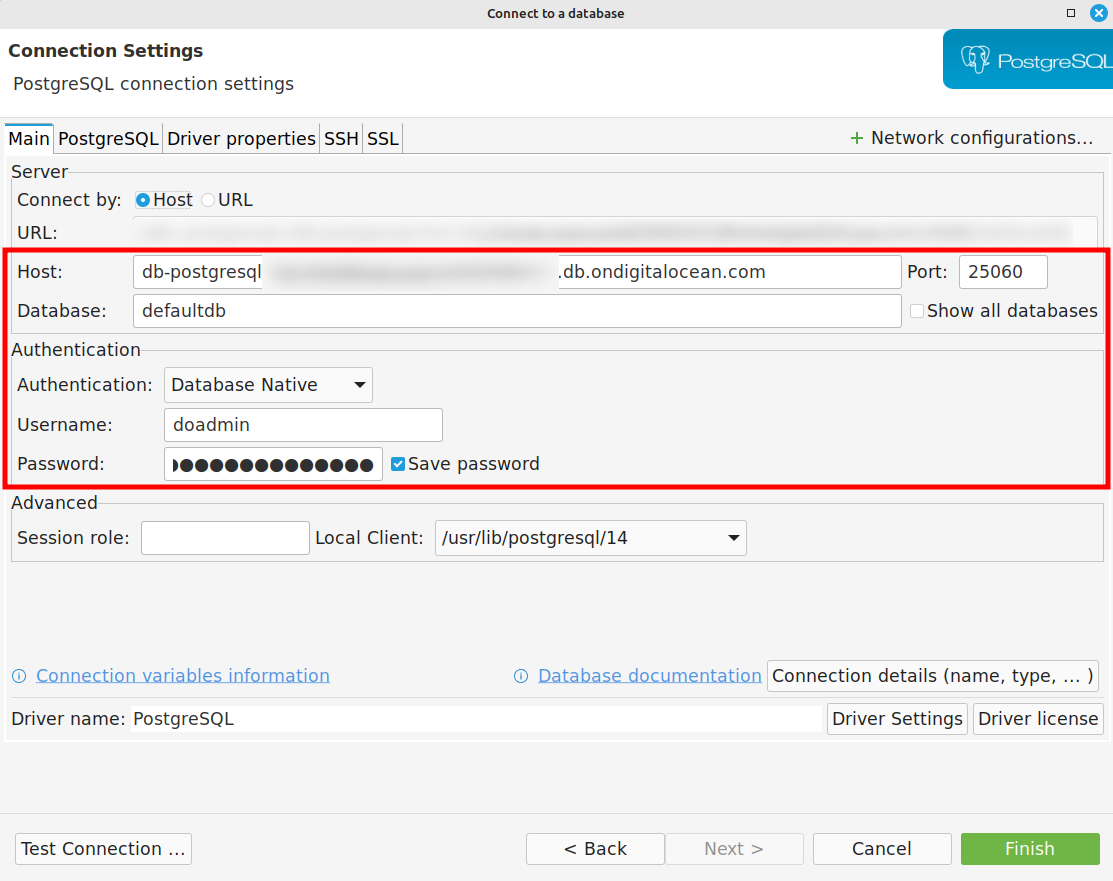
Using your database management tool create a connection to the DigitalOcean cluster by providing the following data:
-
host, port, database name
-
credentials: username and password
-
-
Once the connection is successful, create a table and populate it with data, for example:

Rocketadmin settings
The final steps of this guide include creating a Rocketadmin connection to the DigitalOcean PostgreSQL managed database. Follow the guidelines:
-
Sign in to your Rocketadmin account.
-
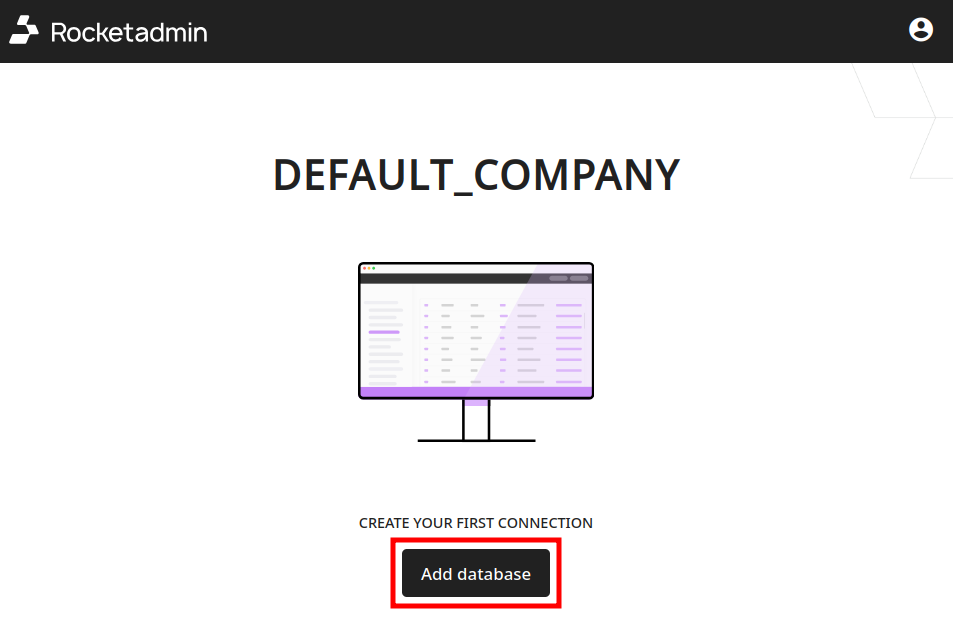
In the Dashboard click on Add database:
-
In the Connect a database screen:
-
enter a name for the connection
-
select PostgreSQL as database type

-
-
Enter the following information in the connection's details:
-
Hostname: the DigitalOcean hostname
-
Username, Password, Database name

-
-
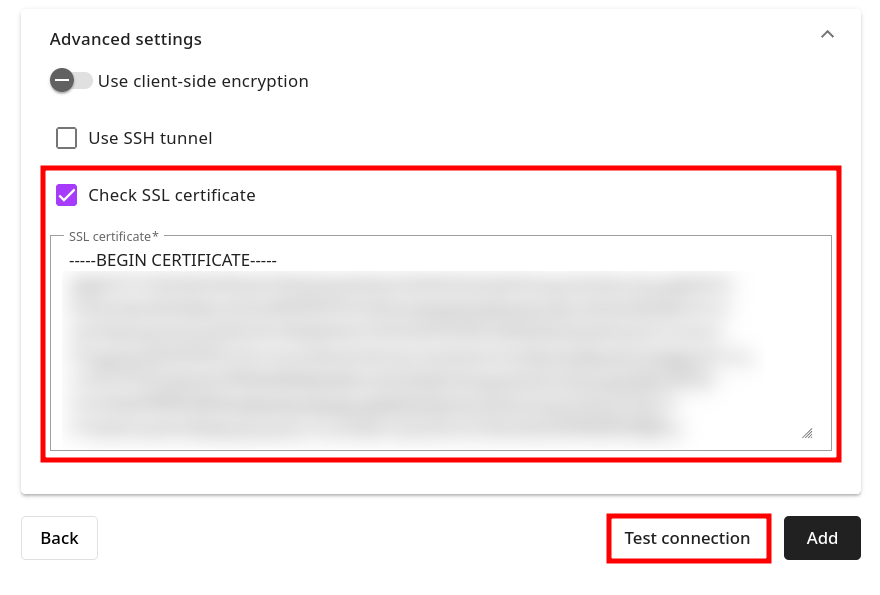
Expand the Advanced settings and mark the option Check SSL certificate.
-
Open the CA certificate which you downloaded from DigitalOcean and paste its content in the field:
-
Click on Test connection.
-
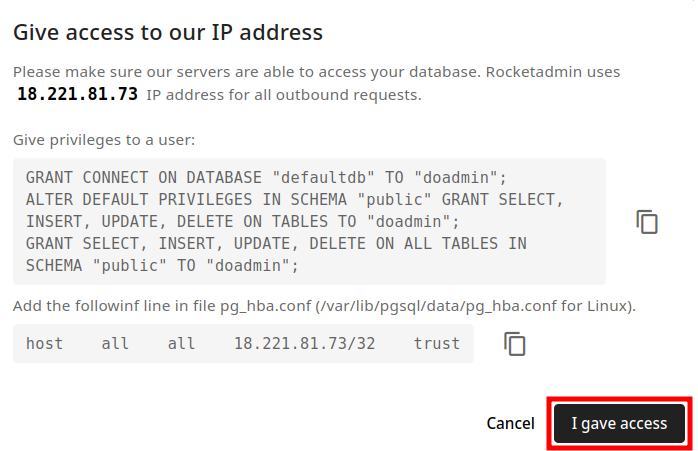
Once the connection is successful, click on Add. The following message appears:
-
Once the privileges are given, click on I gave access.
Your database and table appear in the Dashboard:
