How to connect your Google Cloud database with Rocketadmin
This user guide outlines the procedure for establishing a Rocketadmin connection to a Google Cloud managed database.
Although the manual primarily focuses on MySQL as an example, it can also be utilized to establish connections with other types of databases supported by Google Cloud.
The instructions are general and do not contain any detailed explanations on specific Google Cloud features. To learn the fundamentals, find best practices and experience the full Google Cloud potential, please visit https://cloud.google.com/docs/.
Google Cloud settings
To create a database instance
-
Sign in to your Google Cloud account.
-
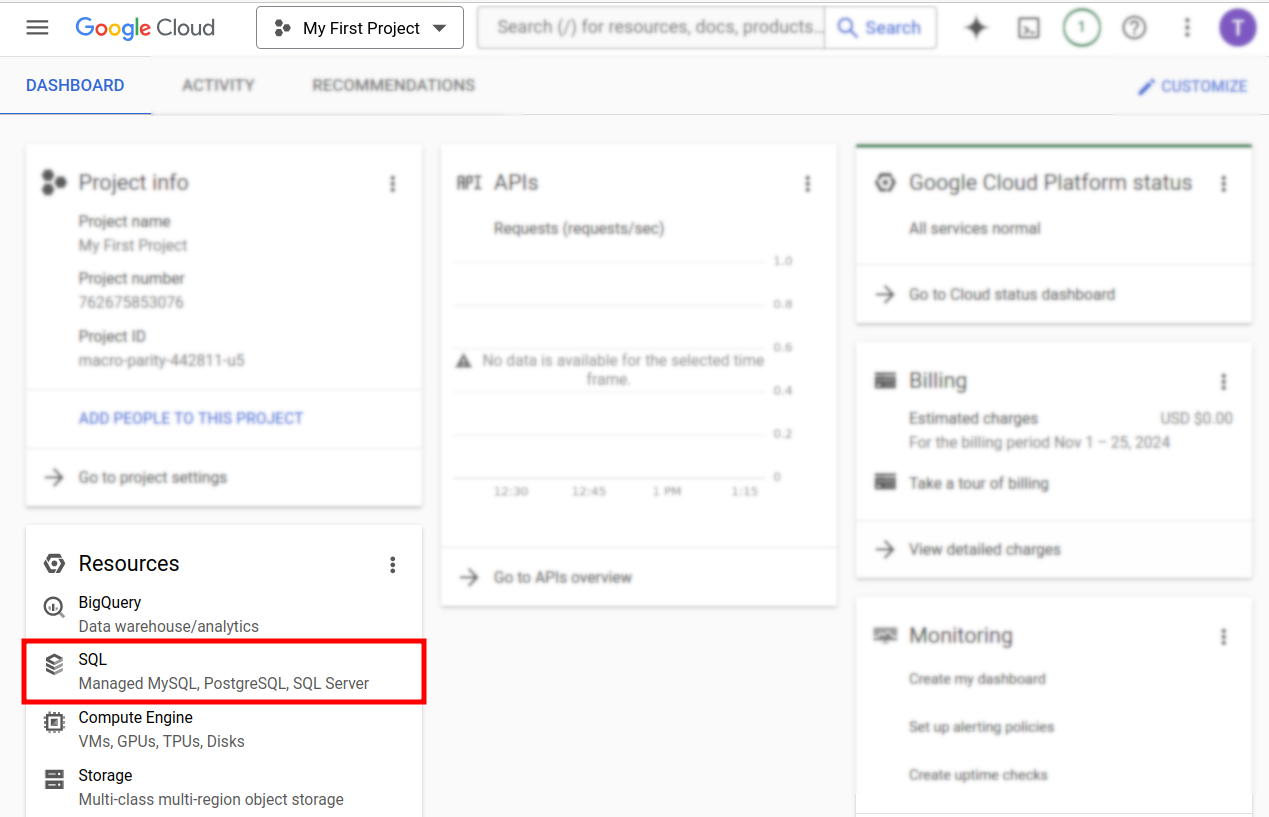
From the Dashboard of your project navigate to the Resources section and click on SQL:
-
In the next screen click on Create Instance with your free credits:

-
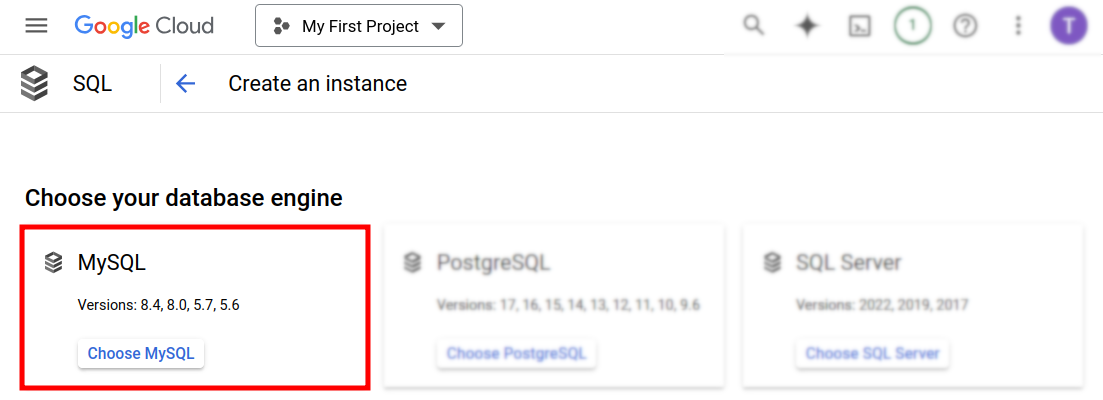
Choose MySQL as database engine:
-
In case you are asked to enable Compute Engine API, click on Enable API:

-
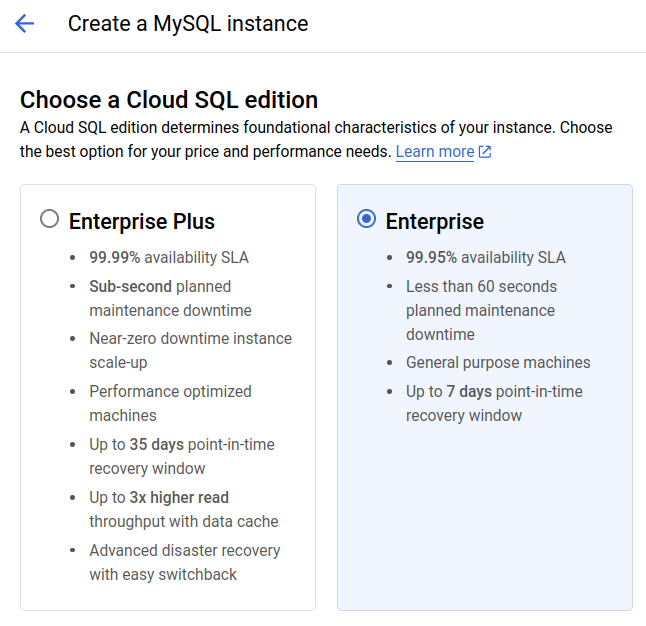
In the next screen select a Cloud SQL Edition from the options:
-
Choose a preset for your edition, for example: Development:

-
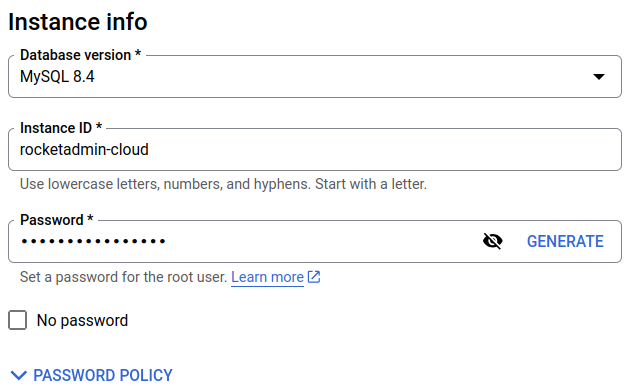
In the Instance info section:
-
select MySQL Database version
-
enter a name for your instance in the Instance ID field
-
set a password for the root user (you can review the password recommendations by expanding Password policy)
-
-
Choose a Region in order to keep your data close to the services that need it:
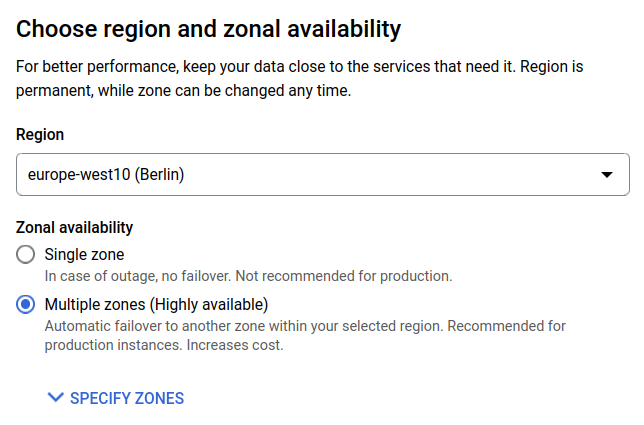
And you can also specify a zone withing the region, for example:
-
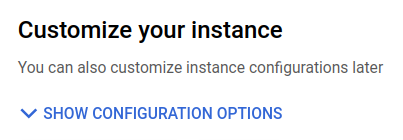
To customize the instance, expand Show configurations:
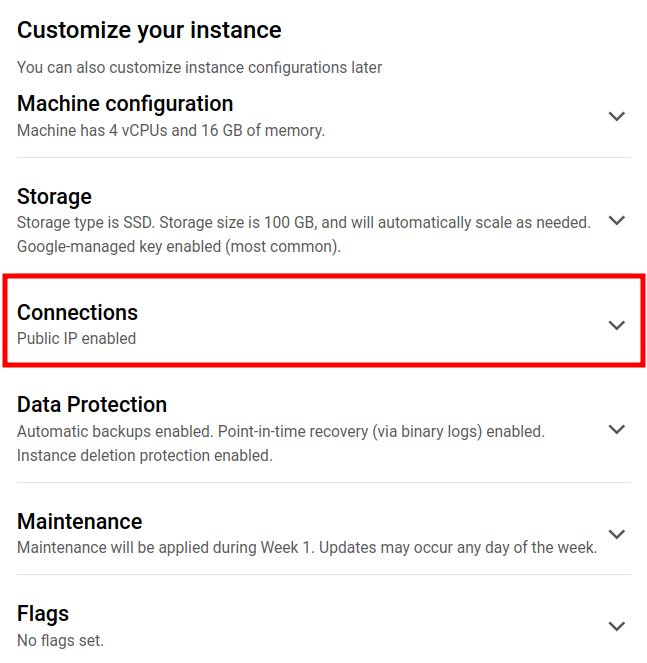
- Click on Connections:
- Enable the Public IP option and click on Add a network:
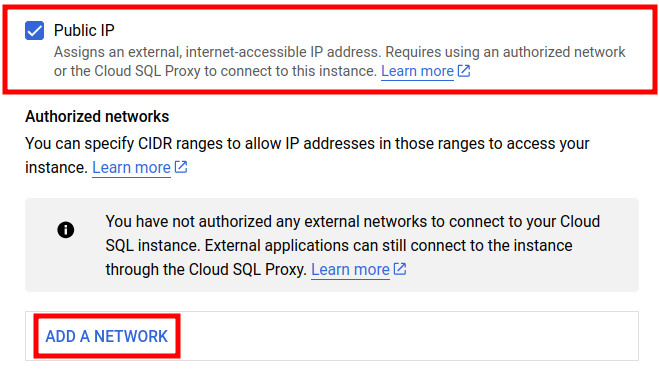
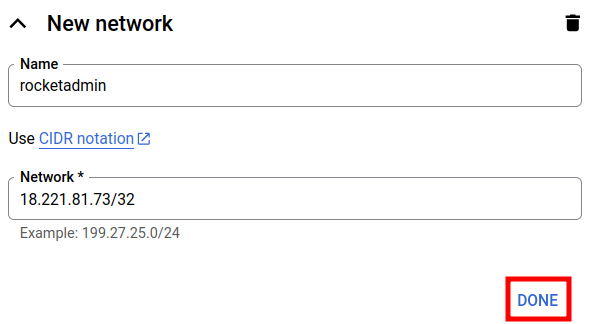
- Enter a Name for the network and add the Rocketadmin IP address - 18.221.81.73/32 as trusted source, granting us access to your database:
-
Click on Done to confirm.
-
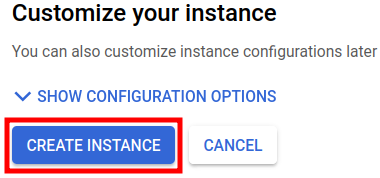
Click on Create instance to complete the settings:
To create a database user
-
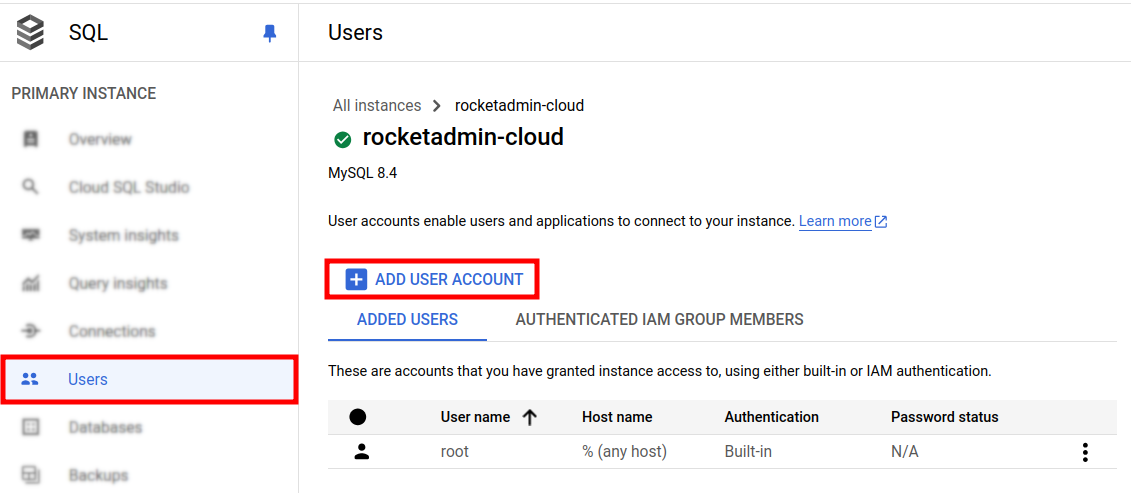
From the Primary instance side panel click on Users:
-
Click on Add user account.
-
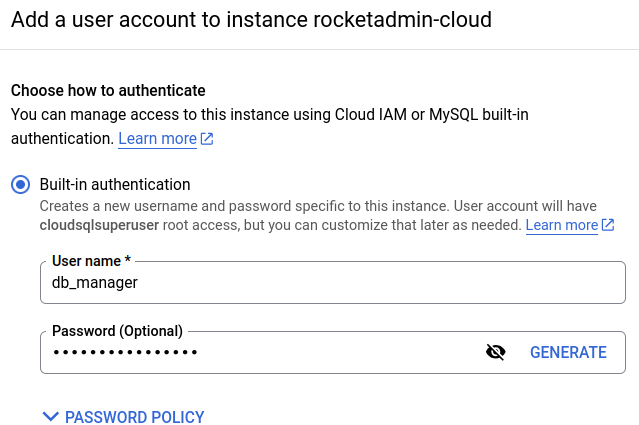
Enter a User name and a Password for your user:
-
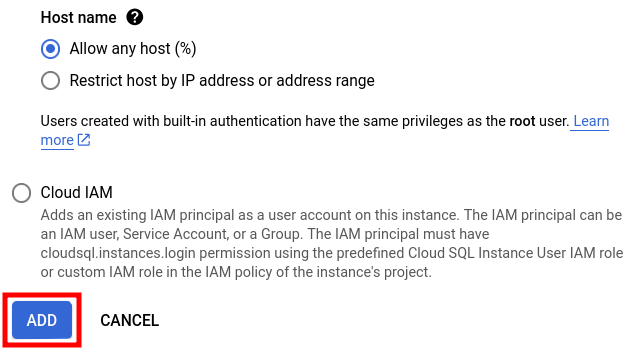
Allow any Host:
-
Click on Add.
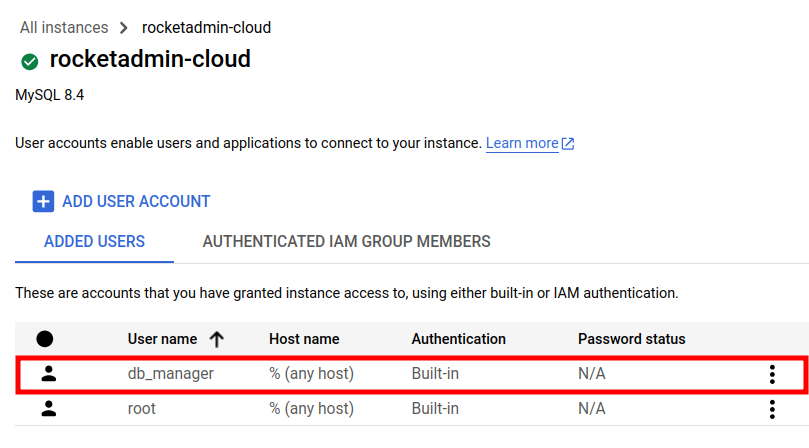
The user is created and visible in the Added users list:
To create a database
-
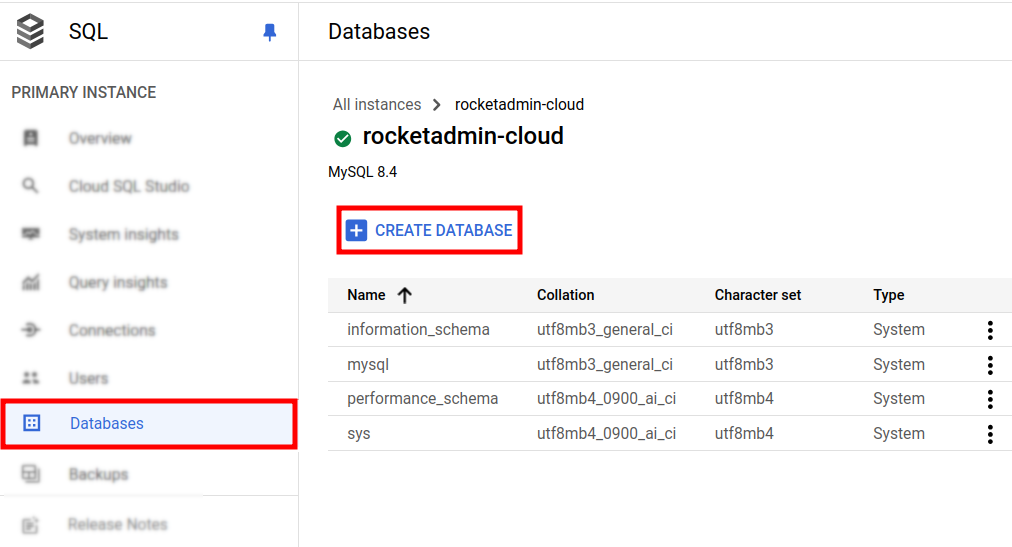
From the Primary instance side panel click on Databases:
-
Click on Create database.
-
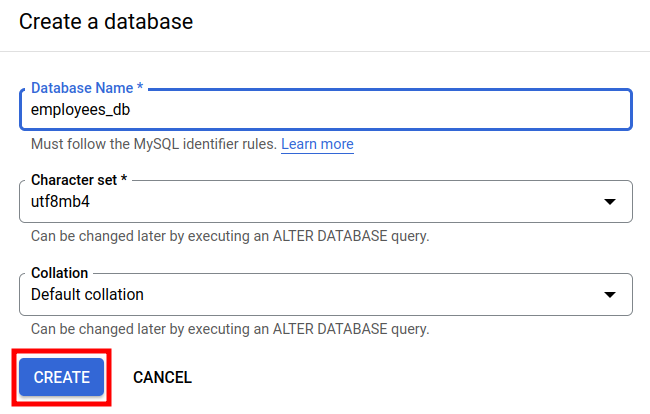
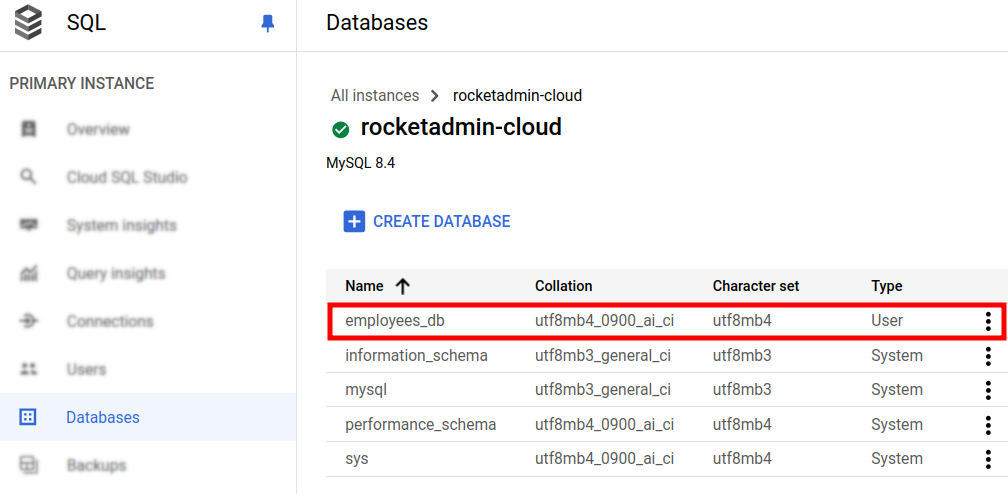
Fill in the required data for the database, including Database name, Character set and Collation:
-
Click on Create.
The database is created:
To create a table
-
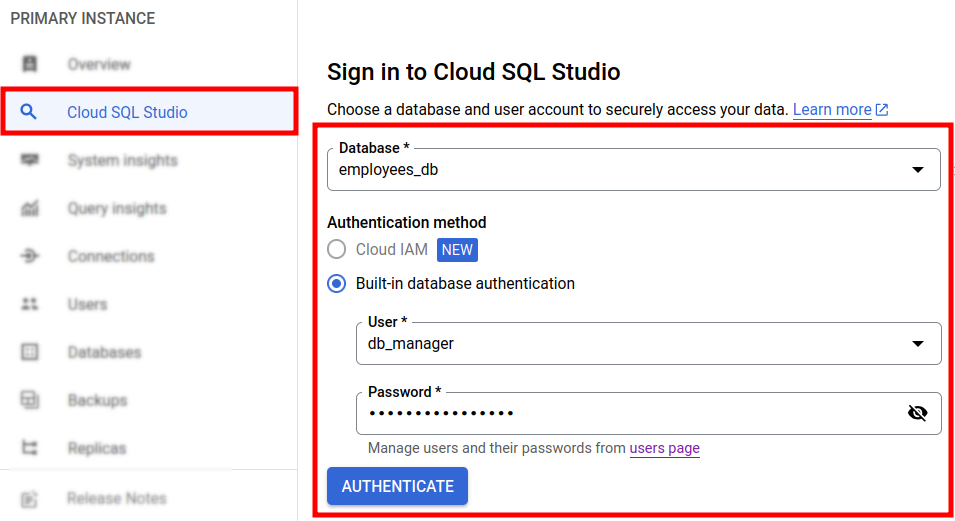
From the Primary instance side panel click on Cloud SQL Studio:
-
Sign in to the Cloud SQL Studio as follows:
-
select your Database
-
enter the database User name and provide the Password
-
-
Click on Authenticate.
-
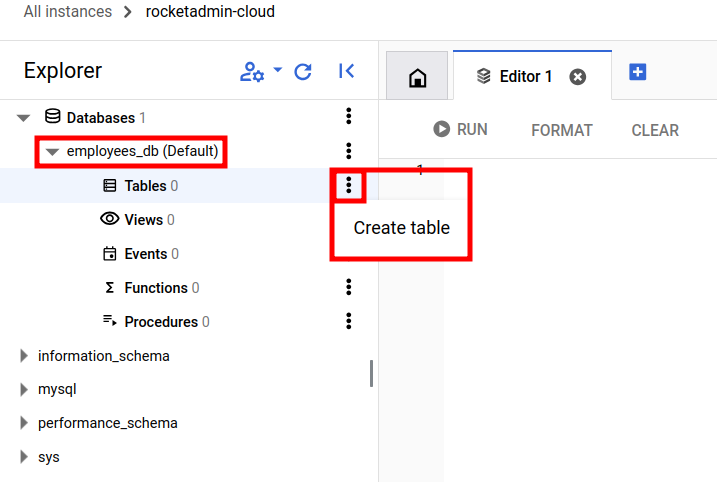
From the database Explorer screen click on
next to your database Tables and then on Create table:
-
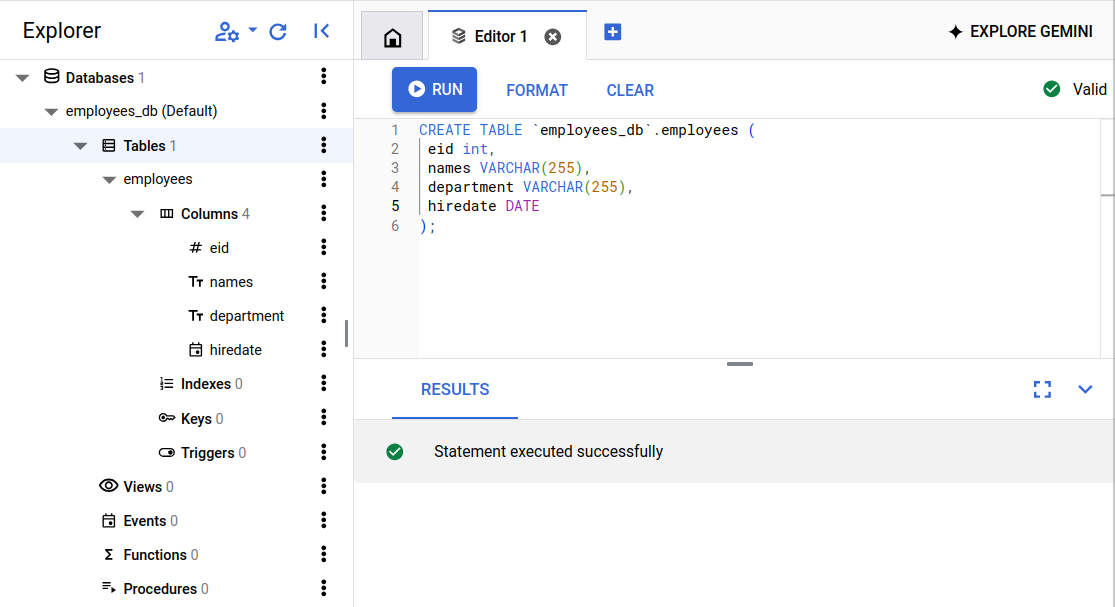
Run a query with the necessary information to create a table:
-
Populate the table with data:
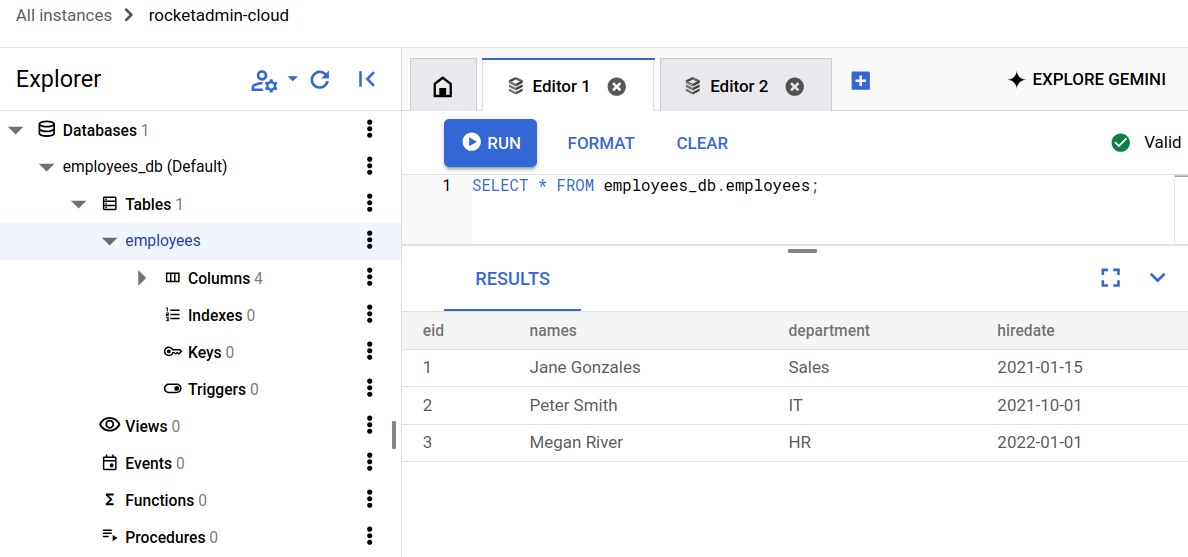
Rocketadmin settings
The final steps of this guide include creating a Rocketadmin connection to the Google Cloud instance running MySQL and review the data in the table. Follow the guidelines:
-
Sign in to your Rocketadmin account.
-
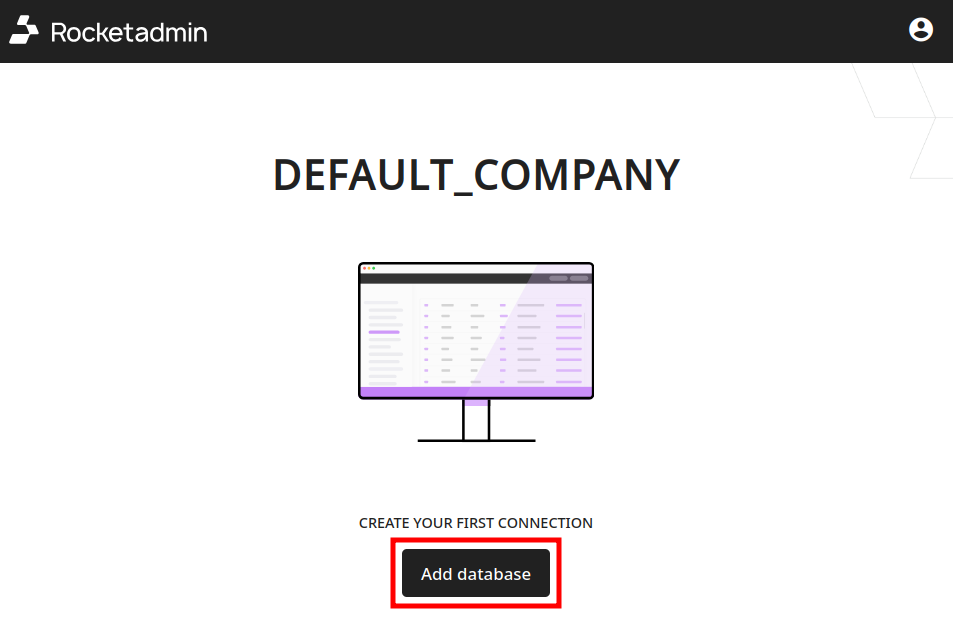
In the Dashboard click on Add database:
-
In the Connect a database screen:
-
enter a name for the connection
-
select MySQL as database type

-
-
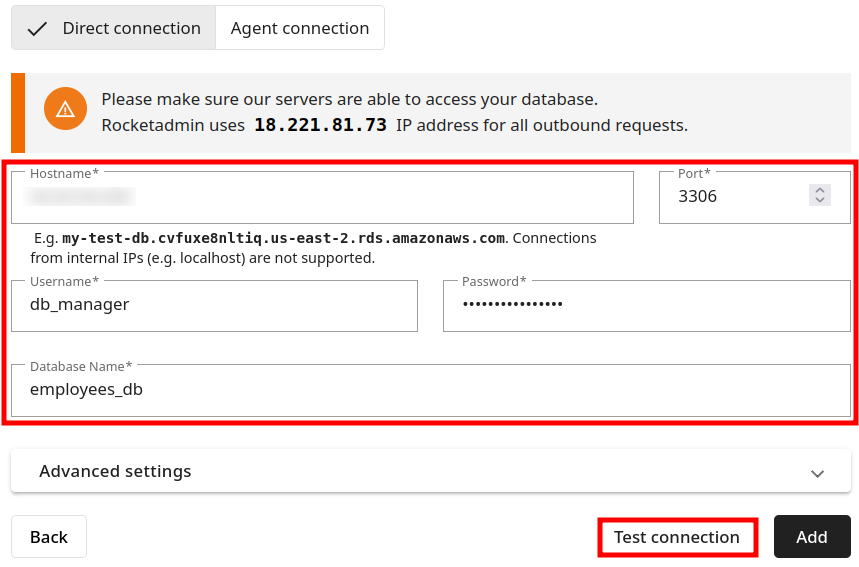
Enter the following information in the connection's details:
-
Hostname: the external IP address of your instance
-
Username, Password, Database name
-
-
Click on Test connection.
-
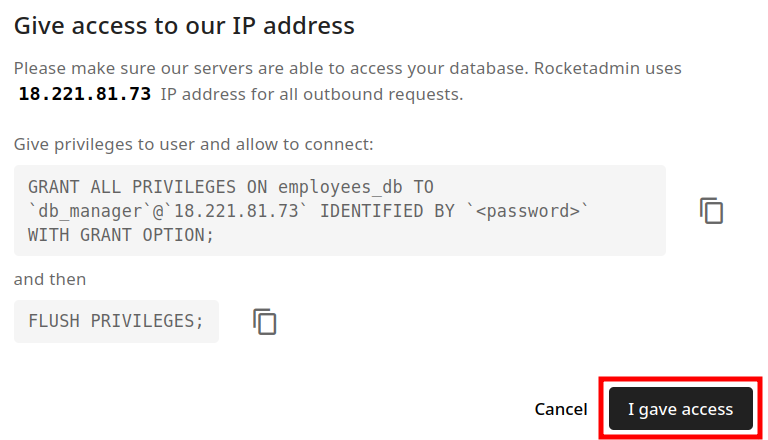
Once the connection is successful, click on Add. The following message appears:
-
Click on I gave access since the Rocketadmin IP address - 18.221.81.73/32 is already added as trusted source.
Your database and table appear in the Dashboard:
