How to connect your Supabase database with Rocketadmin
This user guide outlines the procedure for establishing Rocketadmin connection to a Supabase cloud database.
The instructions are general and do not contain any detailed explanations on specific Supabase features or configurations. To experience the full Supabase potential, please visit https://supabase.com/
Supabase settings
-
Sign in to your Supabase account.
-
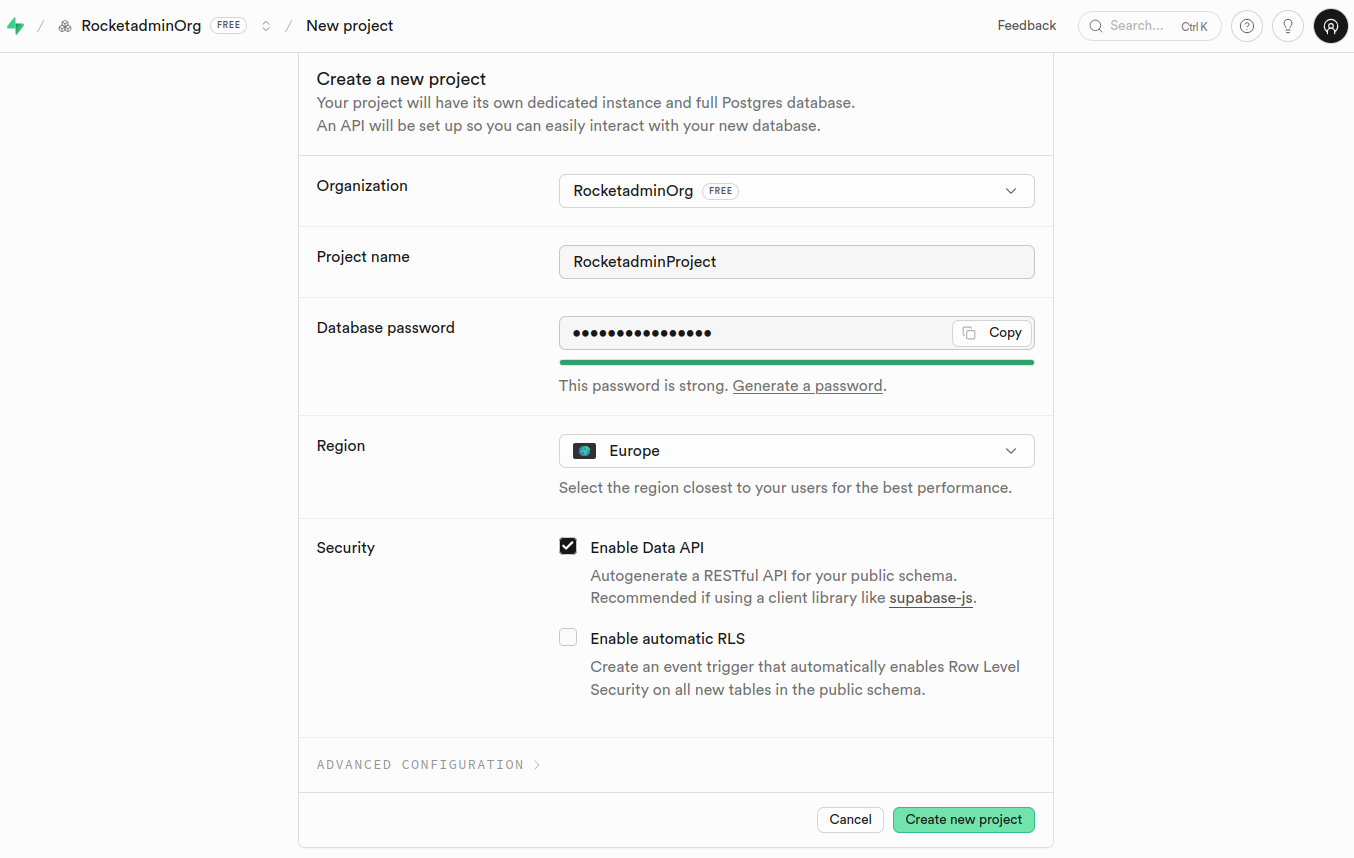
From the Dashboard create a project and configure it based on your specific requirements and needs:
-
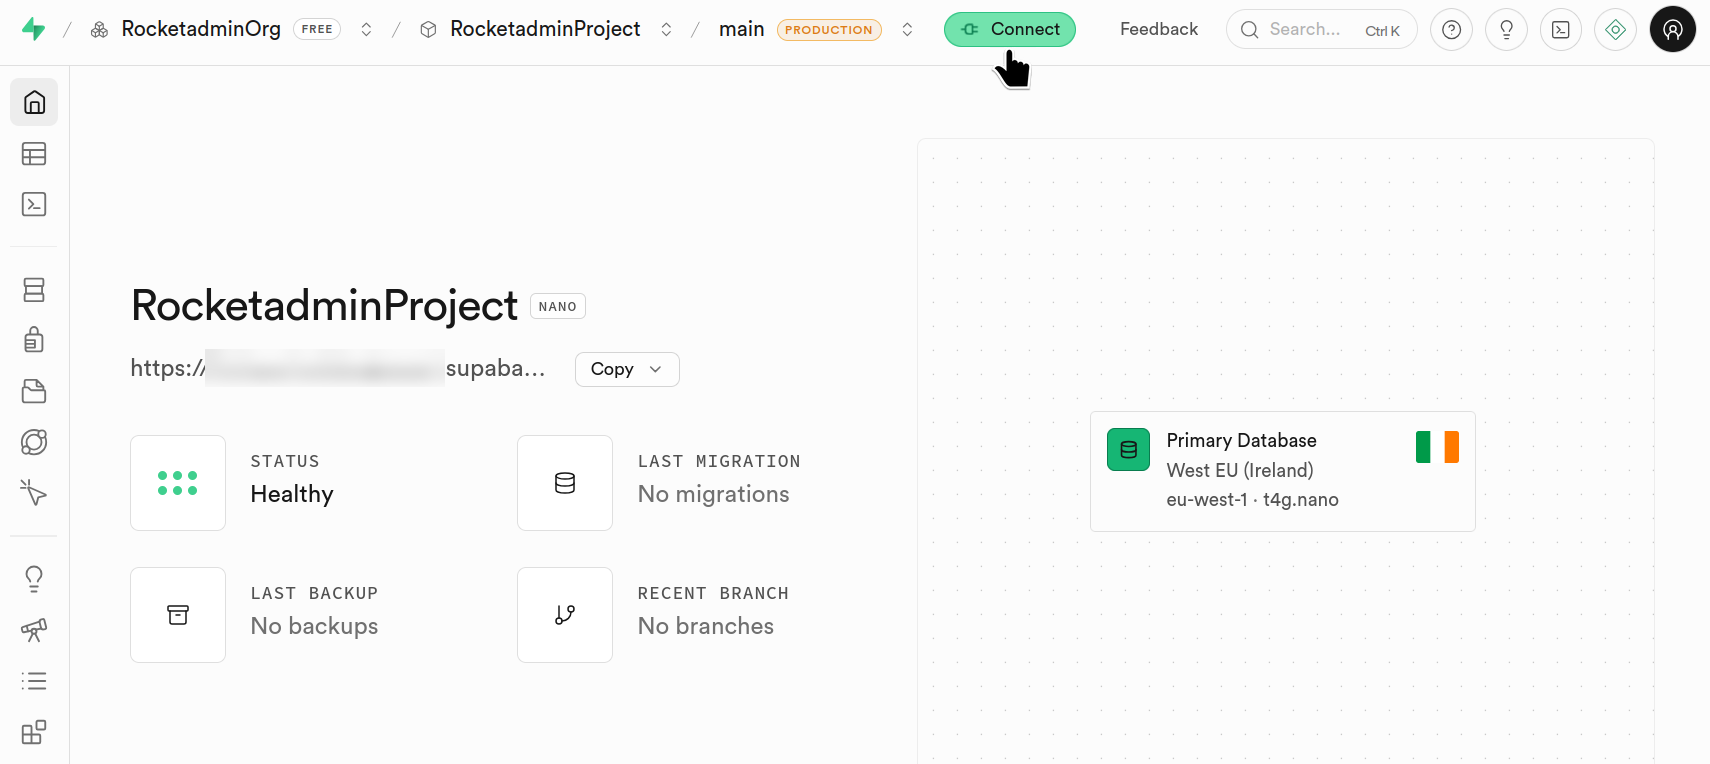
Once the project is created, click Connect:
-
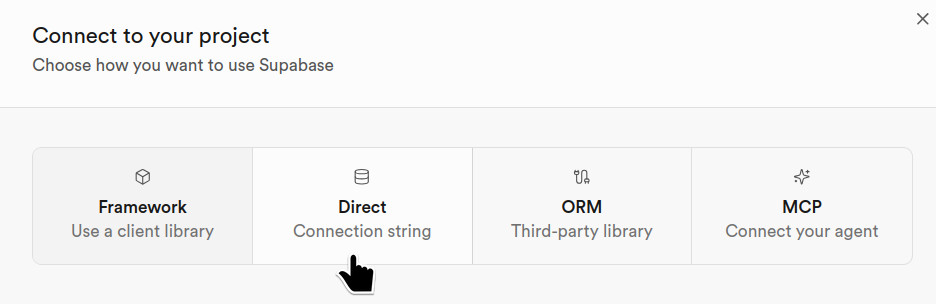
Select the Direct option (Connection string):
-
Select the connection method:
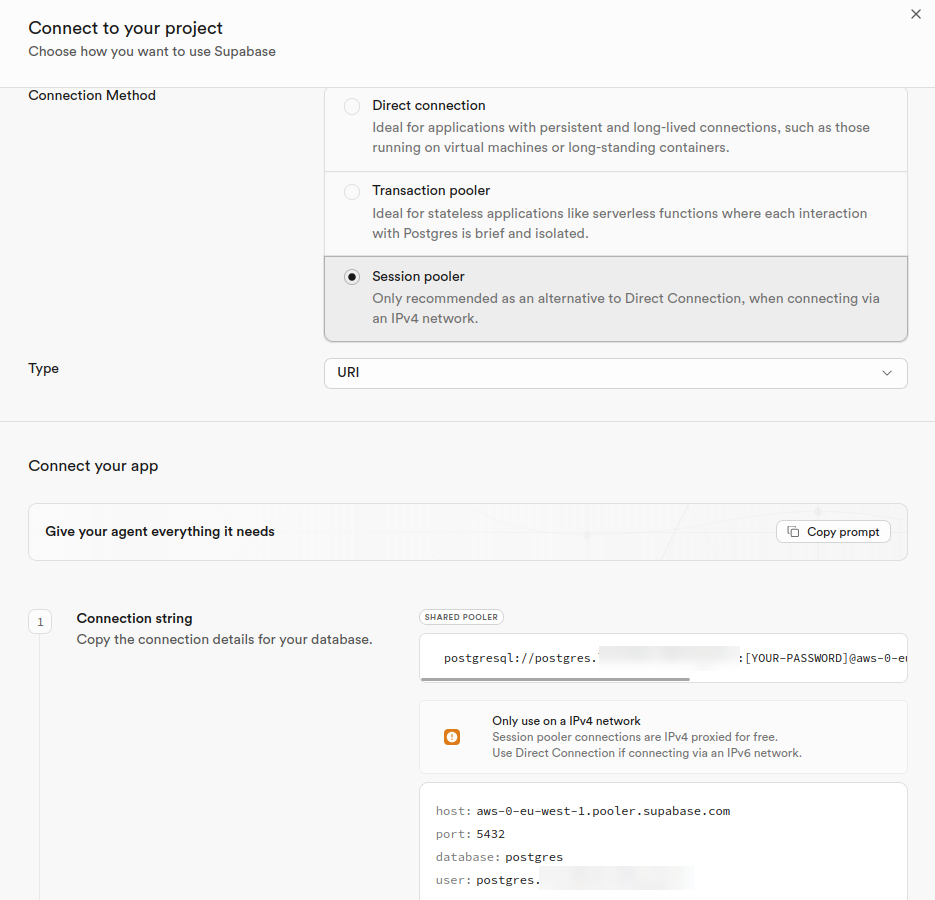
- Save the generated credentials for later use.
When configuring the Network restrictions, please add the Rocketadmin IP address - 18.221.81.73, as trusted source, granting us access to your database.
Database and table settings
With the help of a PostgreSQL database tool of your choice and the credentials you have saved, connect to the Supabase database to create tables.
For example,

Rocketadmin settings
The final steps of this guide include creating a Rocketadmin connection to the Supabase database and review your tables.
Follow the guidelines:
-
Sign in to your Rocketadmin account.
-
In the Dashboard click Add database:

-
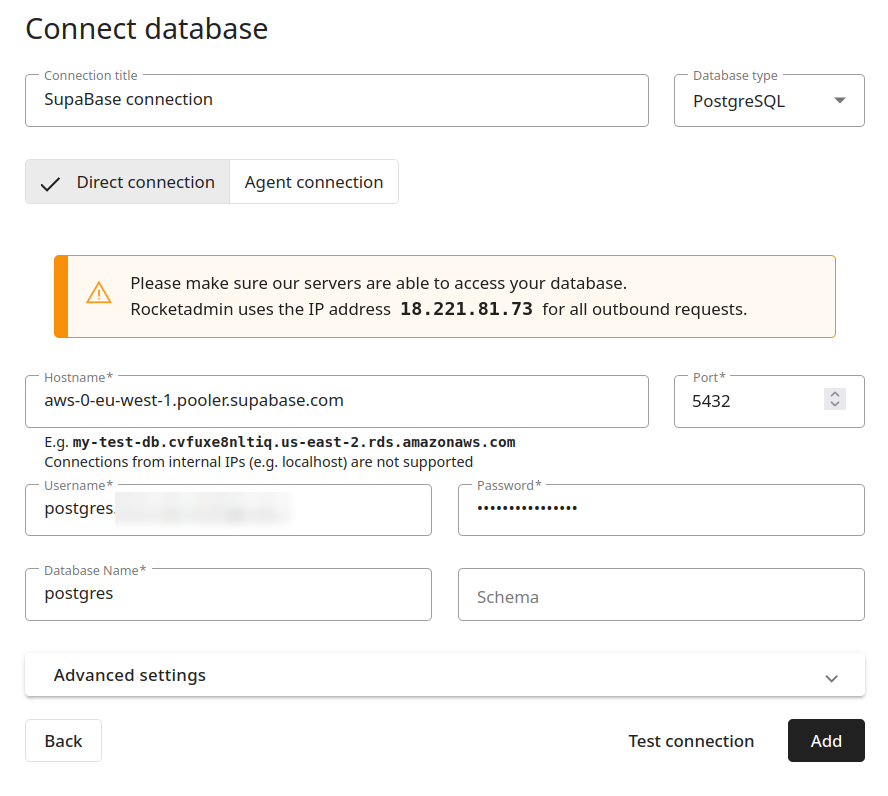
In the next screen, fill in the Supabase connection details:
-
Click Test connection.
-
Once the connection is successful, click Add.
-
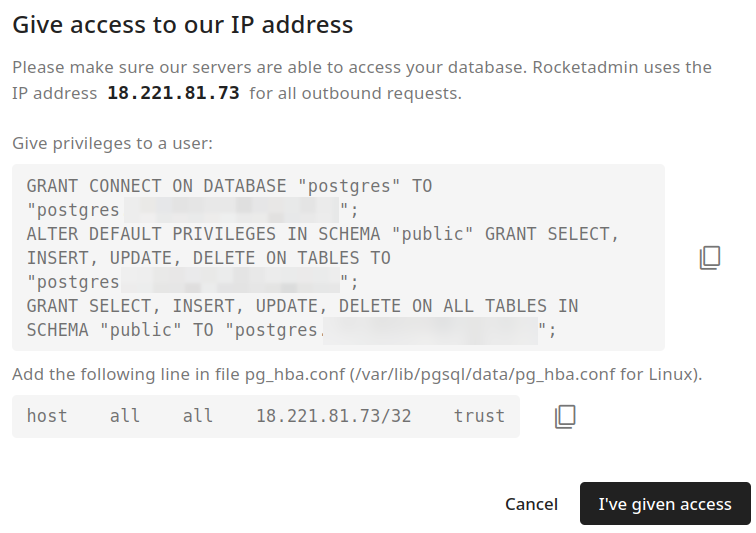
In the next dialog you are prompted to confirm that you have added the Rocketadmin IP address as trusted source.
Click I've given access:
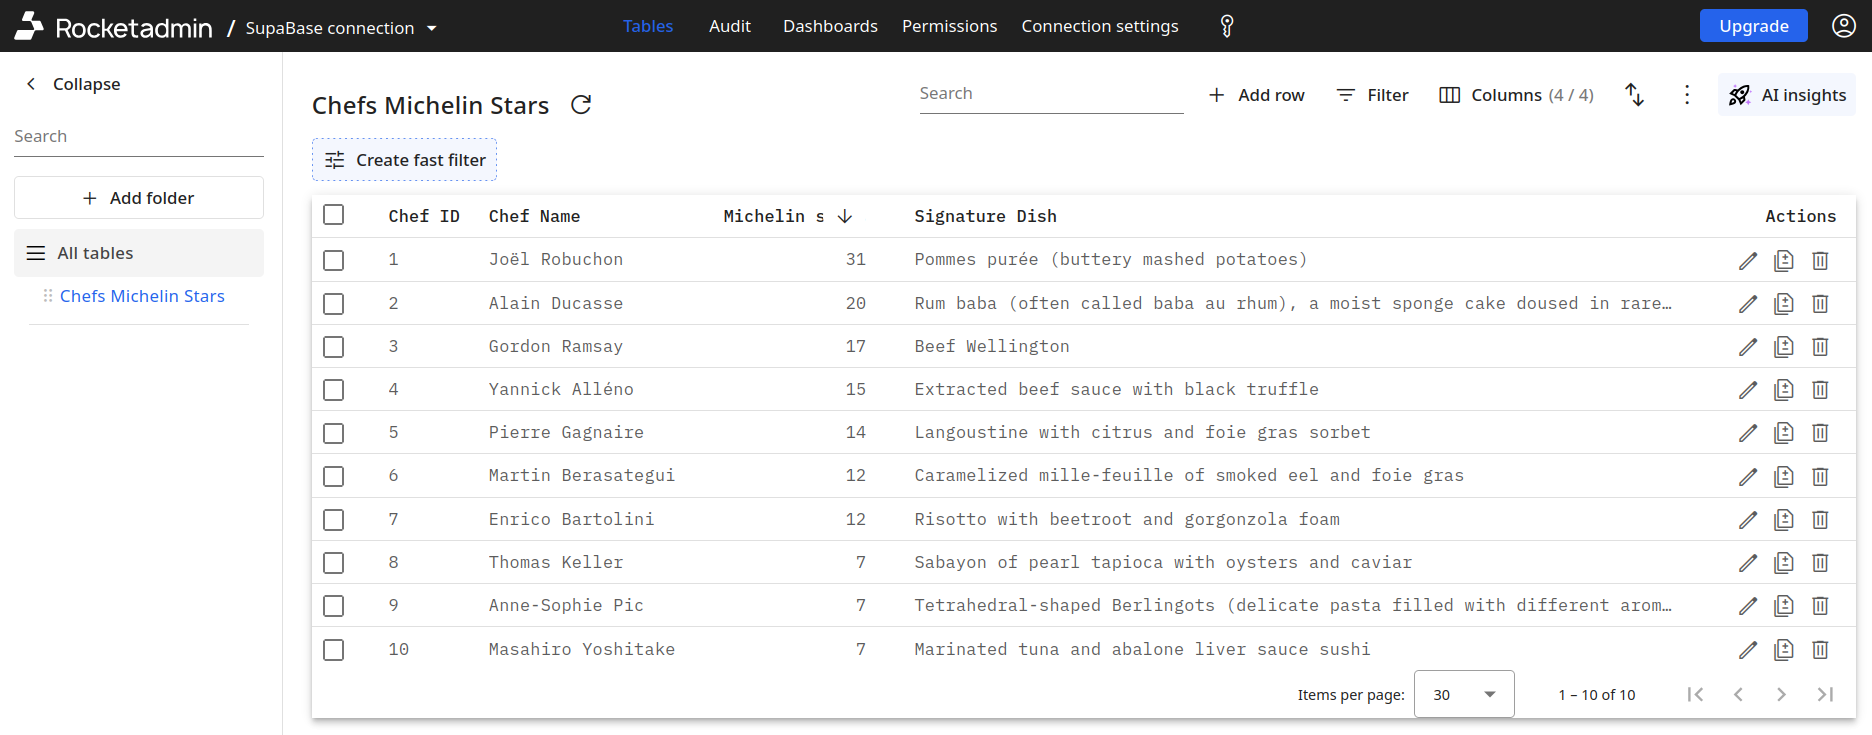
Your table appears in the Dashboard: