Calendly
In this user manual, we will examine a case study demonstrating a Zapier integration of Calendly with Rocketadmin. The scenario outlined below can help you keep track of your events and meetings. It contains two separate zaps. The first one makes sure that your Rocketadmin events table adds a new record whenever a Calendly event is created. And if the event is canceled, the second zap will automatically delete the record from the table.
Prerequisites
Create a Calendly event
-
Sign in to your Calendly account.
-
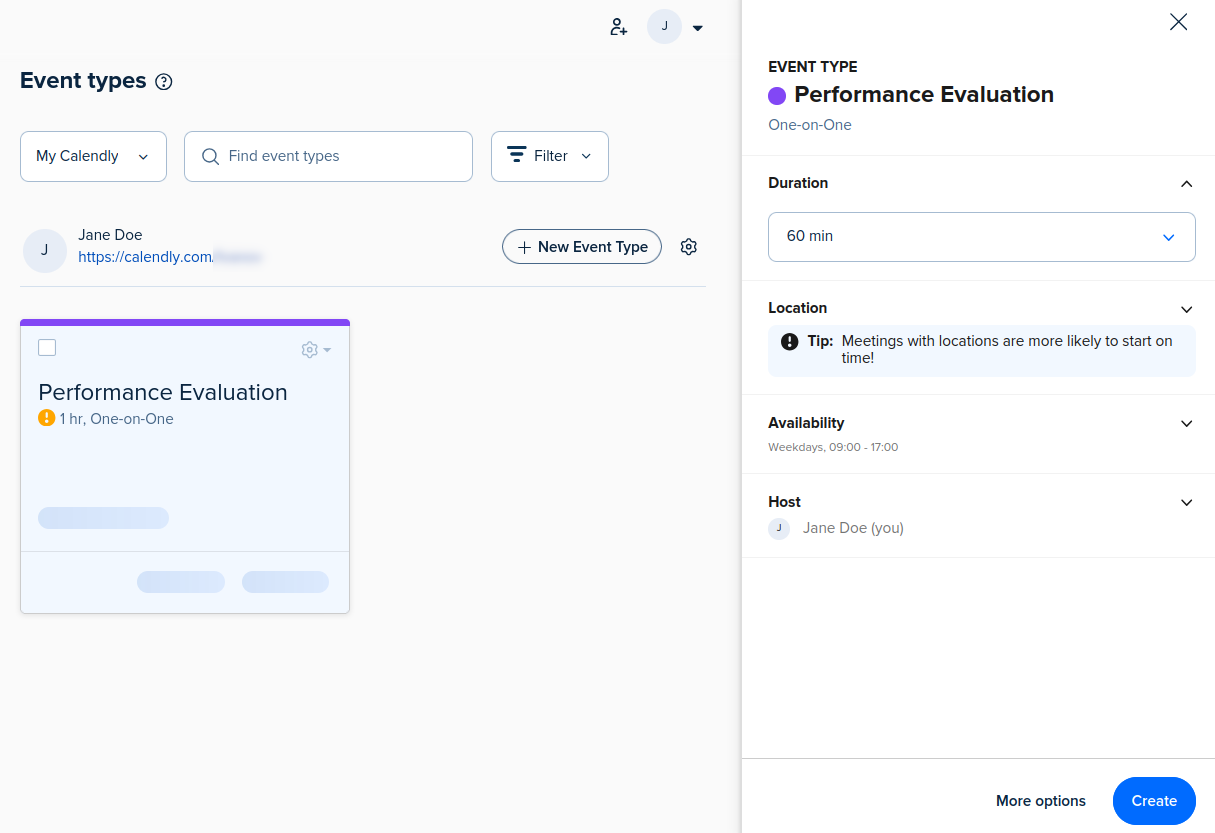
From the Dashboard create an event, for example, a One-on-One Performance Evaluation meeting:
Prepare a database
Using a database tool of your choice, create a database or configure an existing one with appropriate columns.
For example,
Ensure that the database server is operational.
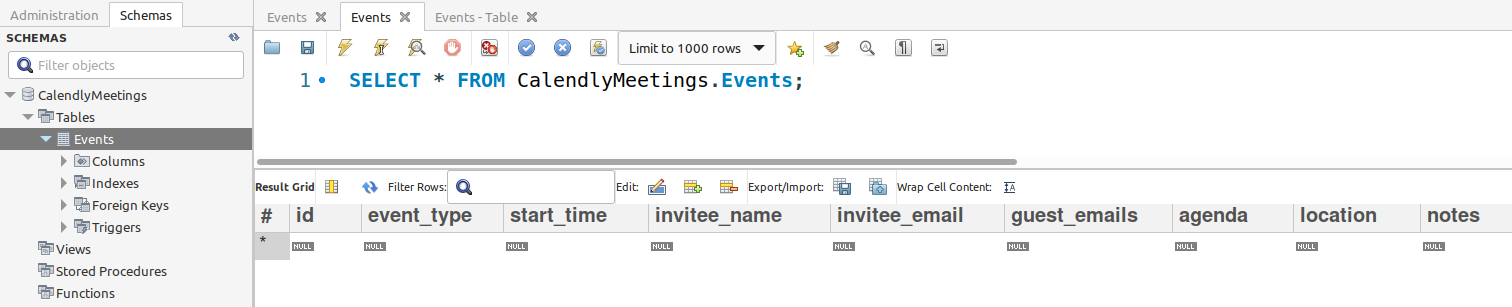
Create a Rocketadmin connection to display the table:

Generate an API key
In order to use the features of Rocketadmin via Zapier, it is necessary to create an API key from your account settings.
Create the zaps
Create a zap from Rocketadmin
-
Sign in to your Rocketadmin account.
-
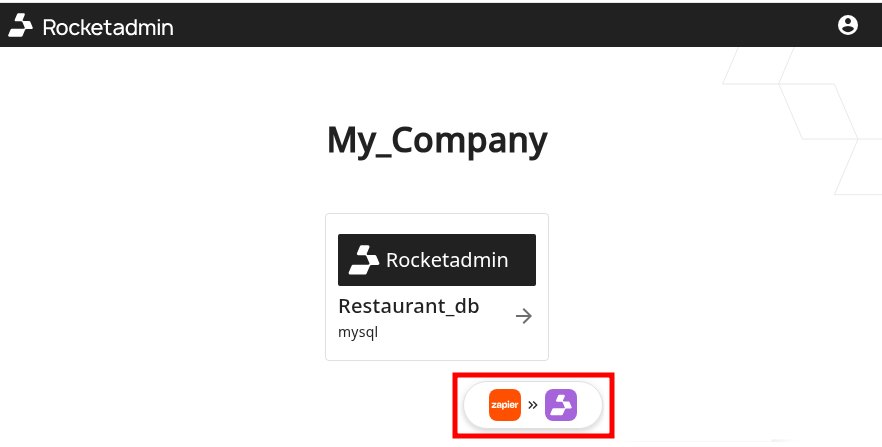
From the Dashboard click on the Zapier integration button:
-
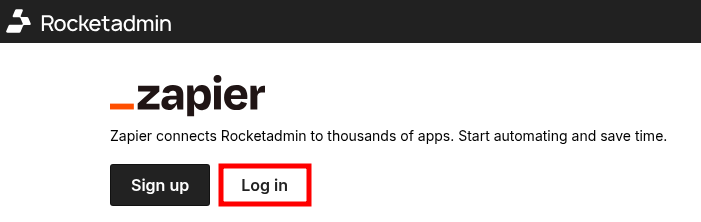
Sign in to your Zapier account:
-
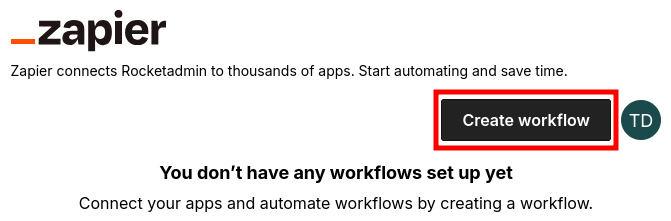
Click on Create workflow:
-
When the Zapier screen appears, click on Trigger:

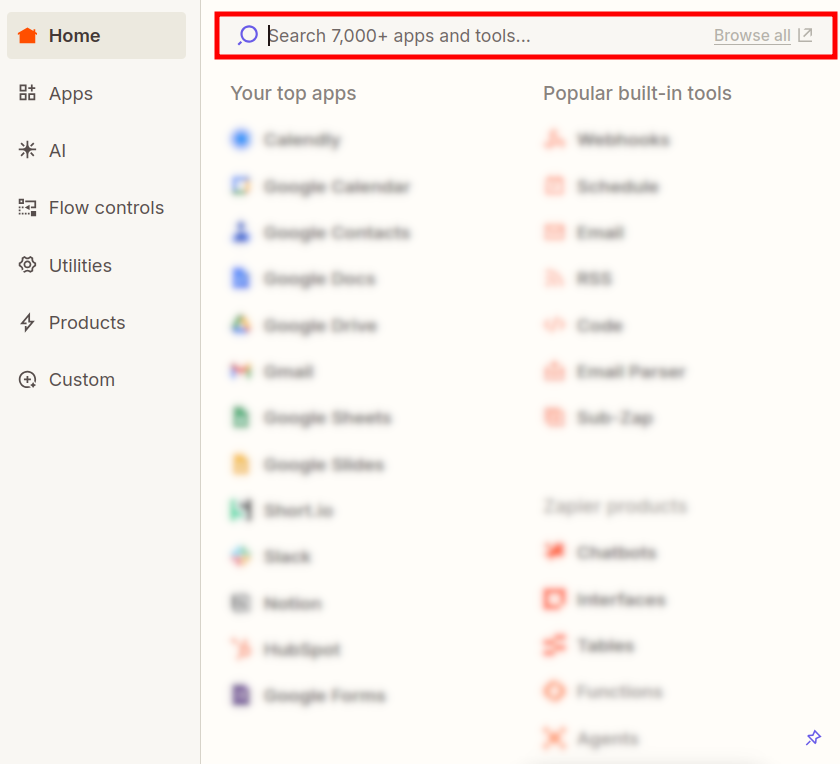
Proceed with the Search screen to look for a Trigger app:
Adding an event
-
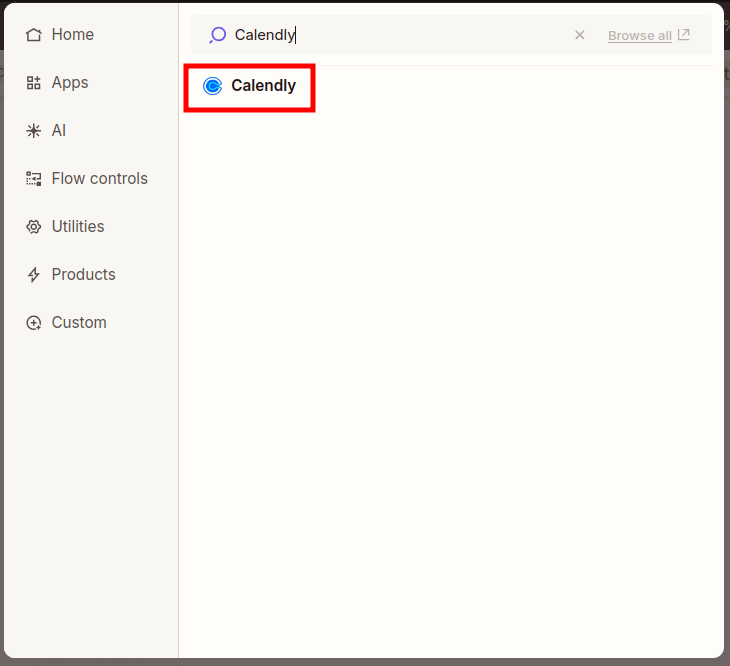
Once you have clicked on the Trigger box in the Zapier screen and the search dialog has appeared, enter Calendly and click on the result with the same name:
-
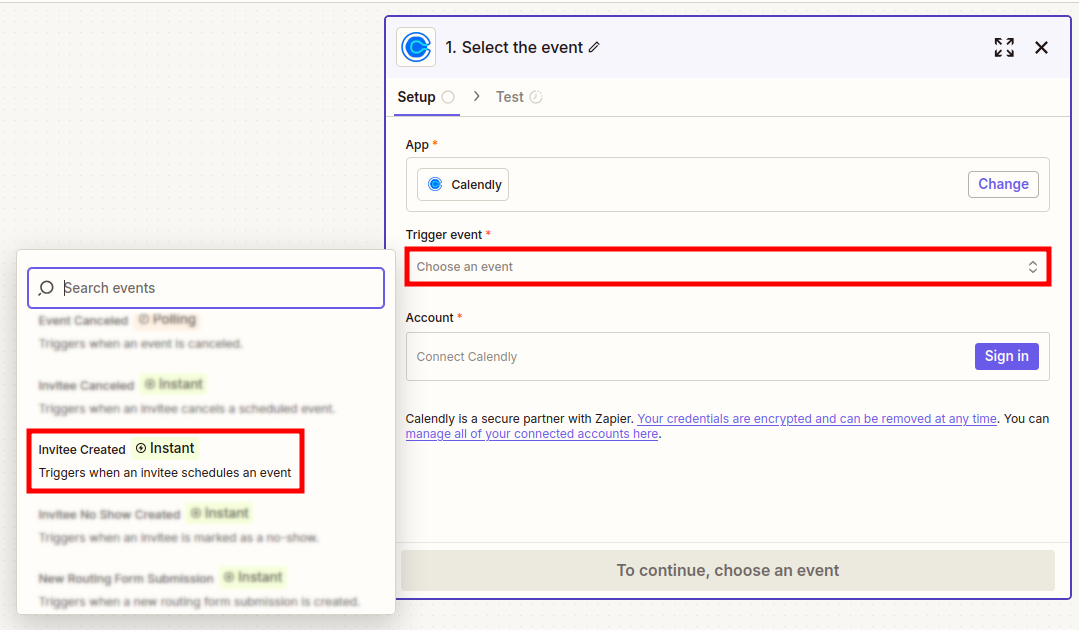
In the next screen choose a trigger event - Invitee created:
-
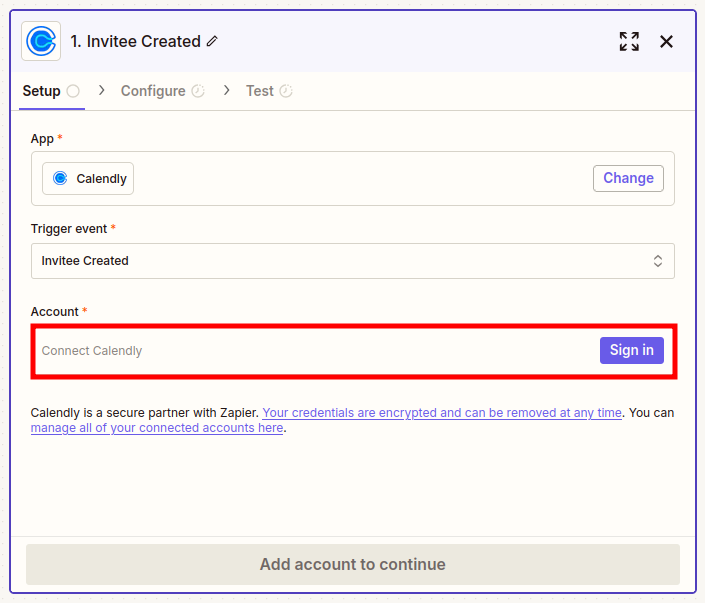
Sign in to your Calendly account:
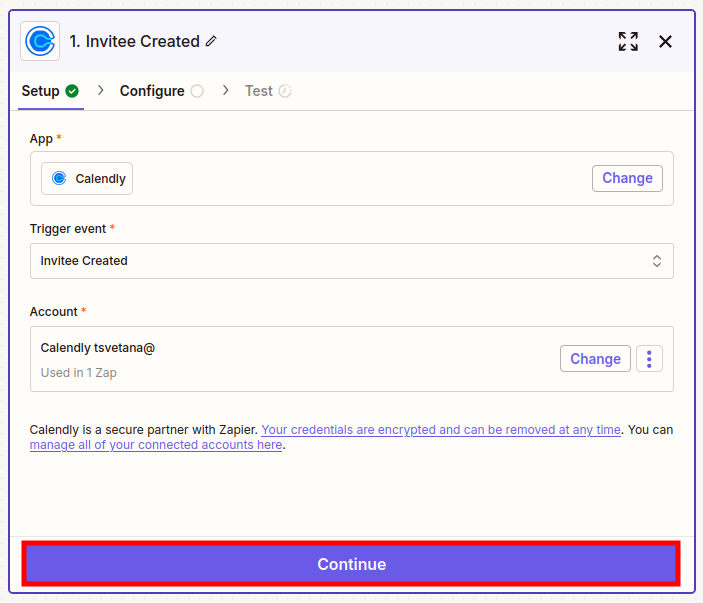
-
Click on Continue.
-
In the Configure tab select your event:
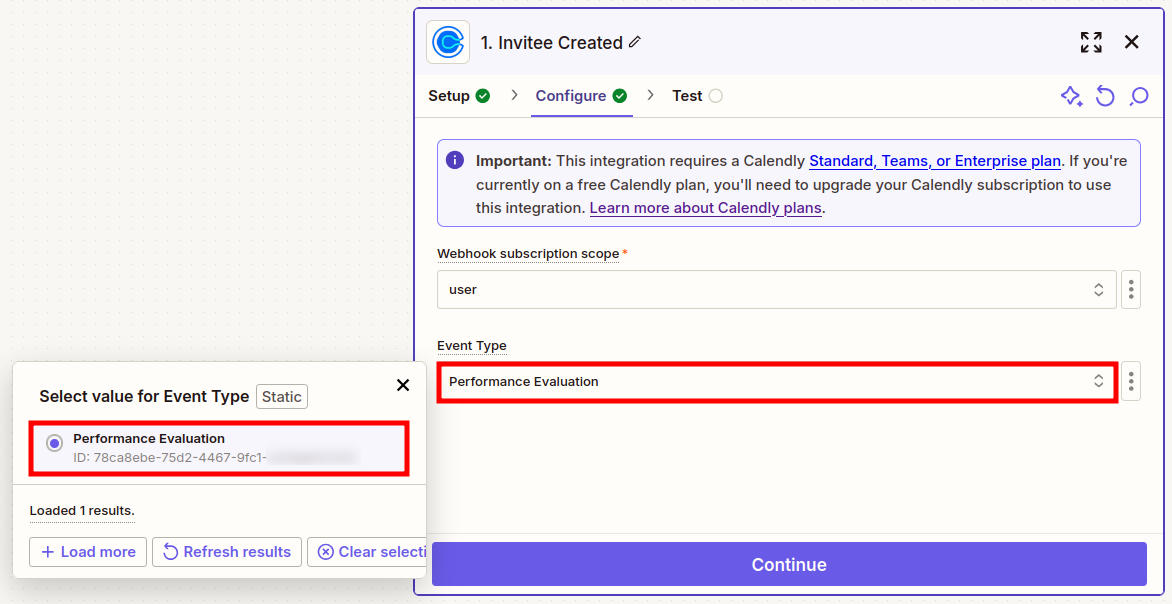

-
Click on Continue.
-
In the next tab click on Test trigger:
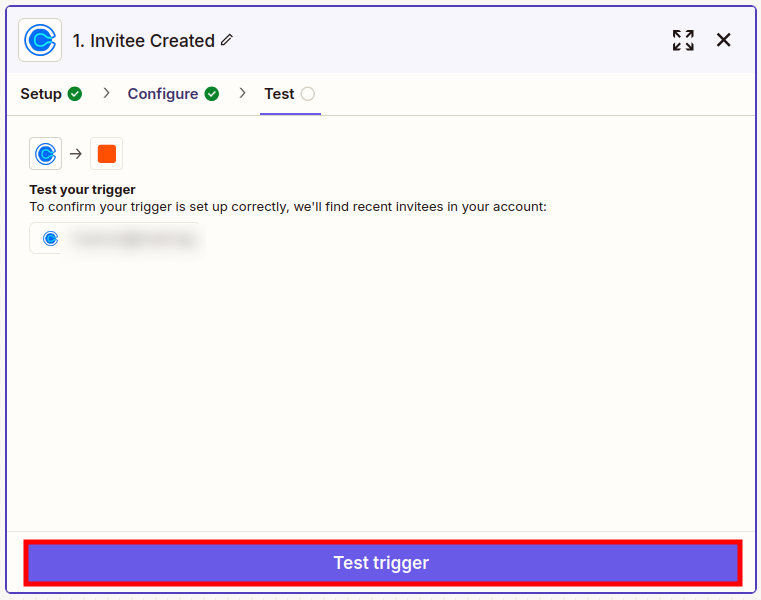
-
You can review the data pulled out from Calendly by clicking on the result:
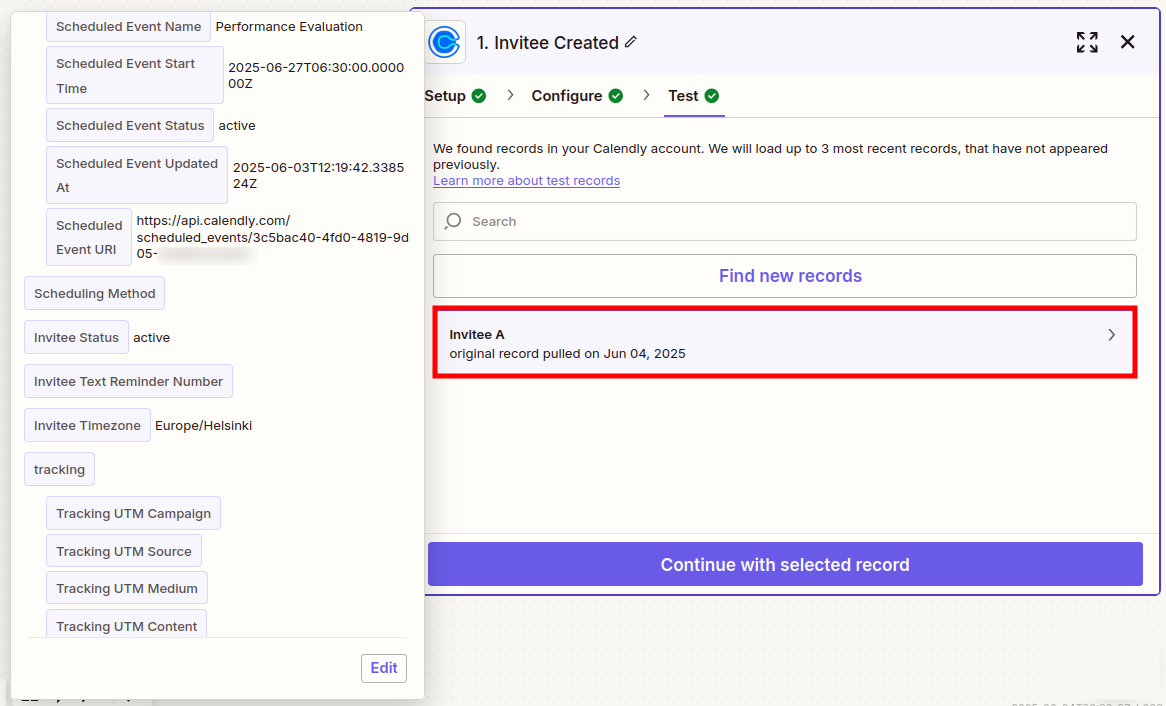
-
Click on Continue.
-
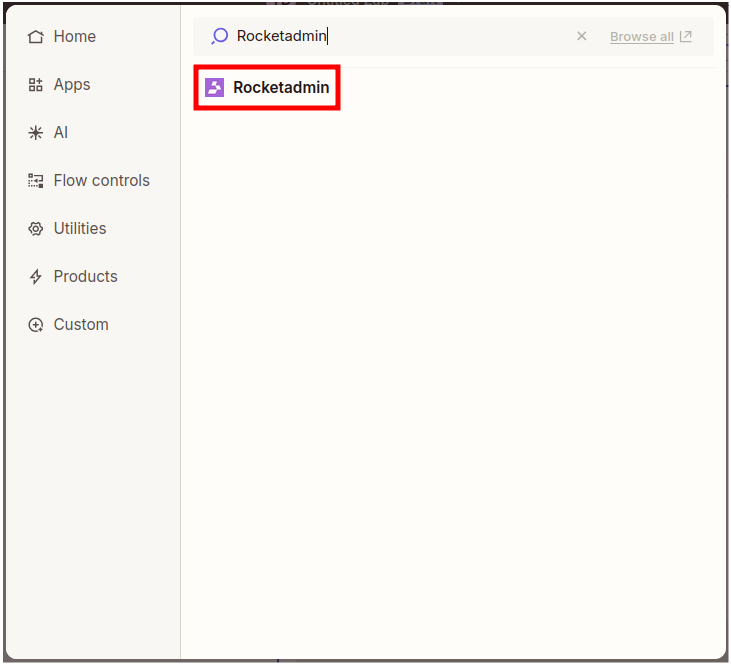
In the search dialog that appears enter Rocketadmin and click on the result with the same name:
-
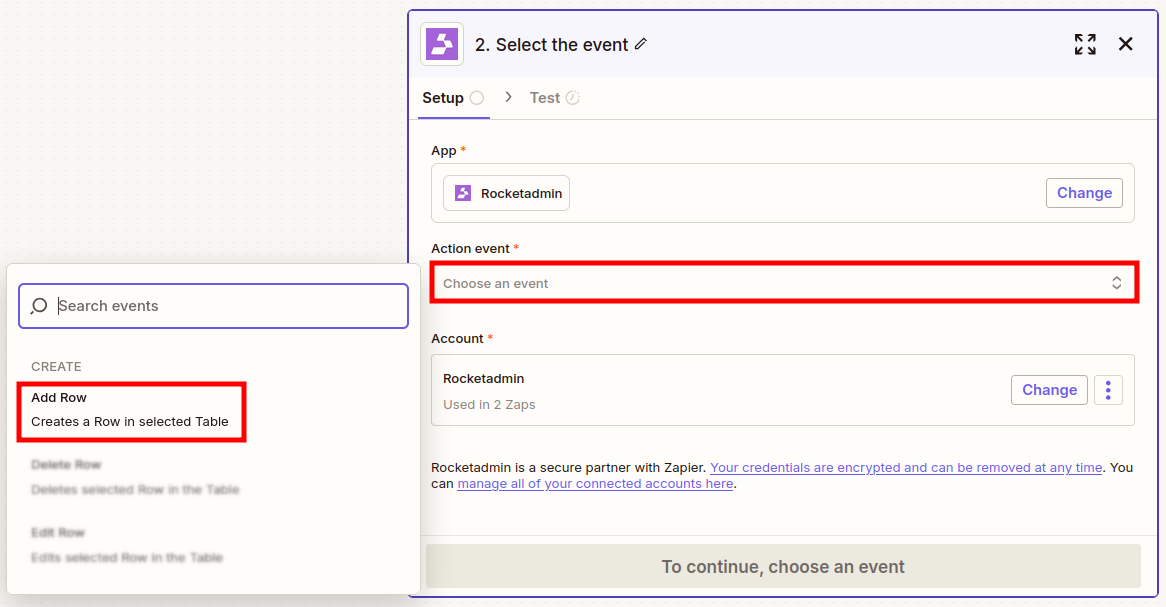
In the next screen choose the Rocketadmin event Add Row:
-
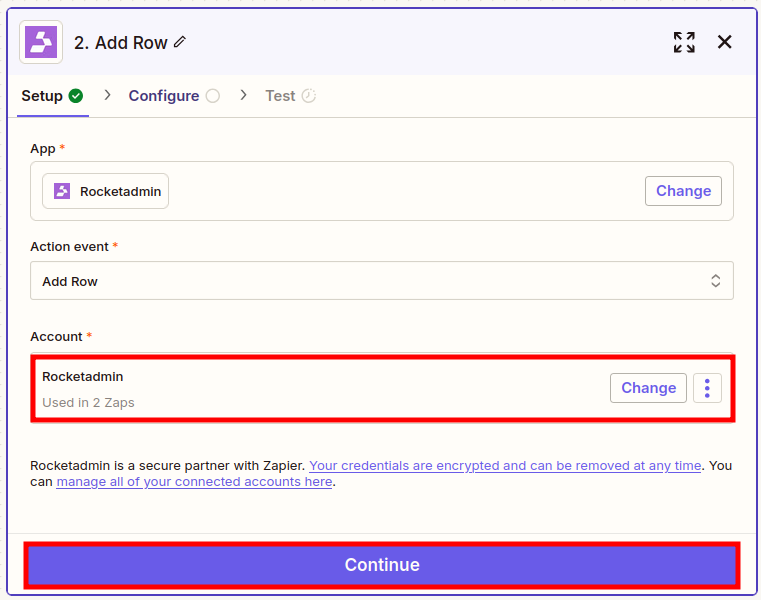
Sign in to your Rocketadmin account (in case you are not automatically logged in) and click on Continue:
-
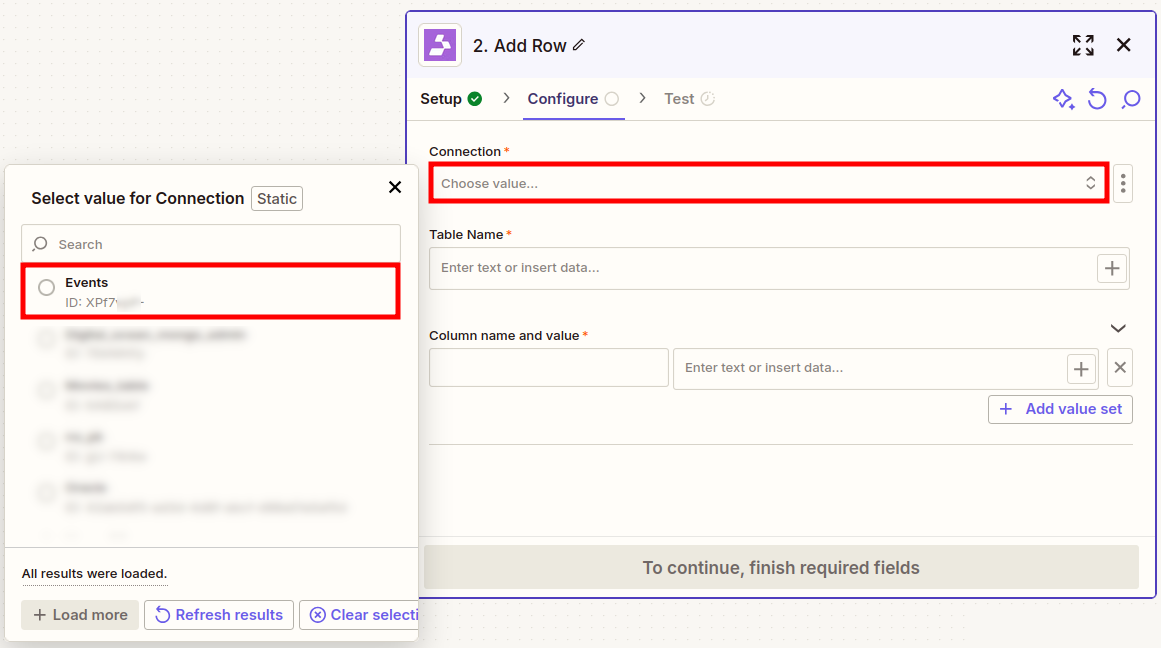
In the next screen select the Rocketadmin connection to your events table:
-
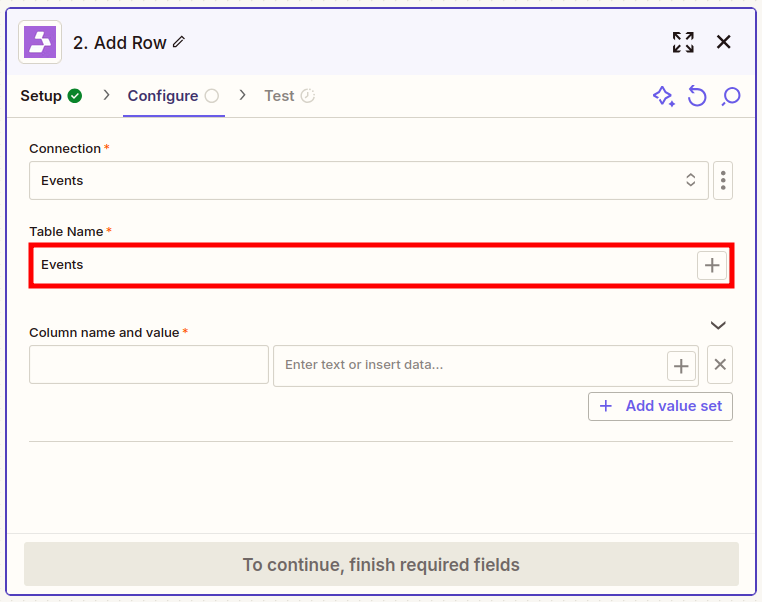
Provide the name of the events table:
-
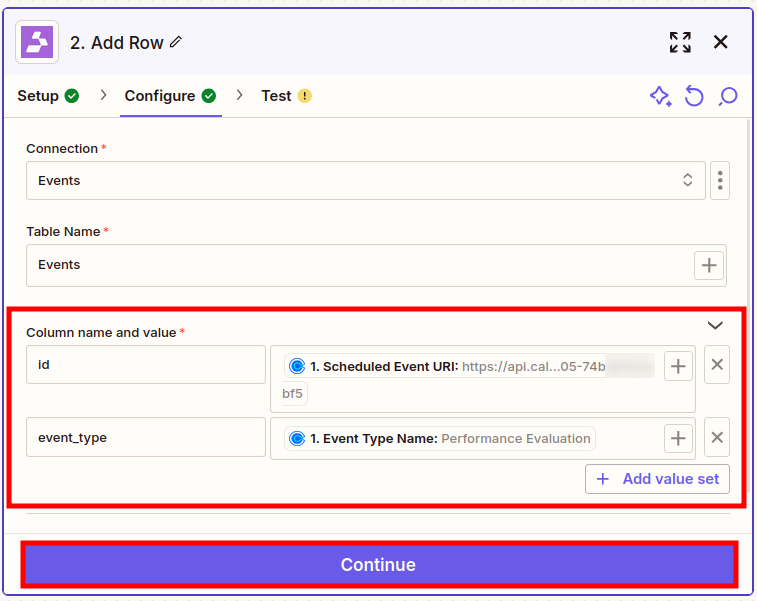
Map the table's column names to the according Calendly event's fields in order to establish a functional correspondence:
-
Click on Continue.
-
In the next tab click on Test step:

-
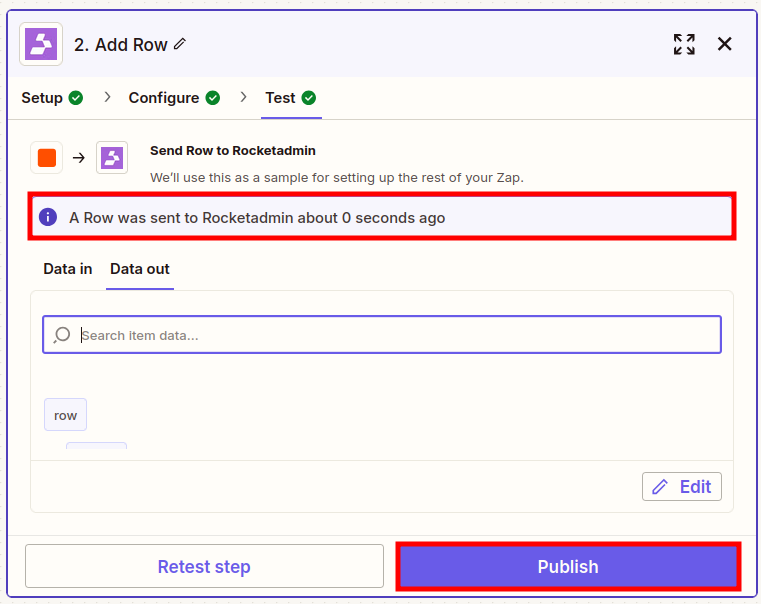
Upon successful execution, you can publish the zap and review the first event record in the table:

Canceling an event
-
Once you have clicked on the Trigger box in the Zapier screen and the search dialog has appeared, enter Calendly and click on the result with the same name:
-
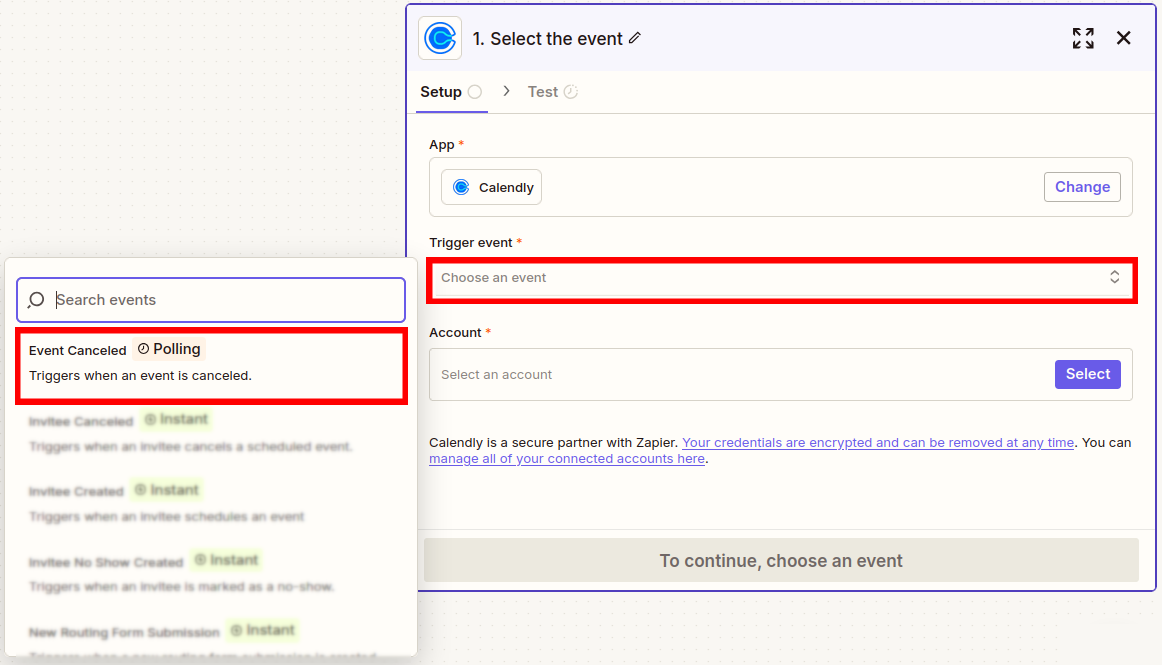
In the next screen choose a trigger event - Event Canceled:
-
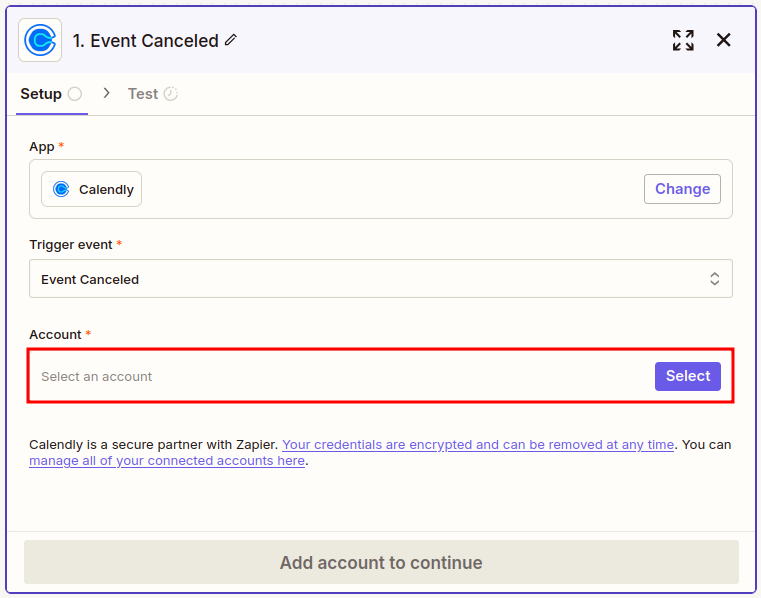
Sign in to your Calendly account:
-
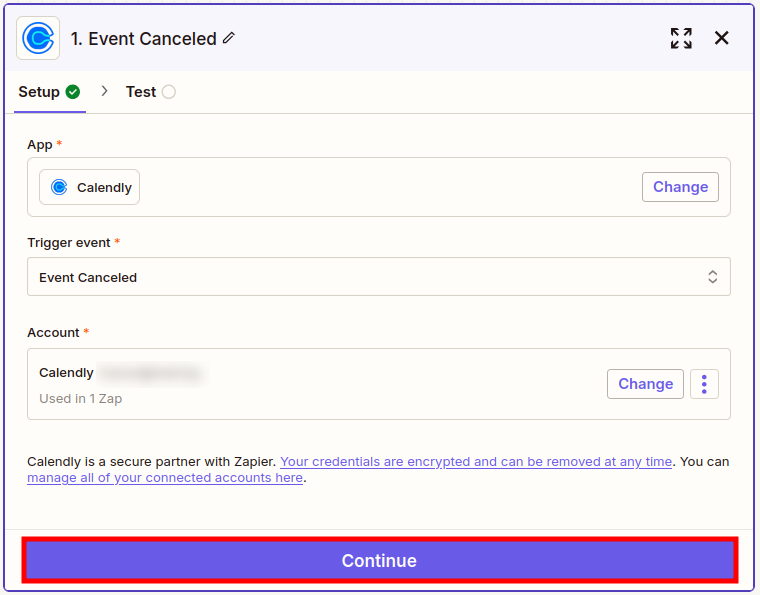
Click on Continue.
-
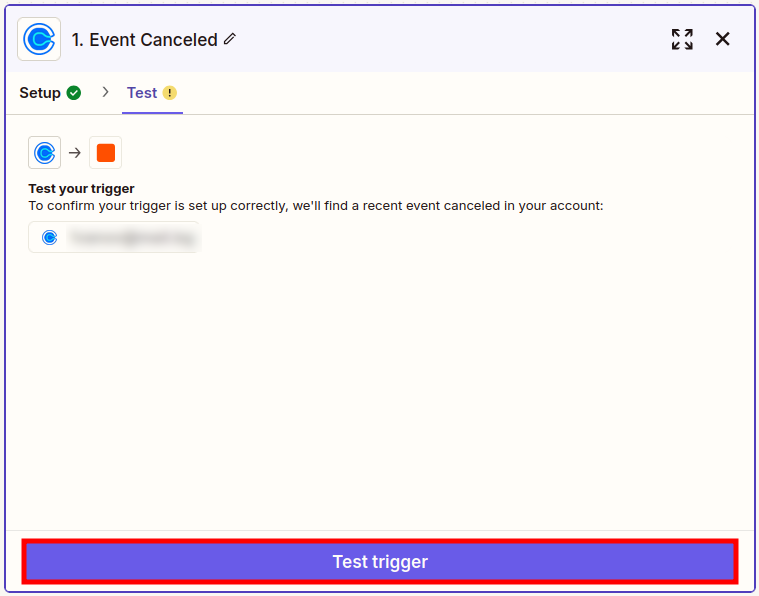
In the next tab click on Test trigger:
-
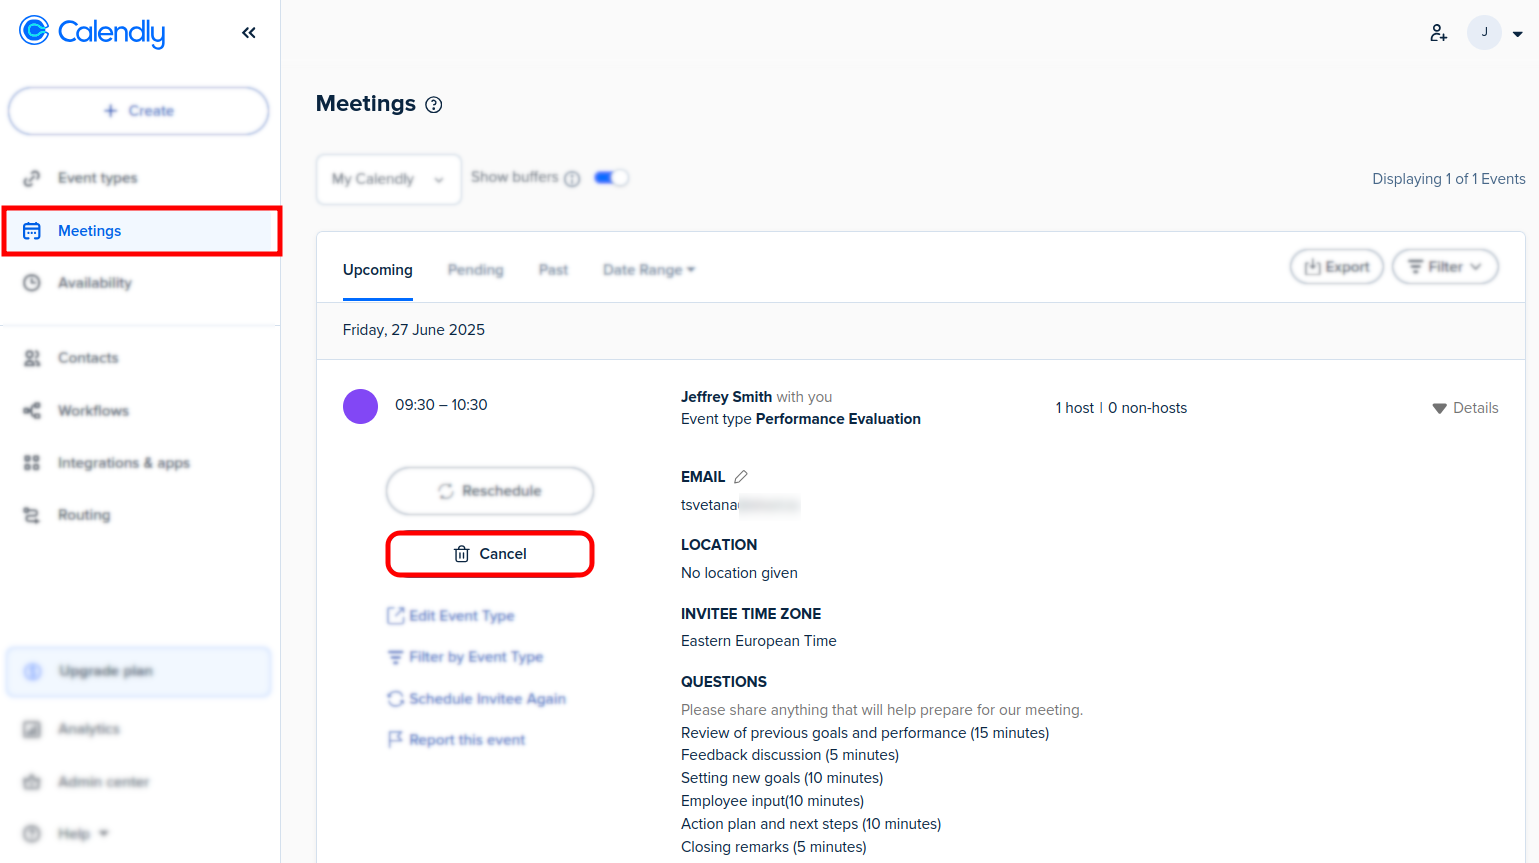
Open the Calendly Dashboard and navigate to the event which you want to cancel:
-
Click on Cancel and then on Yes, cancel:

-
Return to the Zapier screen to review the trigger result:
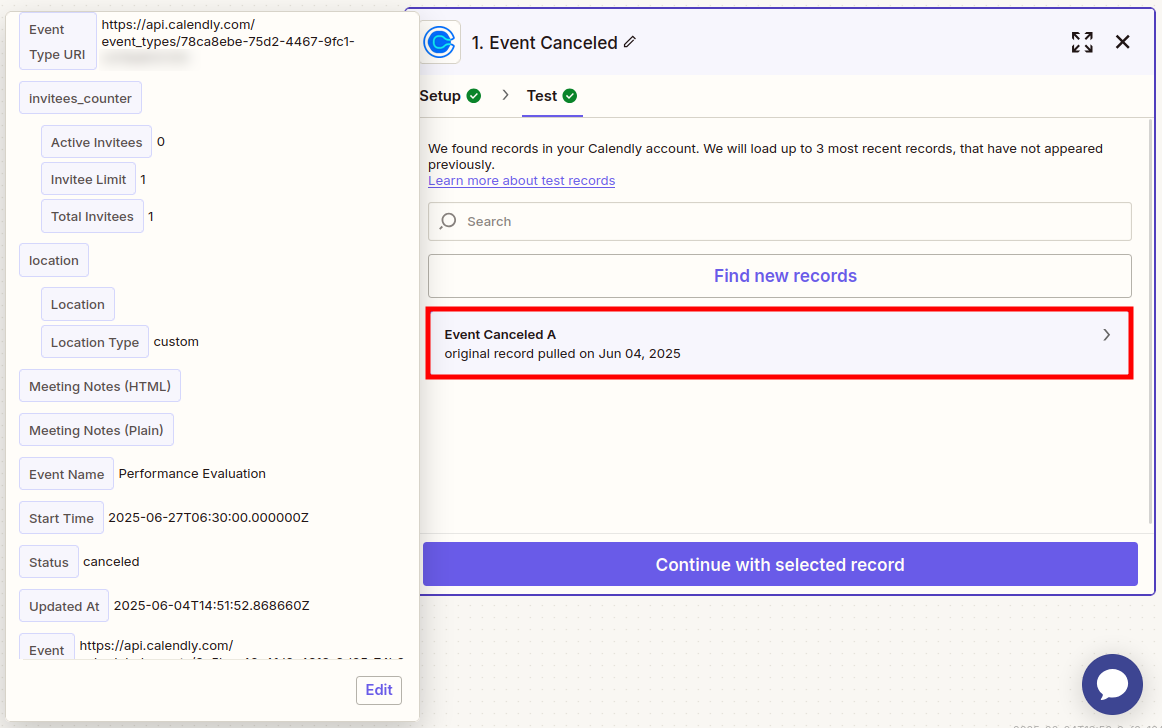
-
Click on Continue with selected record.
-
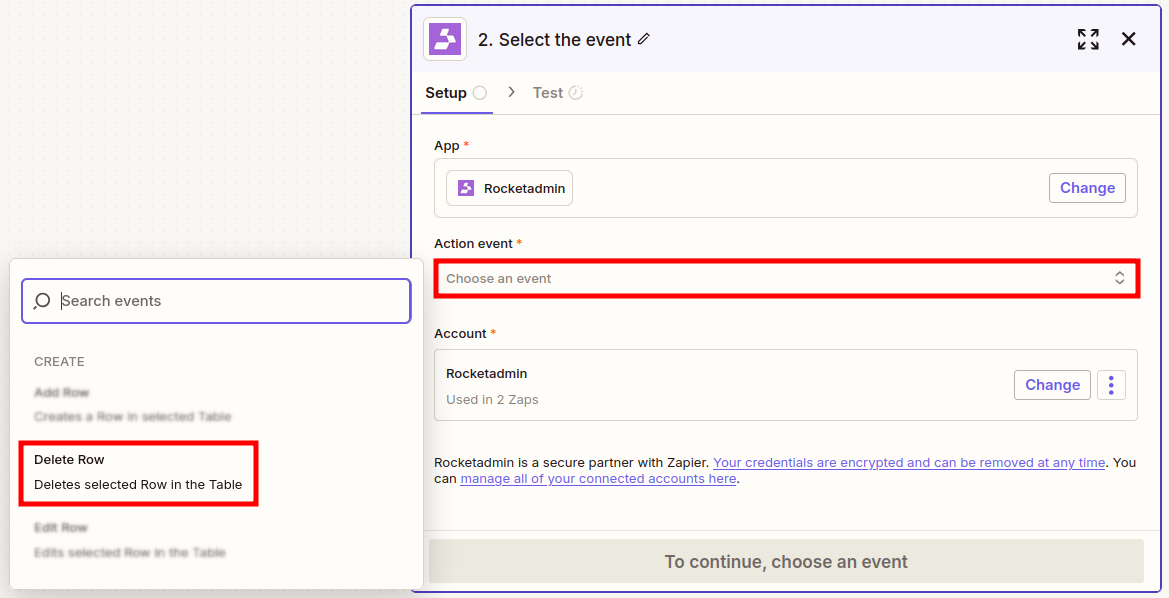
In the search dialog that appears enter Rocketadmin and click on the option with the same name:
-
In the next screen choose the Rocketadmin event Delete Row:
-
Sign in to your Rocketadmin account (in case you are not automatically logged in) and click on Continue:
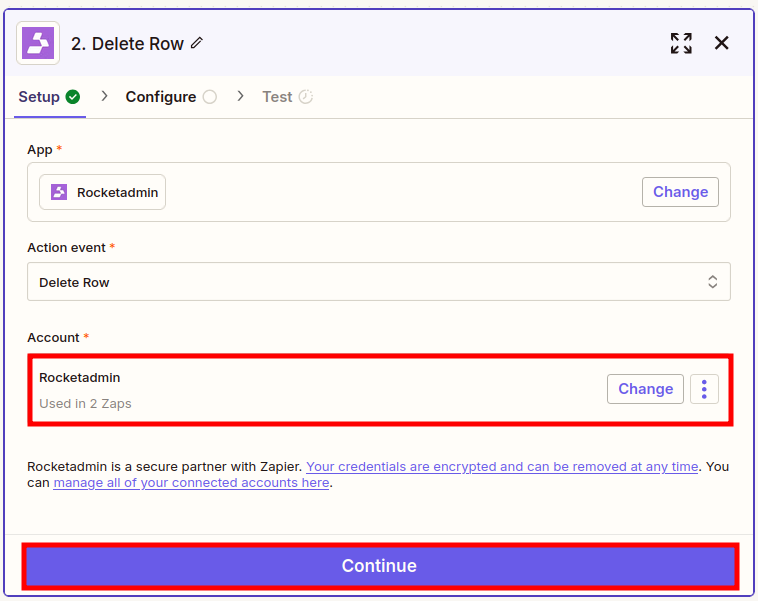
-
In the next screen select the Rocketadmin connection to your events table:
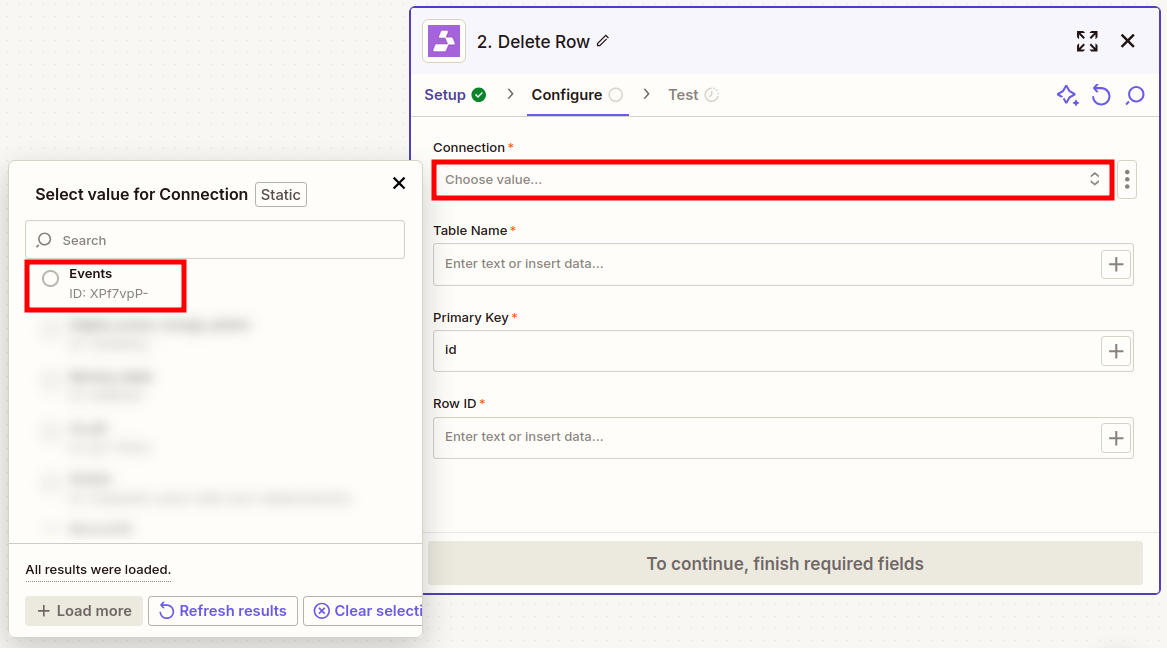
-
Provide the name of the events table:
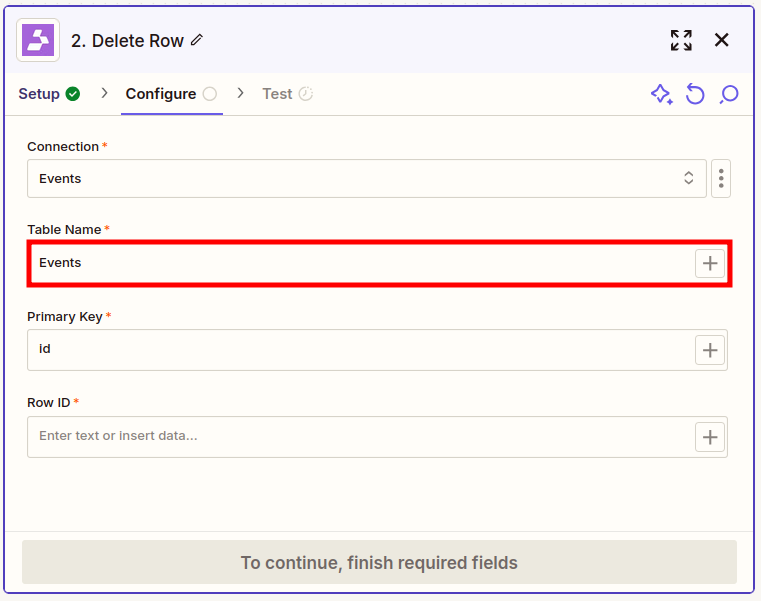
-
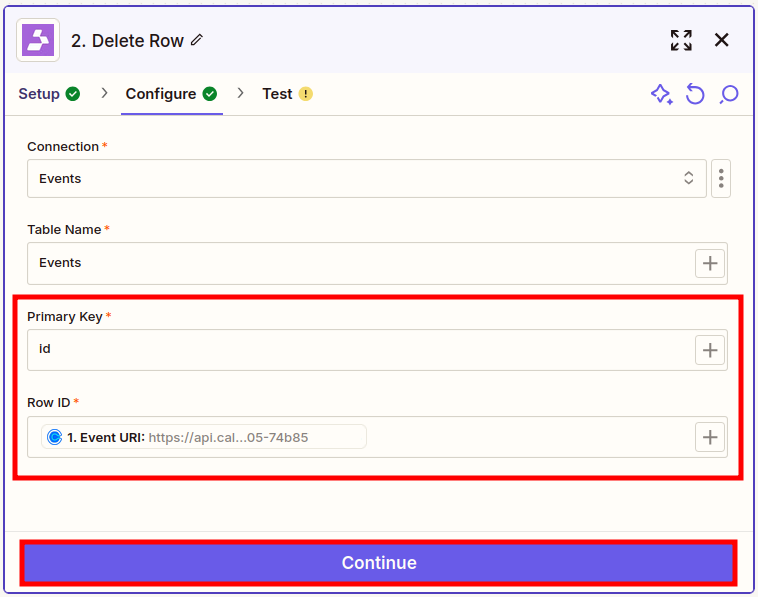
In order to identify which event to remove from the table, enter the table's primary key column name and select the exact value:
-
Click on Continue.
-
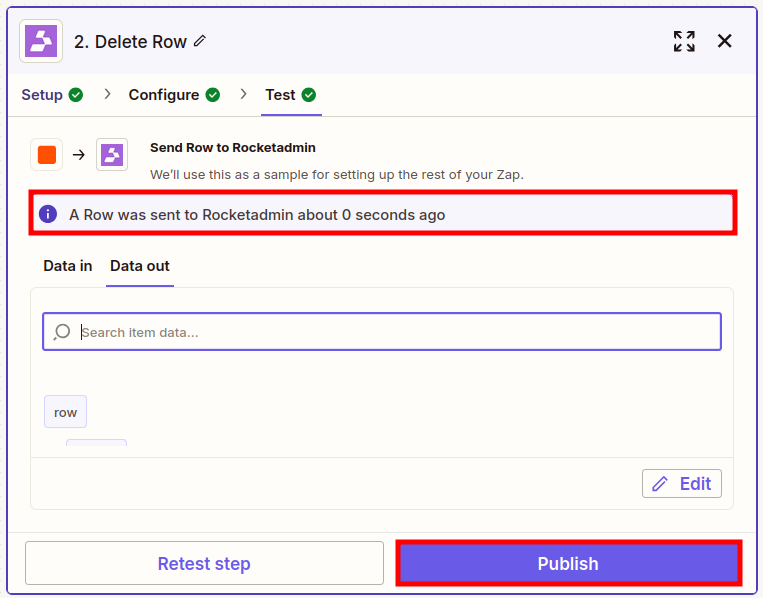
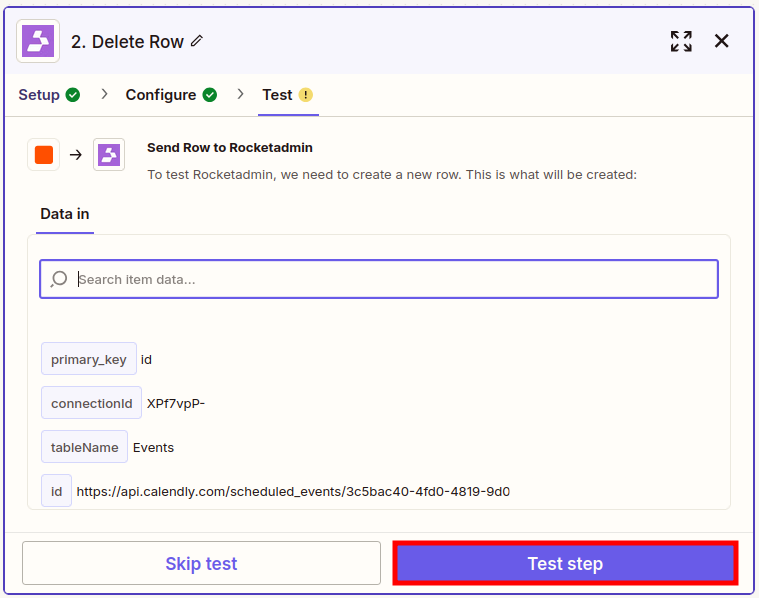
In the next tab click on Test step:
-
Upon successful execution, the event record is removed from the table. You can publish the zap: