What are Groups
The Rocketadmin Groups are sets of users that share similar job functions or roles in your Company. Organizing users into groups simplifies their management. It is significantly easier to provide access and permissions to a group instead of assigning them to each member separately.
Managing Groups
The Admin group
When you add a Rocketadmin connection, an Admin user group with full permissions enabled is automatically created and assigned to the connection. Your account as creator is added to this group.
You are not allowed to delete the Admin group, rename it or change its permissions. You can only add / remove members.
If you need to provide users with limited rights, you can create a new group and define specific privileges.
To review the Admin group
-
Sign in to your Rocketadmin account.
-
In the Dashboard click on a connection to open it.
-
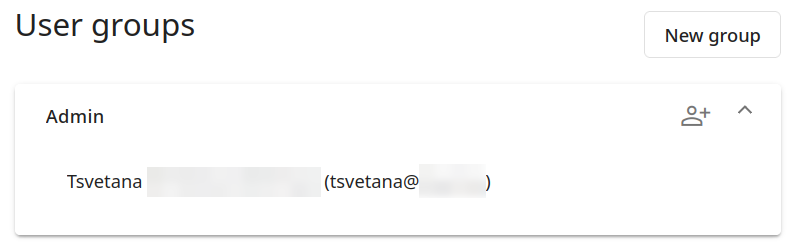
Navigate to the Permissions tab:

The Admin group is displayed:
To add / delete Admin group members
Adding and removing members in the Admin group follows the same process as for custom groups.
Here are the steps to:
Custom groups
You can define your own user groups with custom permissions, based on specific behaviors or characteristics.
To create a group
-
Open a connection for review and navigate to the Permissions tab:
-
Click the New group button.
-
Enter a name for your group and click the Create button:
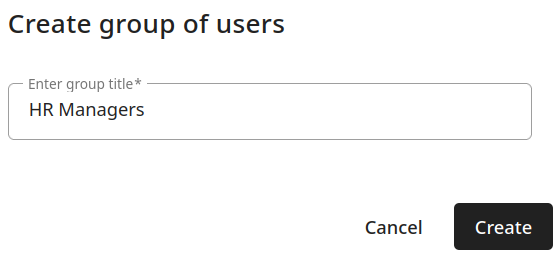
Each user group must have a unique name.
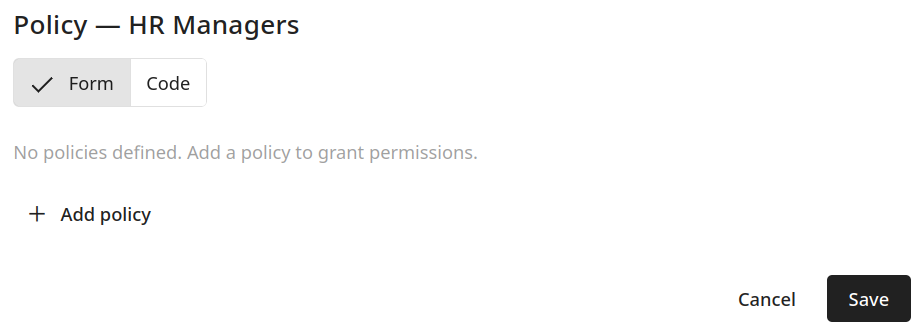
The Policy (Permissions) options of the new group are displayed for additional configuration:
To add users to a group
-
Open a connection for review and navigate to the Permissions tab:
-
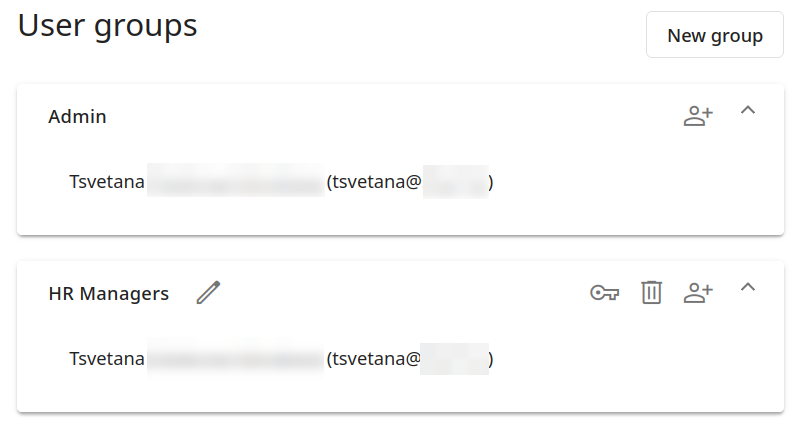
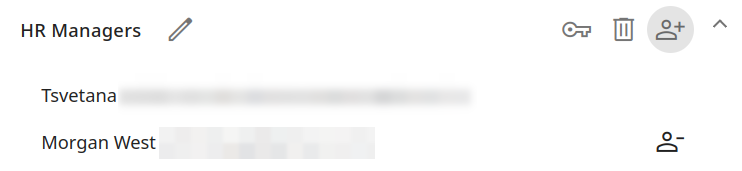
Click the icon next to the name of the group to which you want to add a user:
-
If there are no available Company members to select from, click the Open Company page button to add new users to your company before assigning them to the group:

Otherwise, you can select an existing user from your Company:

-
After making your choice, click the Add button.
Once added, the user will receive all permissions assigned to the group:
To delete users from a group
-
Open a connection for review and navigate to the Permissions tab:
-
Click the icon next to the name of the user which you want to delete:

-
When prompted, confirm the removal by clicking the Delete button:
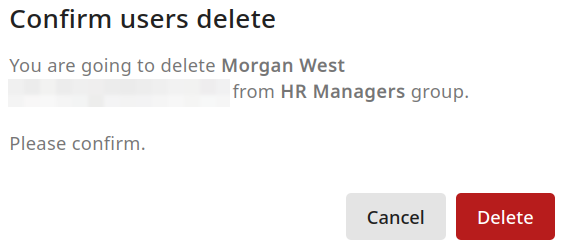
The user is removed from the group.
In case you are the only member of the group with user administrative rights, you cannot remove your own account from this group's settings.
To rename a group
-
Open a connection for review and navigate to the Permissions tab:
-
Click the icon next to the name of the group which you want to change:
-
Enter the new name and click on Change:
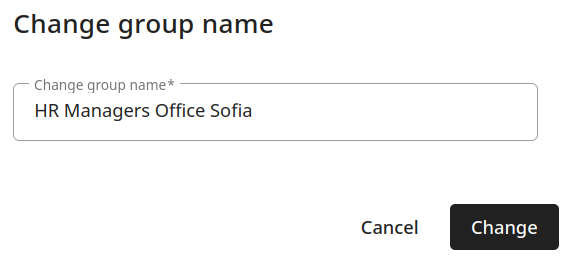
The new name is applied to the group.
To delete a group
-
Open a connection for review and navigate to the Permissions tab:
-
Click on next to the name of the group which you want to delete:
-
When prompted, confirm the deletion:
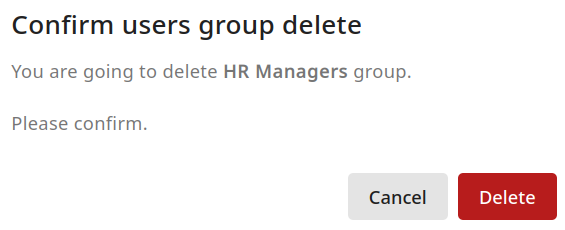
The group is deleted, and the users assigned to it will lose access to the group's permissions.