What are Permissions
Rocketadmin Permissions define the activities that Company members organized into different groups are allowed to perform with regard to database connections, tables, dashboards and groups.
You can configure custom Permissions based on specific user behaviors (characteristics) or grant all privileges to users by adding them to the Admin group of your connection.
The Admin policies
When you add a connection, the system automatically creates an Admin user group with full permissions enabled by default.
The full permissions include the ability to:
-
Modify all connection settings
-
Modify all group settings
-
Review and modify tables - add (including duplicate), edit, and delete rows in all tables related to the connection. Review the Audit logs
-
Review, modify and delete all dashboards based on data from the connection
You are not allowed to edit the Admin group permissions. If you need to provide users with different rights, you can create a new group and define specific privileges.
Methods for setting up custom permissions
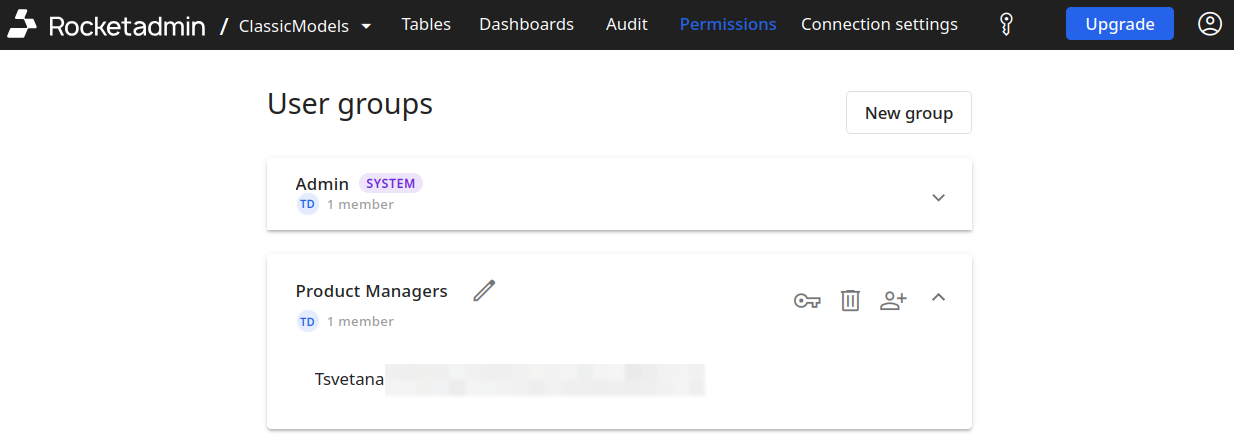
From dashboard, navigate to Permissions and click the icon next to a group name:
There are two methods to set up your rules:
-
Form – select policies and actions individually for each category (General, Connection, Group, Table, Dashboard), for example,
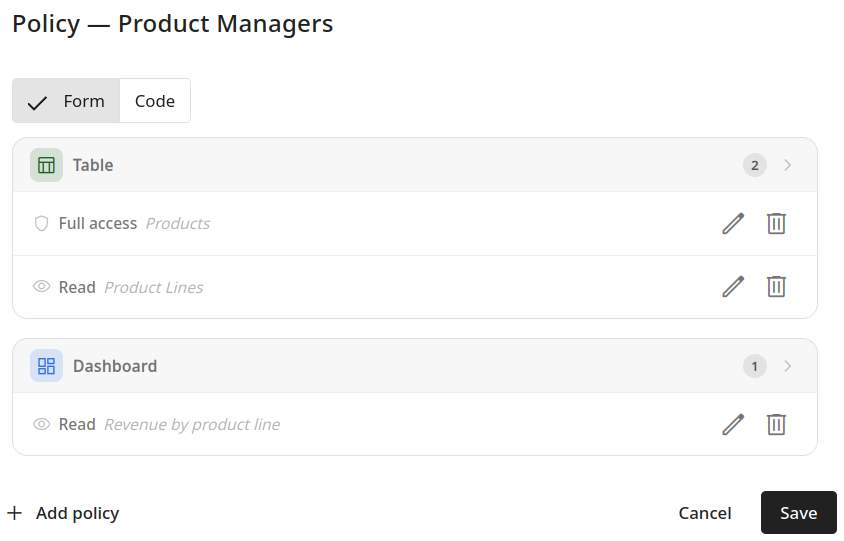
-
Code – define policies and actions using the Cedar policy language, for example:
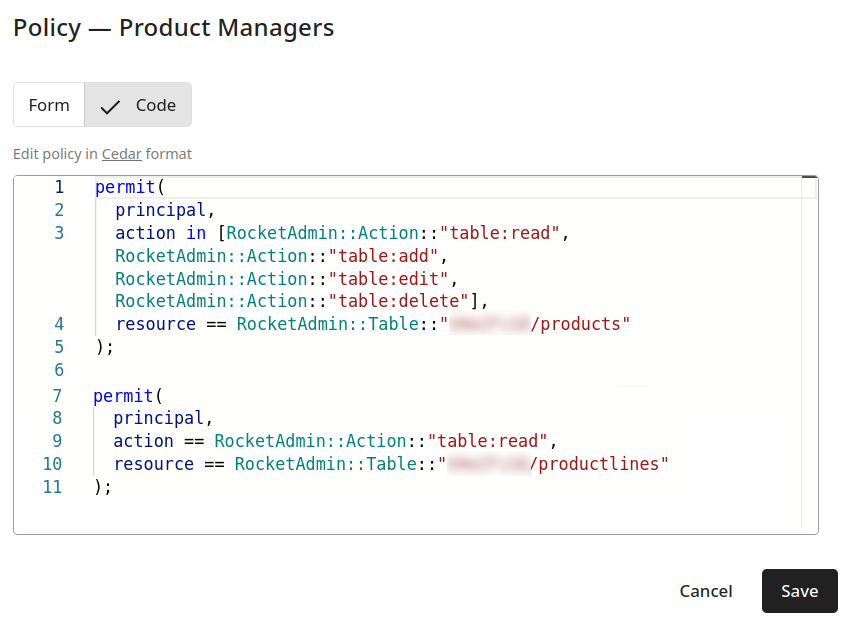
You can use a combination of both methods to configure your permissions, i.e. to add a policy in the Form tab and then edit it in the Code tab.
Configuring categories (Form method)
To add a policy
-
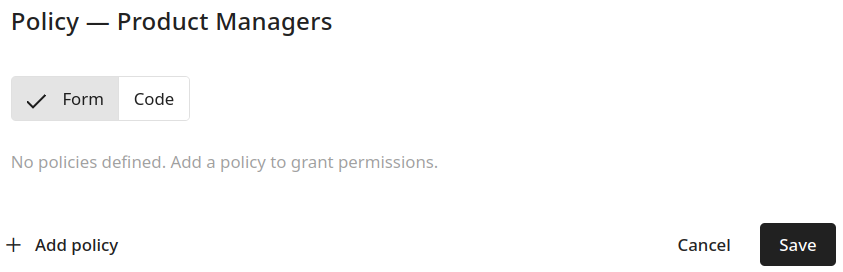
In the Form tab, click the + Add policy button:
-
Select a category from the drop-down list:
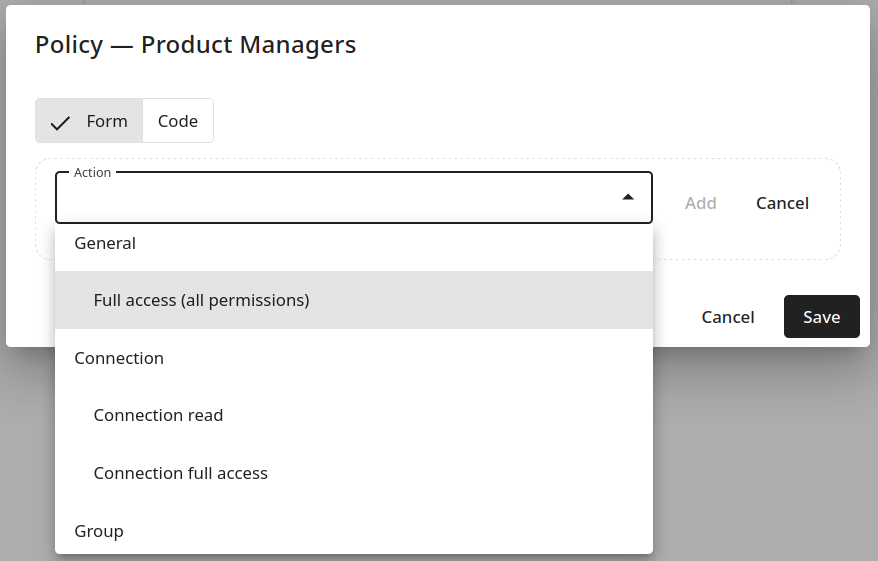
In case of Tables and Dashboards, you need to choose a specific table or dashboard from the additional list, for example:
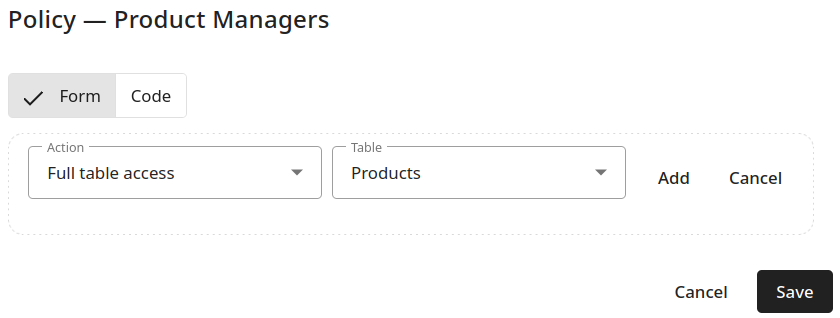
-
Click the Add button.
-
After completing all configurations, click the Save button.
The permissions will be applied to all users in the group.
To edit a policy
-
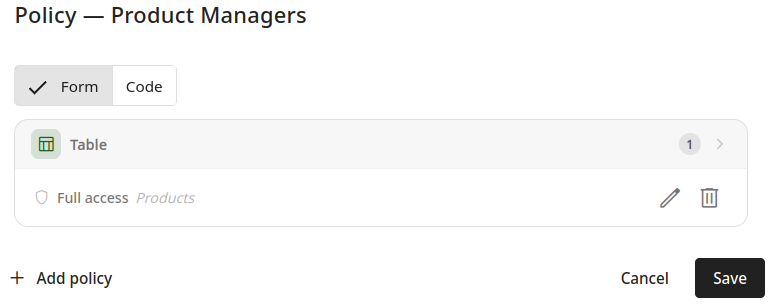
In the Form tab, click the icon next to the name of the policy you want to edit:
-
Make your changes and click the Save button next to the new selections:
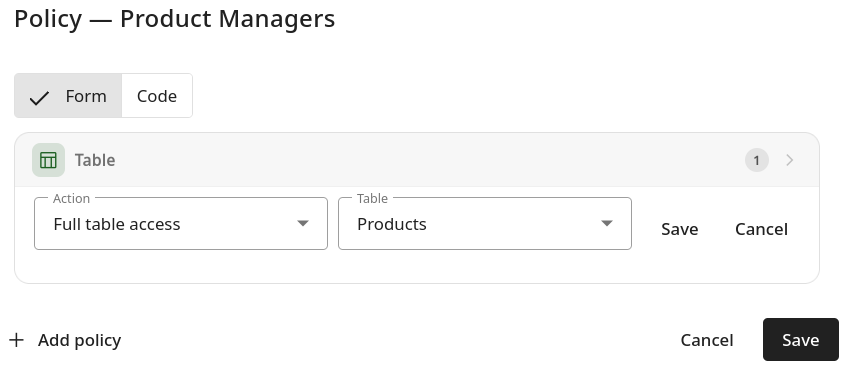
-
Click the Save button of the policy to confirm.
The new permission will be applied to all users in the group.
To delete a policy
-
In the Form tab, click the icon next to the name of the policy you want to remove:
-
Click the Save button of the policy to confirm.
The permission will be removed.
Configuring permissions using Cedar format (Code method)
To add a policy
When using the Cedar's resource element for Tables and Dashboards, you need to specify their name (or unique ID) along with the connection identifier, for example:
permit(
  principal,
  action == RocketAdmin::Action::"table:read",
  resource == RocketAdmin::Table::"1234/products"
);

permit(
  principal,
  action == RocketAdmin::Action::"dashboard:read",
  resource == RocketAdmin::Dashboard::"1234/123456789"
);
where 1234 is the connection ID and 123456789 is the Dashboard ID.
You can find all the needed identifiers from the respective Rocketadmin URLs, for example, when a Dashboard is opened, its URL will look similar to the following:
https://app.rocketadmin.com/dashboards/1234/123456789
After completing all configurations, confirm by clicking the Save button.
The new permission will be applied to all users in the group.
Overpowering permissions
A single user can be part of various groups, each with its own set of permissions, all within the same connection. Rocketadmin automatically applies the highest permission level when a member is in multiple groups with access to the same table.
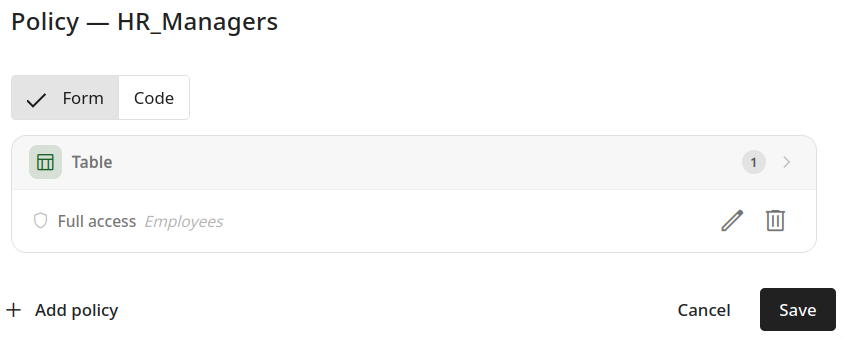
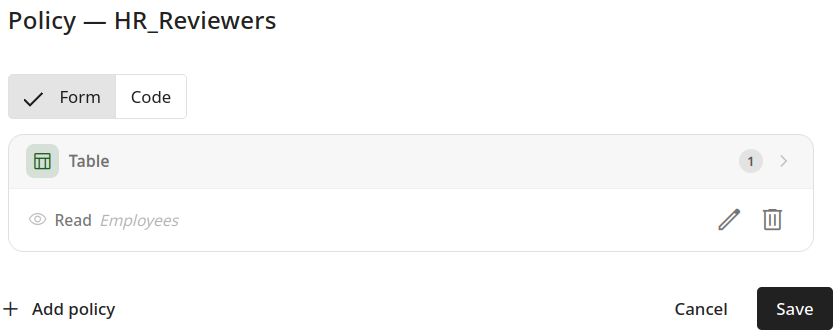
In the following example a user is member of two groups: HR_Managers and HR_Reviewers. The Managers are allowed to make changes to the Employees table, while Reviewers are only provided with read access. As a result, the permissions from the Managers group will override those of the Reviewers, enabling the user to make changes to the table.
Users view:
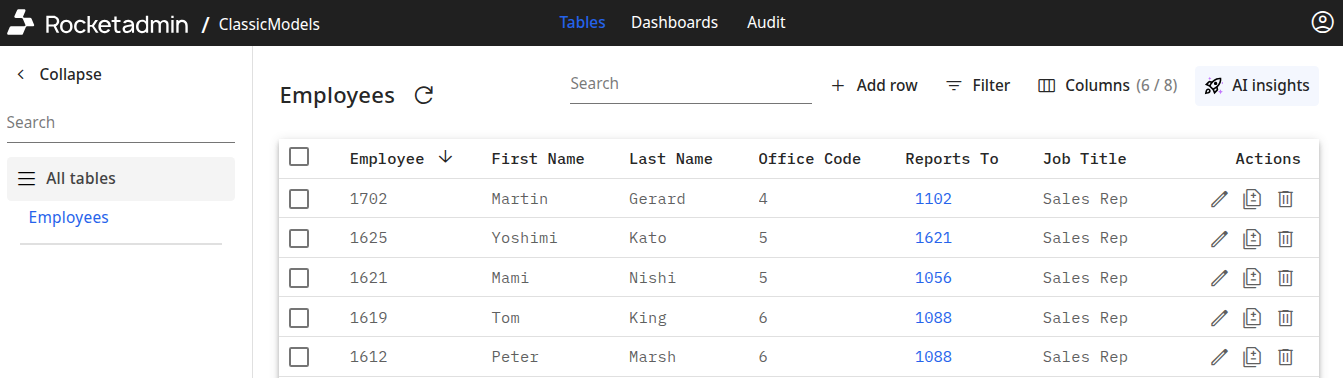
The presence of the icons , and in the Actions column indicates that the user has the necessary permissions to modify the data in the table.