What are Settings
The Rocketadmin Settings enable users with special permissions (full access rights to Connection credentials) to customize how each database is displayed and managed, according to individual preferences and workflow.
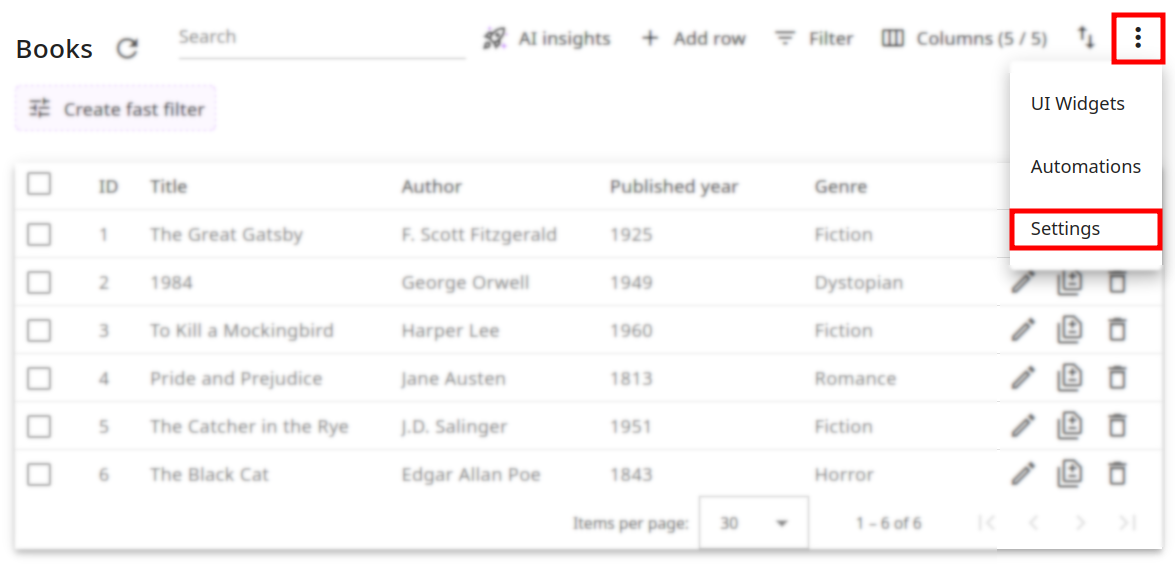
To open the Settings, click on in the main database view:
The available options are grouped into three categories: General settings, Table view options, and "Edit row" behavior.
General settings
The General settings include the following options that can be customized: Displayed table name, Table icon, Sensitive fields, Identity field, Allow importing rows from CSV, Allow table export to CSV, Allow row deletion:
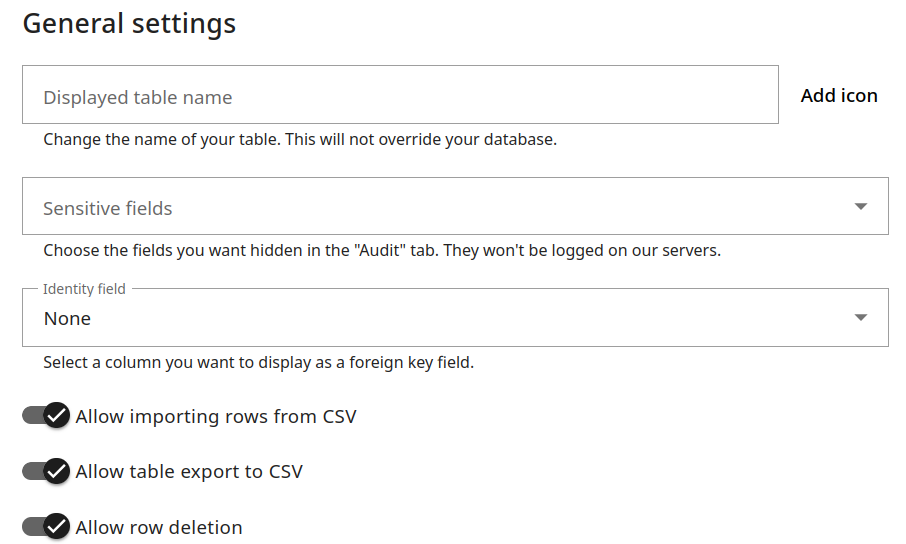
Table name
You can modify the table name in Rocketadmin without changing it in the database. Just enter a new title in the Display table name field and save:
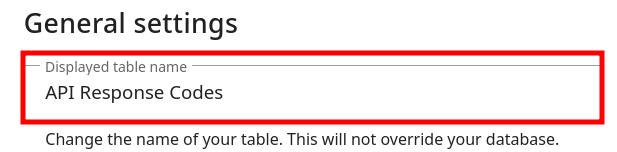
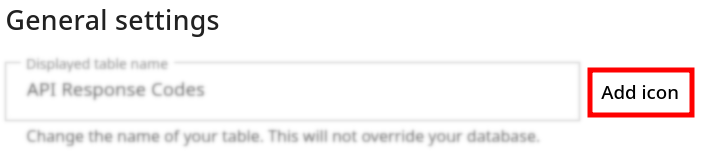
Table icon
Table icons are useful when users collapse the left side panel and they still want to quickly identify tables, even if their names are hidden.
To add an icon:
-
Click on Add icon:
-
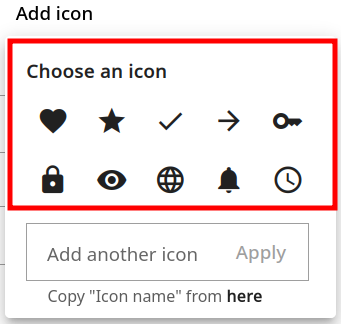
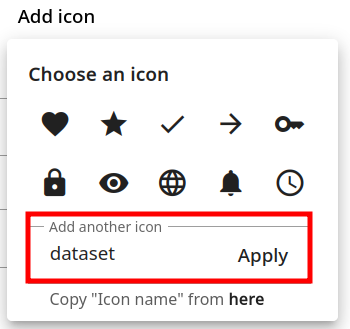
Use the popup window to quickly choose from the available options:
-
Alternatively, you can follow this link to review the entire Google material collection:
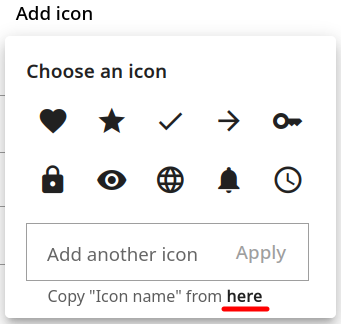
Then copy the needed icon code:
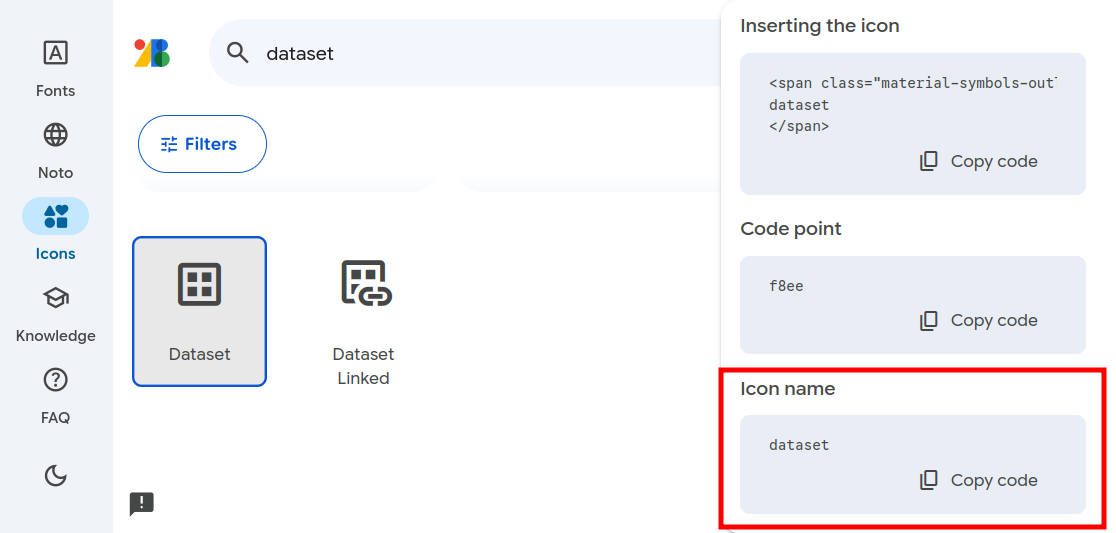
and paste it in the icon field. Click on Apply:
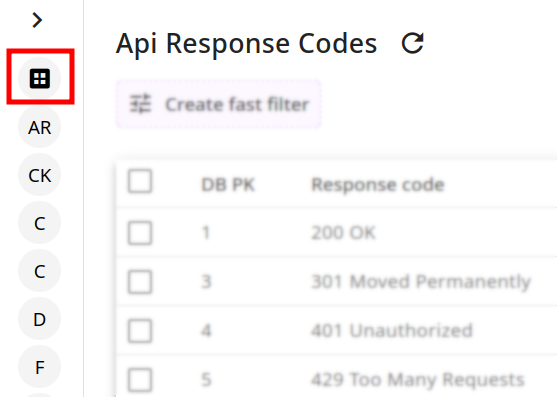
After the changes are saved, you can review the new display:
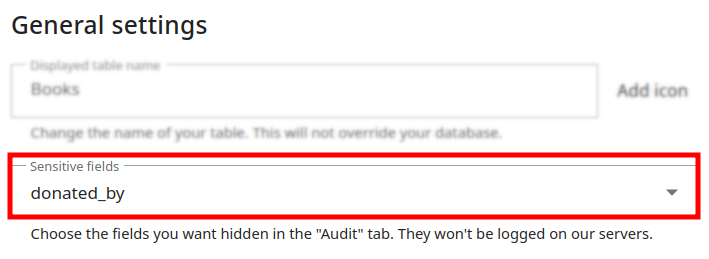
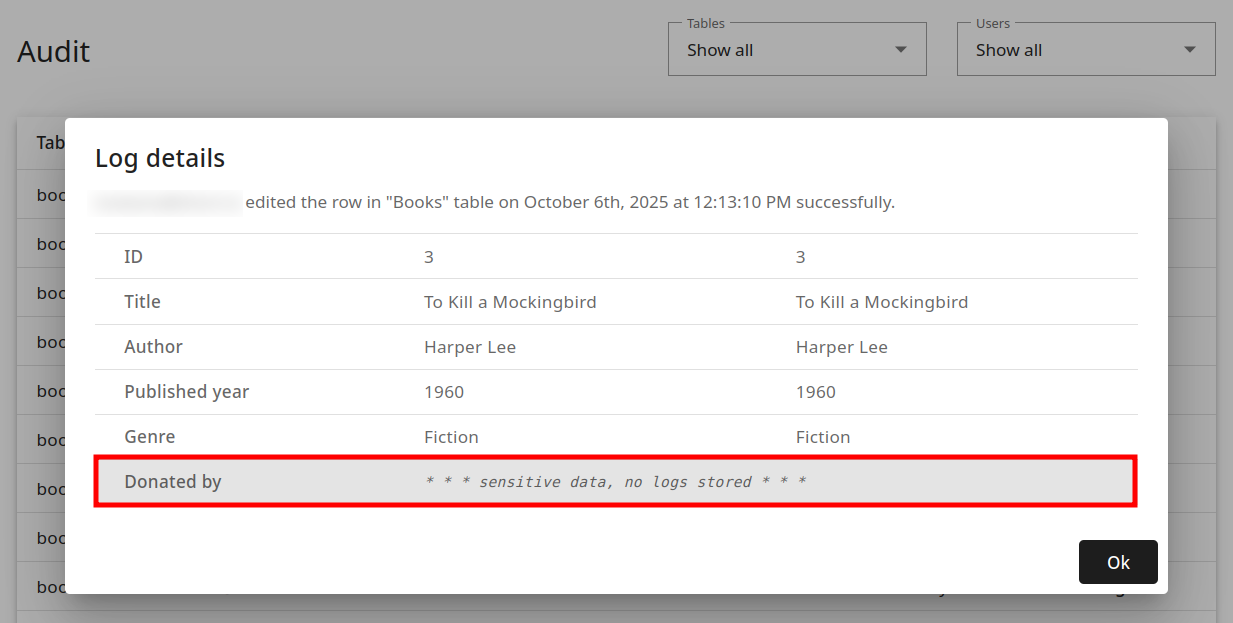
Sensitive fields
This option allows you to hide the information about specific table fields from the Audit records and ensure the related logs are not stored on Rocketadmin servers.
Select the needed fields from the list and save.
From this point forward, we will stop recording logs for the chosen database columns:
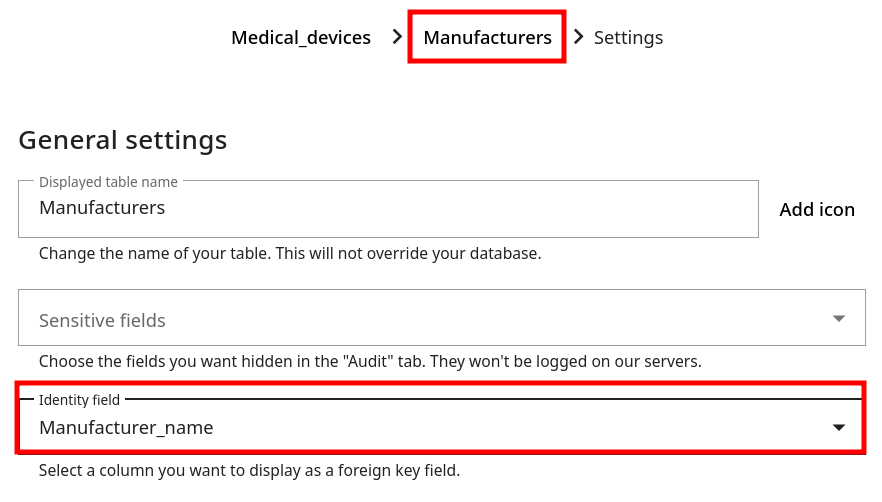
Identity field
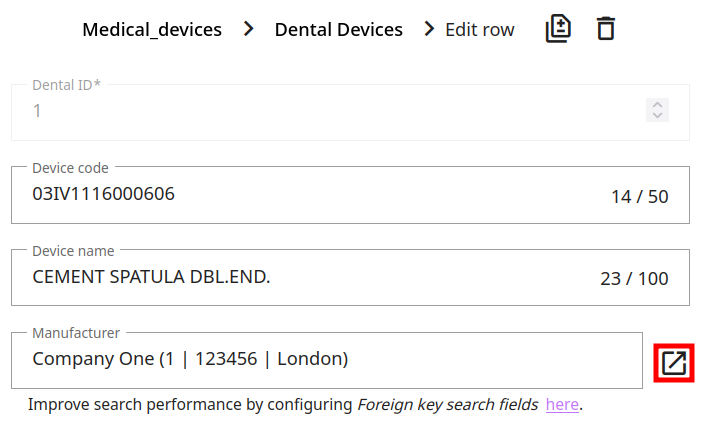
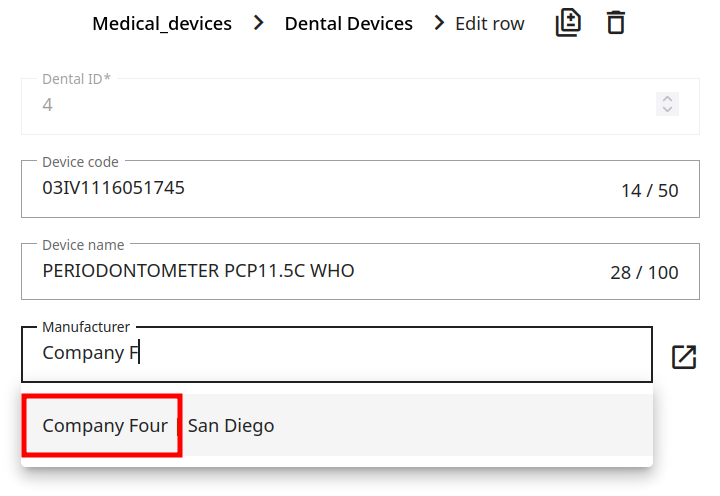
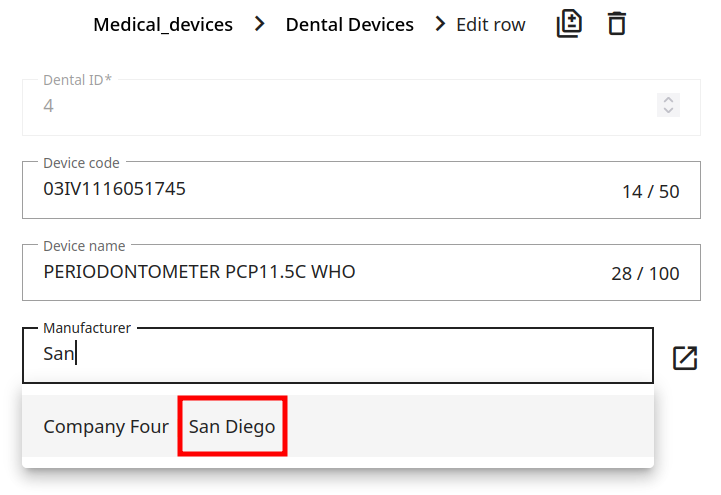
To make the user interface more intuitive and improve data readability when viewing or editing records, we had introduced the Identity field setting. This option is especially helpful when a record references another table as a foreign key and you want users to see meaningful information — such as a name or title — rather than a raw identifier like an ID number.
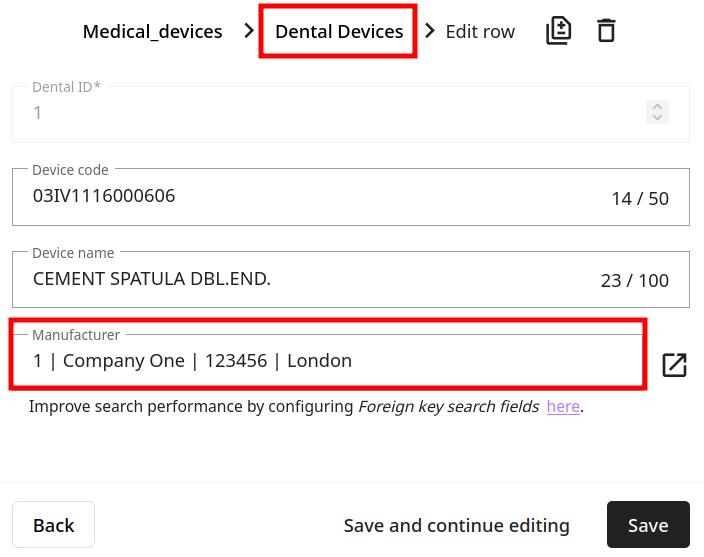
For example, considering the following database settings:
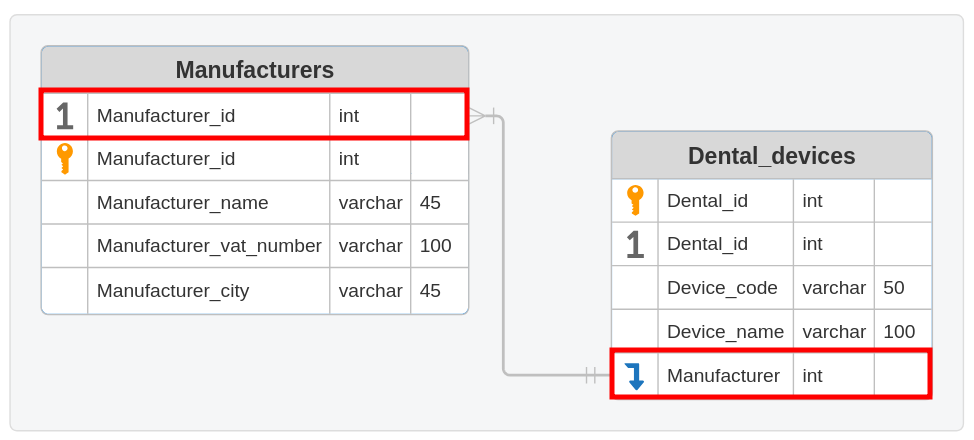
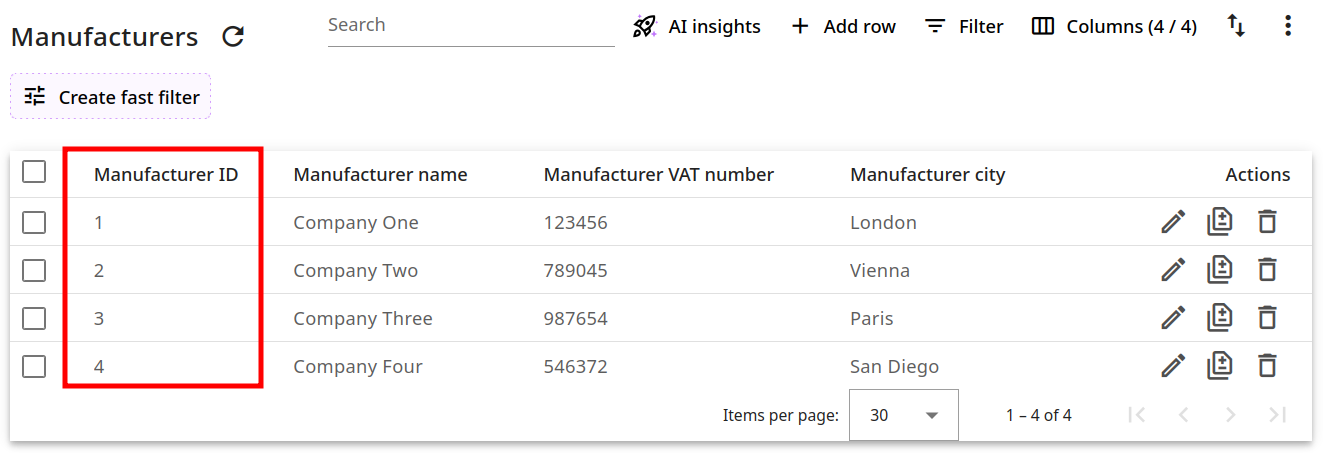
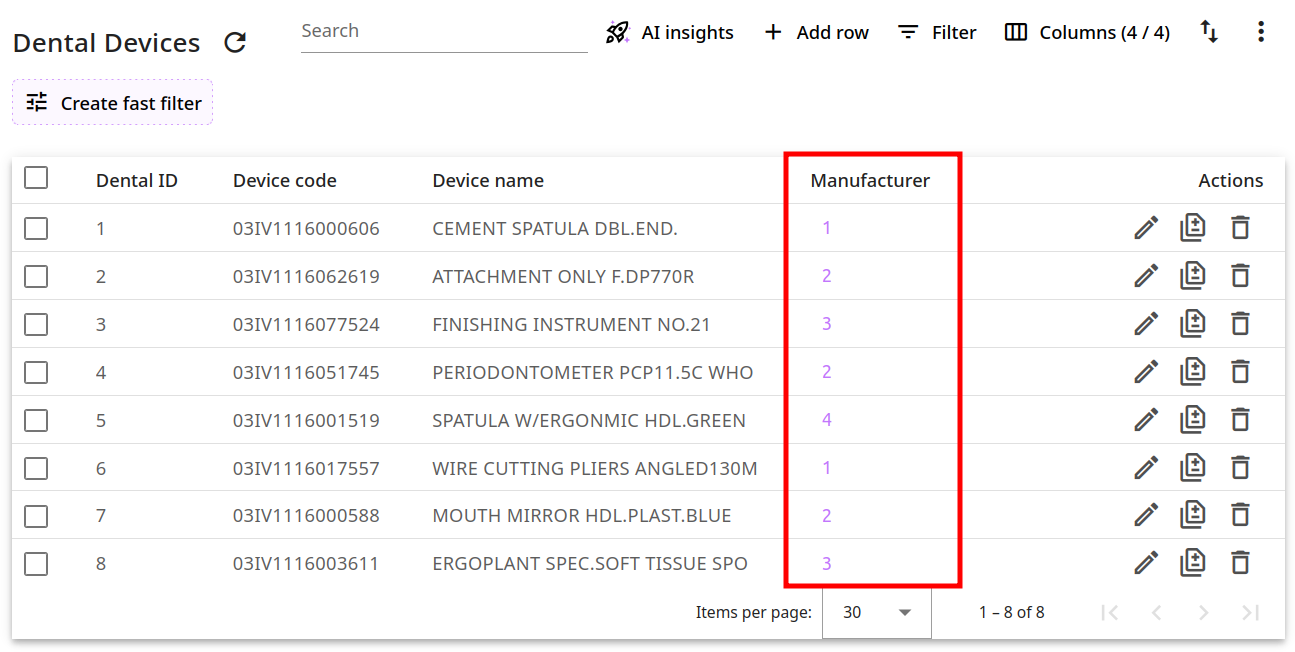
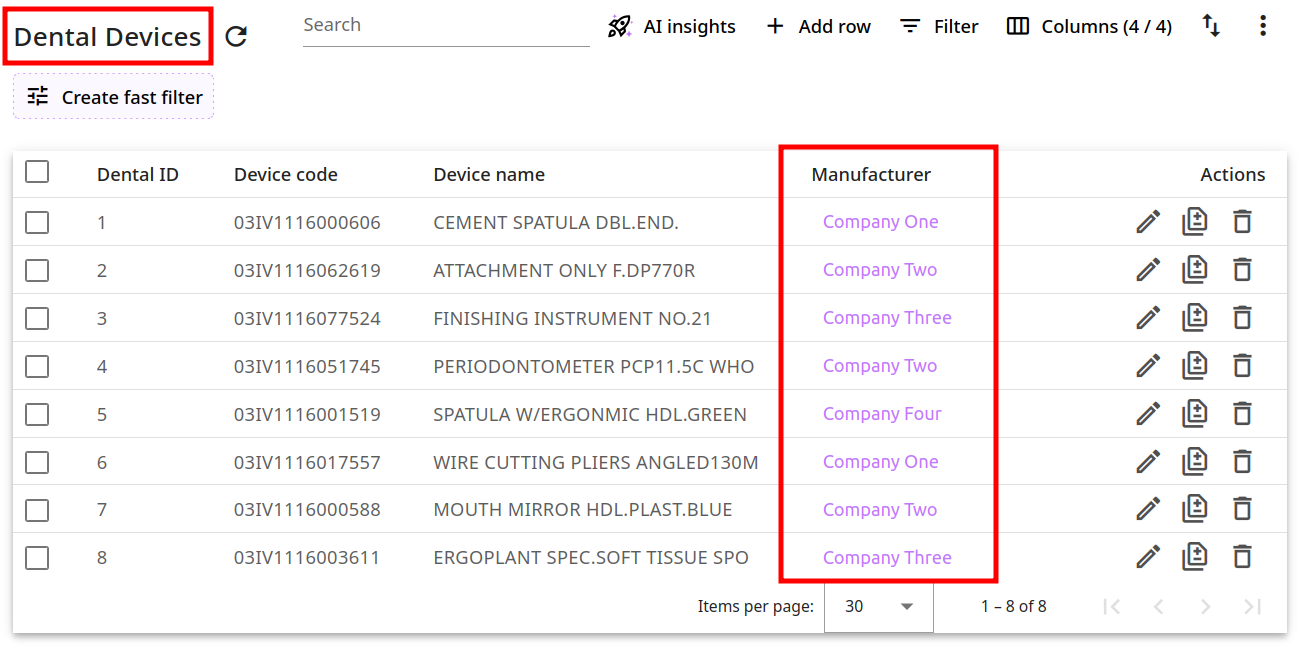
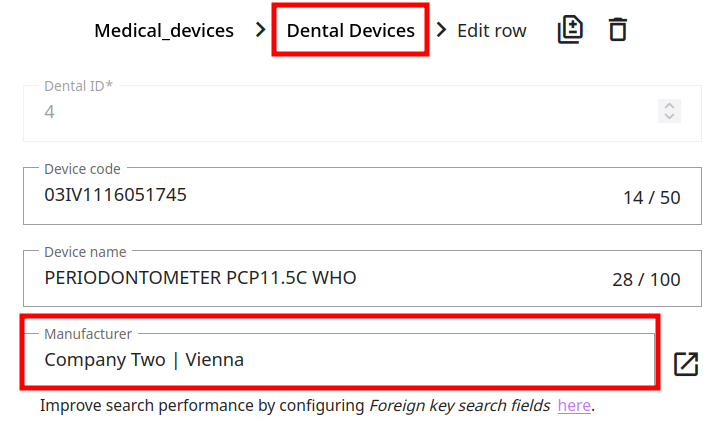
Without applying any changes, the Manufacturer column of the Dental_devices table will look as follows:
To improve the display, just change the Manufacturers Identiy field to the option that suits you best and save:
The enhanced views of the main and edit mode will look as follows:
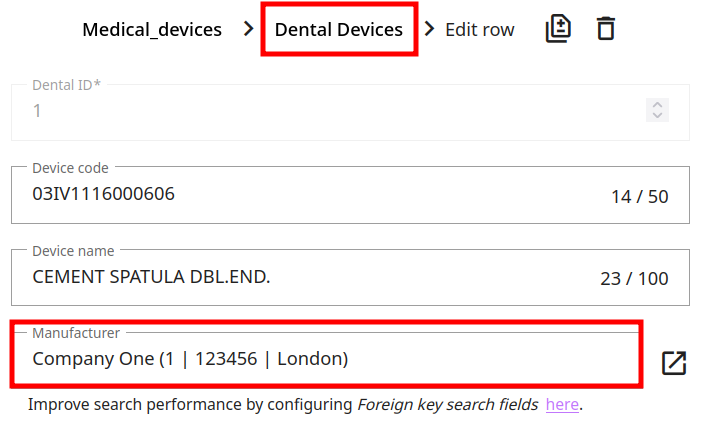
Please note, that the selected column is displayed first and the rest of the data is in parentheses.
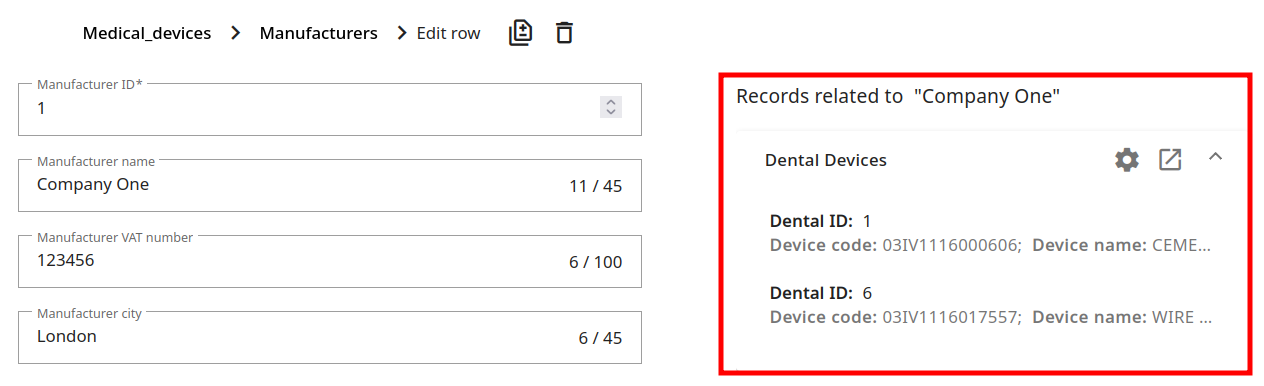
You can also click on to review the records related to the chosen identity field:
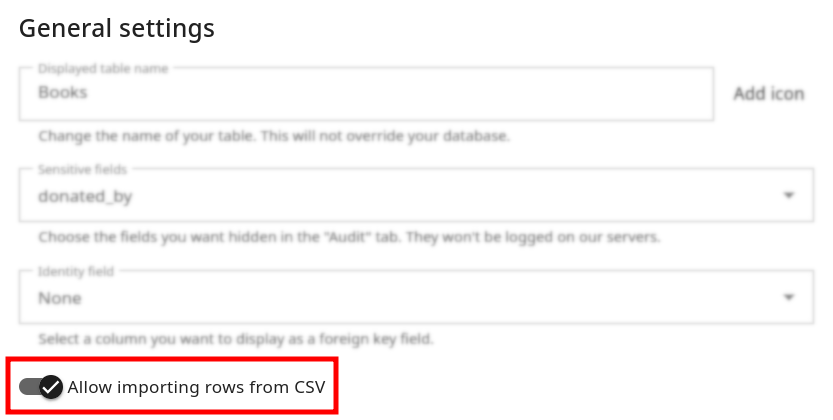
Allow importing rows from CSV
When you enable this option, the users will be able to import data to a table from a CSV file.
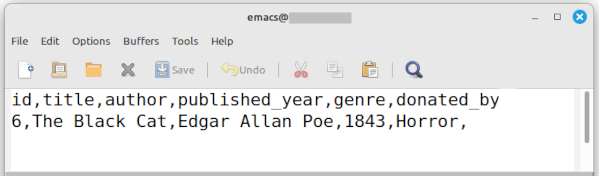
The CSV file needs to have all the column names listed on the first line, separated by commas. On the next lines add the field values with commas in between them too.
For example:
To upload the file, users have to click on and then on Import:
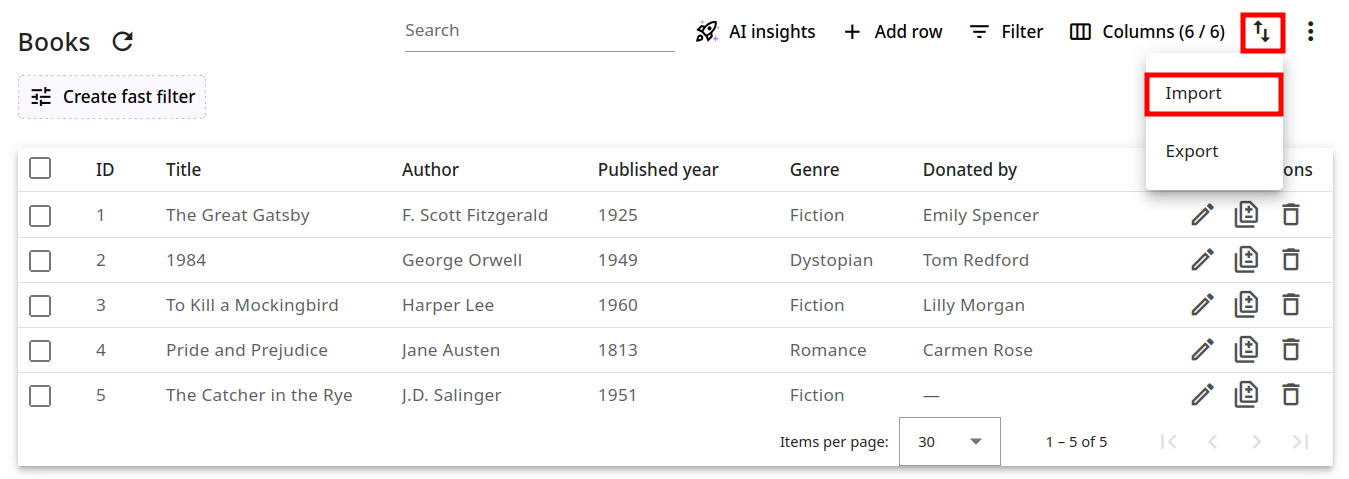
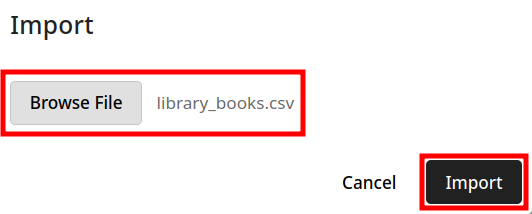
When prompted, they have to select the file from their devices and click on Import:
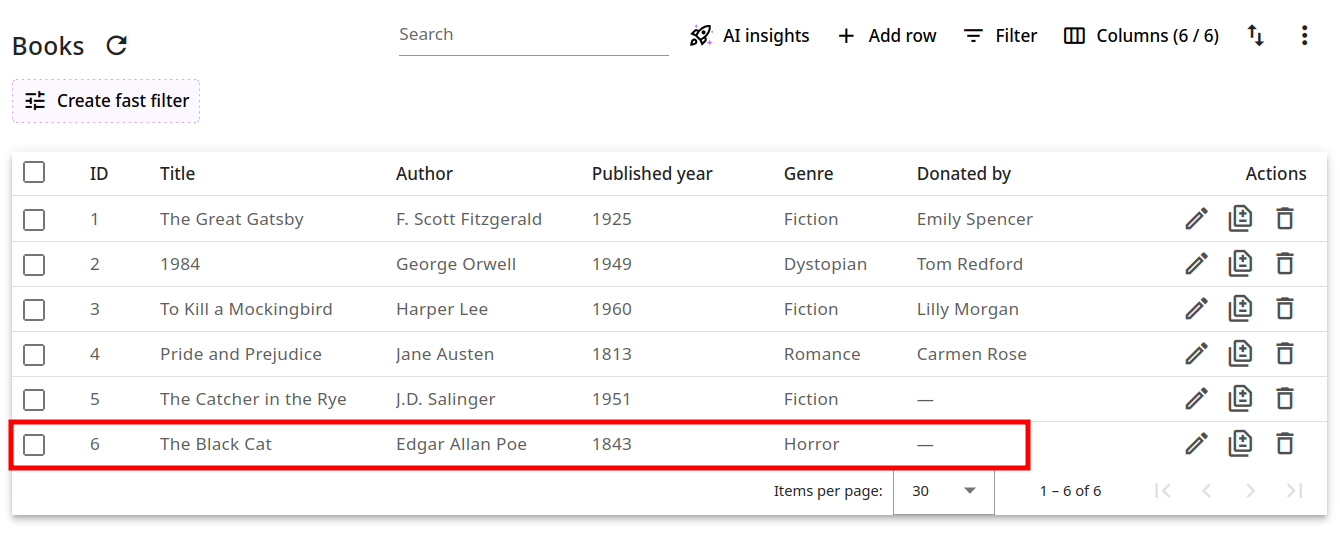
The new row will appear in the table:
Allow table export to CSV
This option allows the export of a given number of rows (or up to 100 000 records) in a CSV file.

To download the data, users need to click on and then on Export:

When prompted, the users have to select a number of records (or mark Export all for up to 100 000 records):
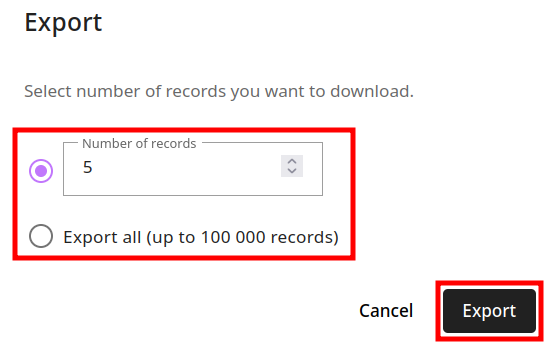
and then click on Export to select the file destination. The records have been downloaded.
Allow row deletion
When you turn on this option, the icon appears on each row, giving users the ability to delete it.
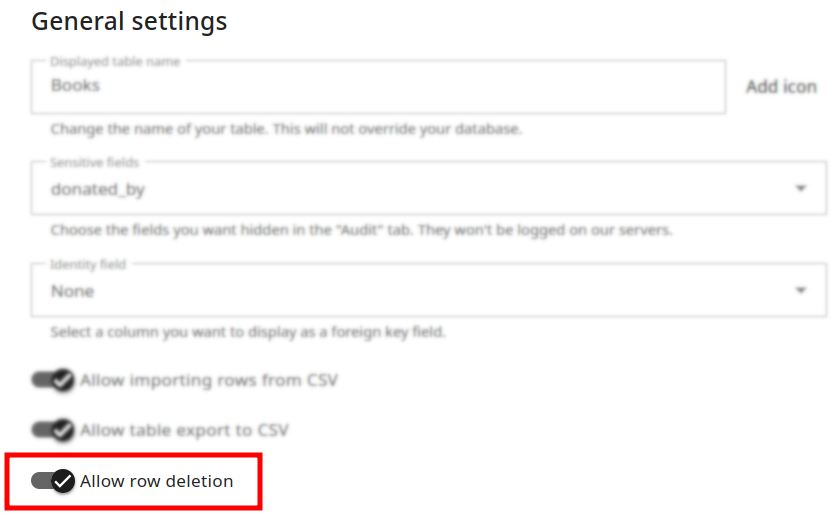
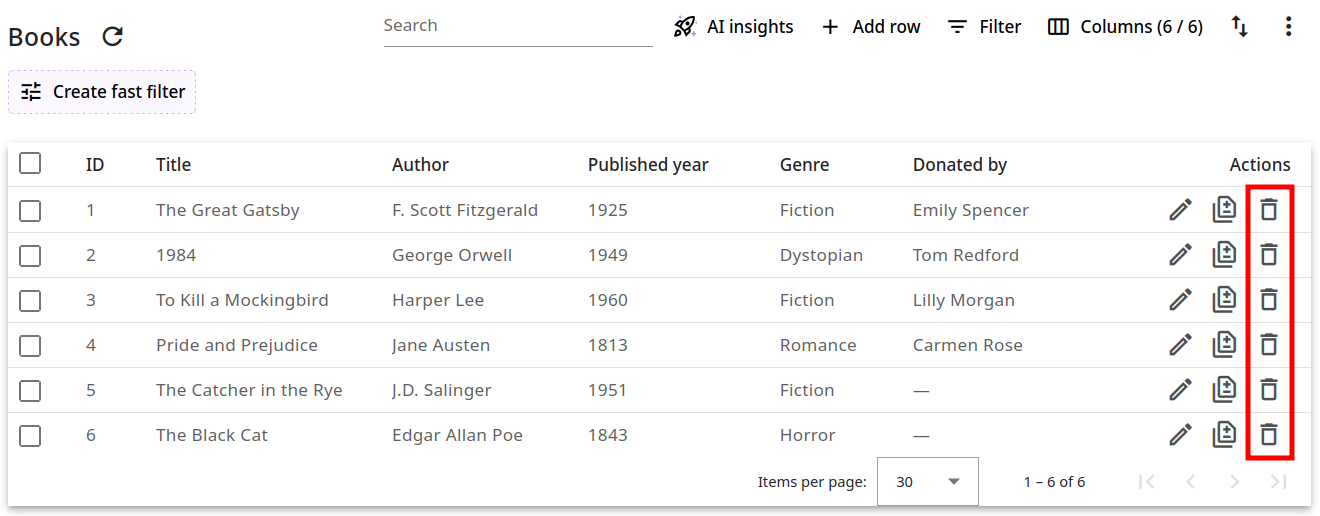
Table view
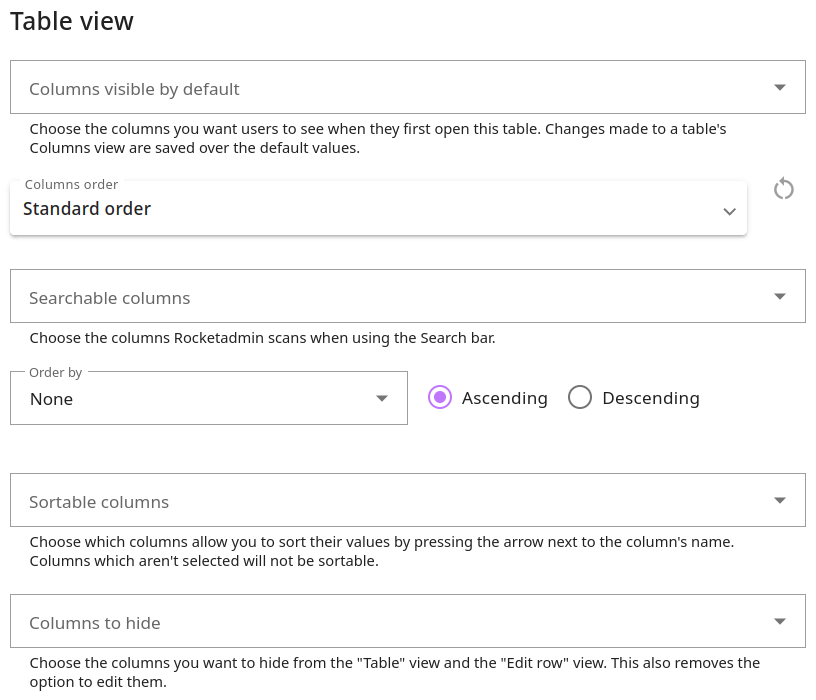
The Table view settings include the following options that you can customize: Columns visible by default, Columns order, Searchable columns, Order by (Ascending/Descending), Sortable columns, Columns to hide:
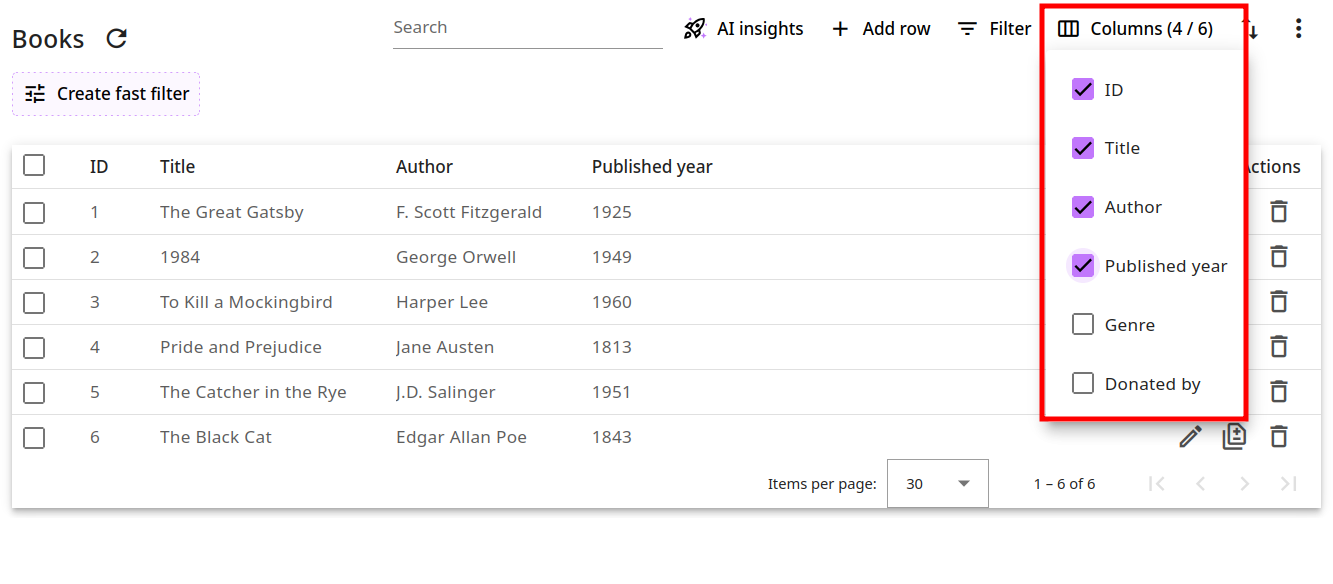
Columns visible by default
With this option, you can choose the columns you want users to see when they open the table for the first time, for example:
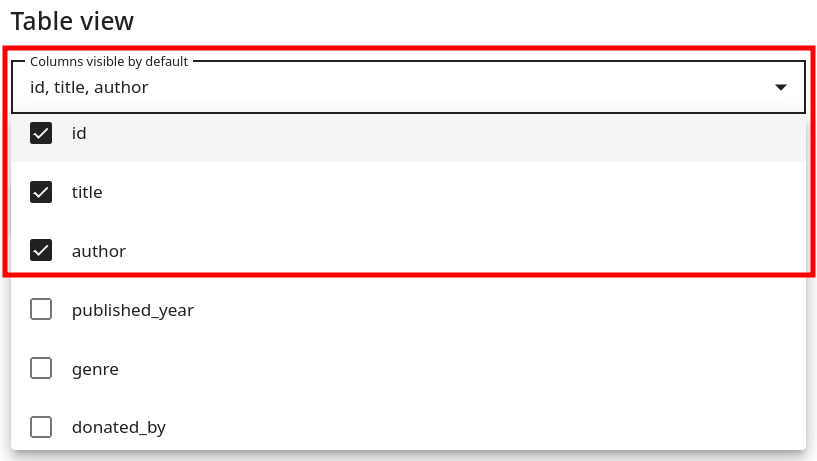
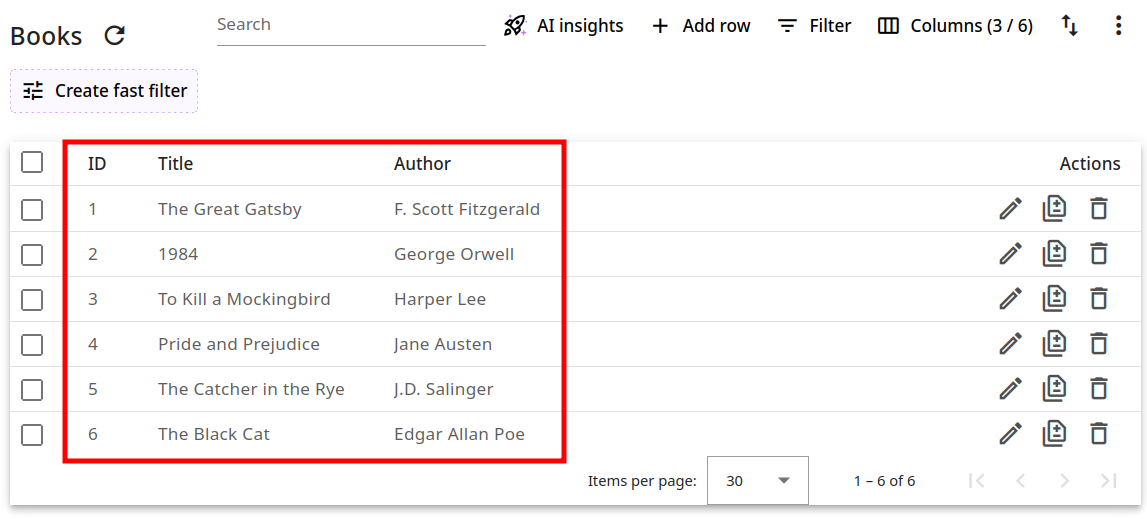
Pease note, that users can override this initial list from the table’s Columns menu.
Columns order
You may wish to organize the columns in a way that is different from the default layout. To do so, drag and drop them into your preferred order, for example:
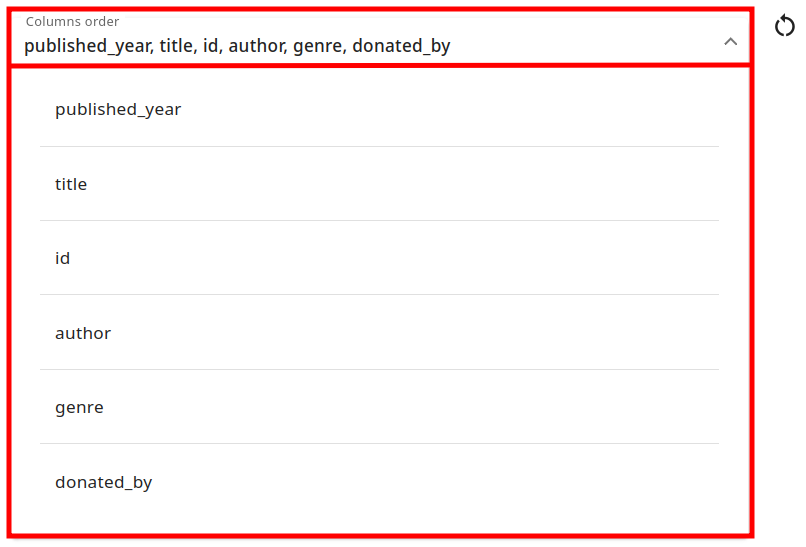
The result will look as follows:
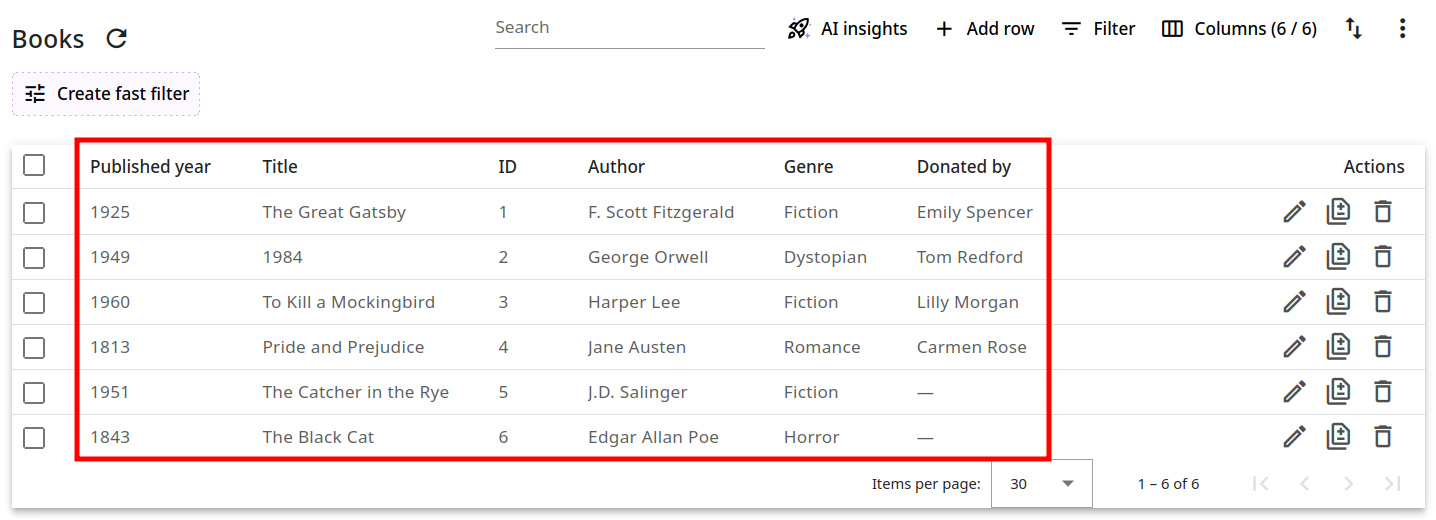
To revert the changes, click on and then save.

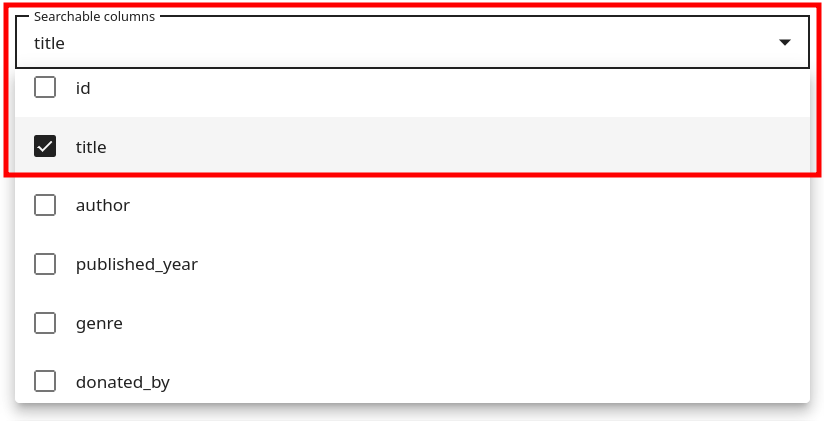
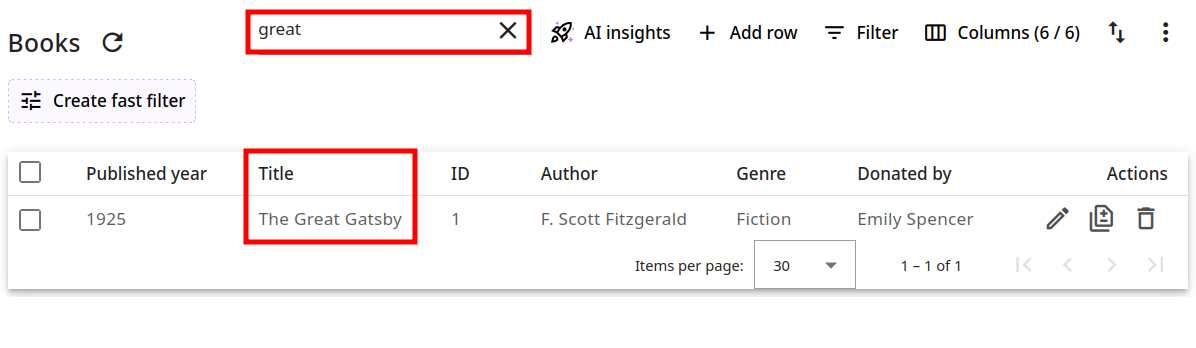
Searchable columns
Use this option to specify which columns Rocketadmin should scan for information when users query data through the Search bar. For example:
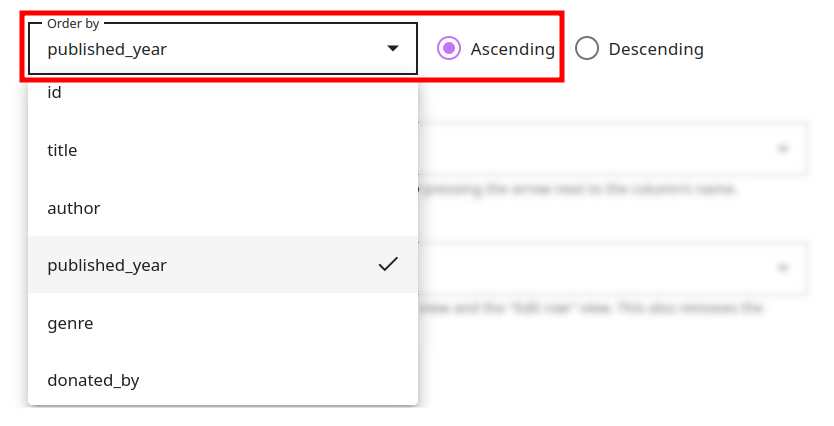
Order by
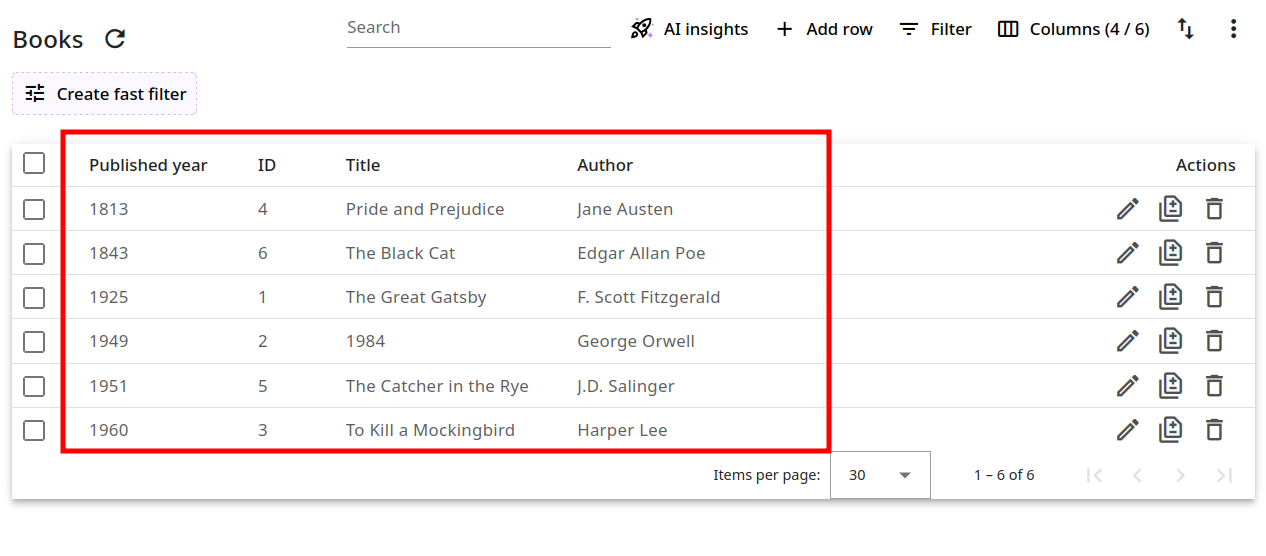
With the Order by option you can specify a column on which to sort all the database fields in ascending or descending order. For example:
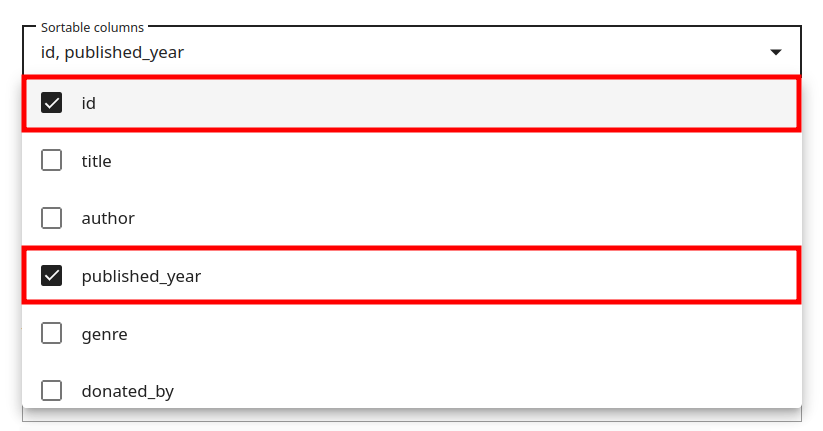
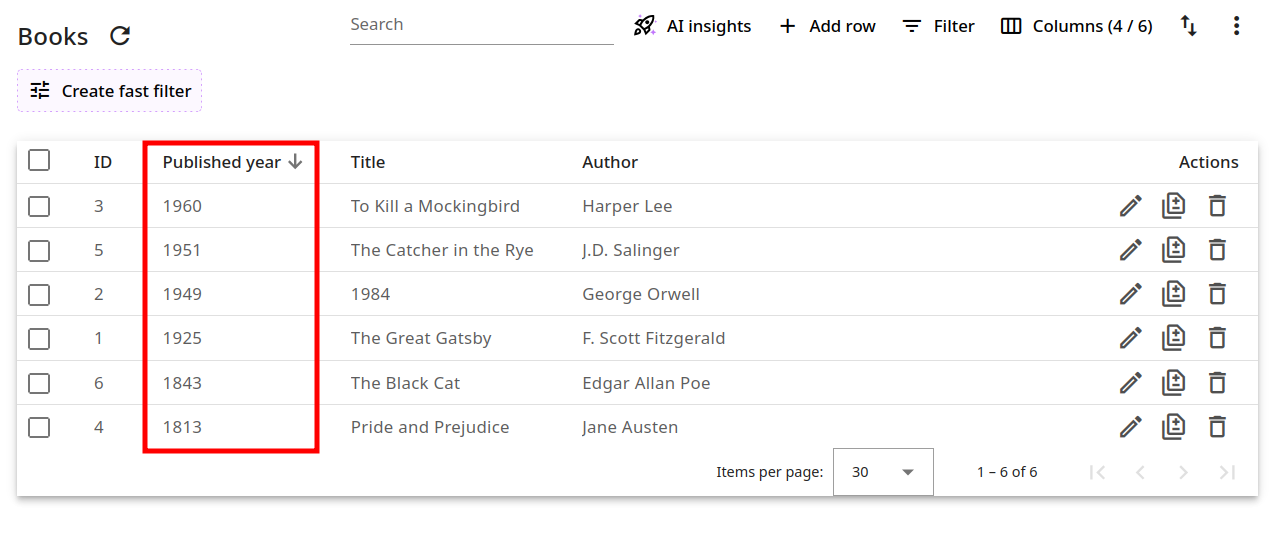
Sortable columns
The Sortable columns option allows you to select columns whose values users can sort in ascending or descending order (via the up and down arrows next to the column name). Columns outside this list are not available for manual sorting. For example:
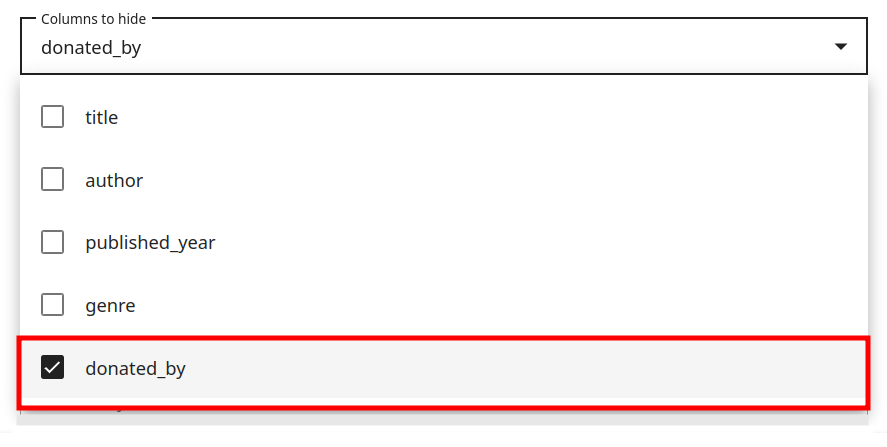
Columns to hide
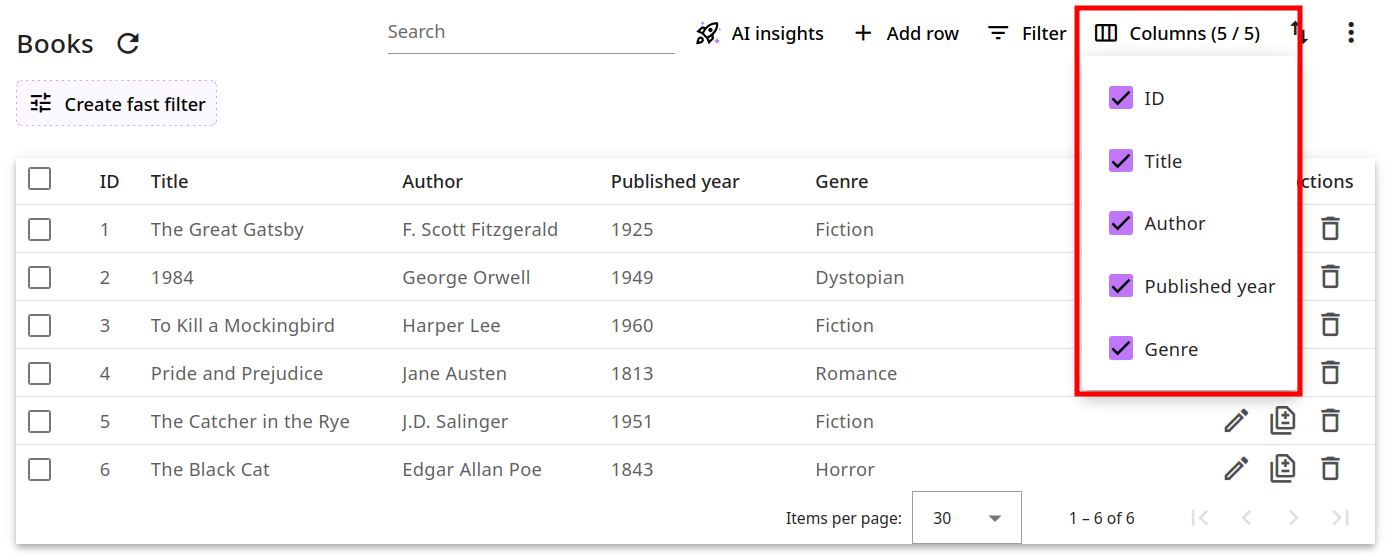
Using this option you can select the columns to hide from the Table and Edit row views. Hidden columns cannot be edited. For example:
As a result, the column is no longer visible from both Table and Edit row views:
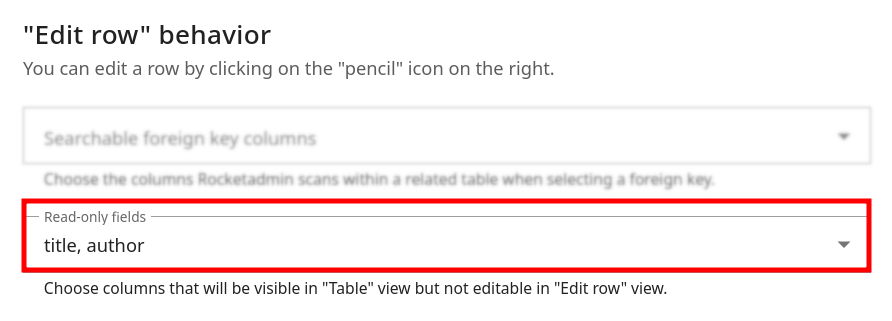
"Edit row" behavior
The "Edit row" behavior settings include the following options that you can customize: Searchable foreign key columns and Read only fields:
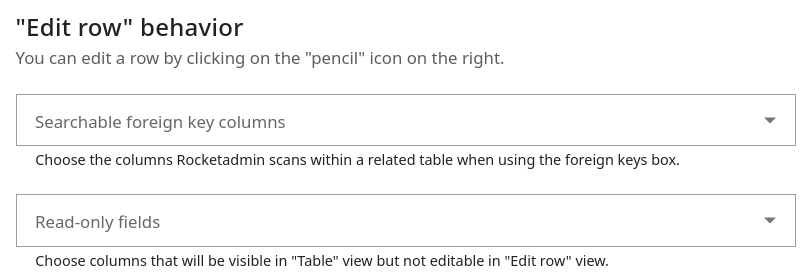
Searchable foreign key columns
This option helps you specify which columns Rocketadmin should scan for information when users query data through a foreign key field.
For example:, considering the following database settings:
In the Manufacturers settings screen, you can define which columns are available for display and search
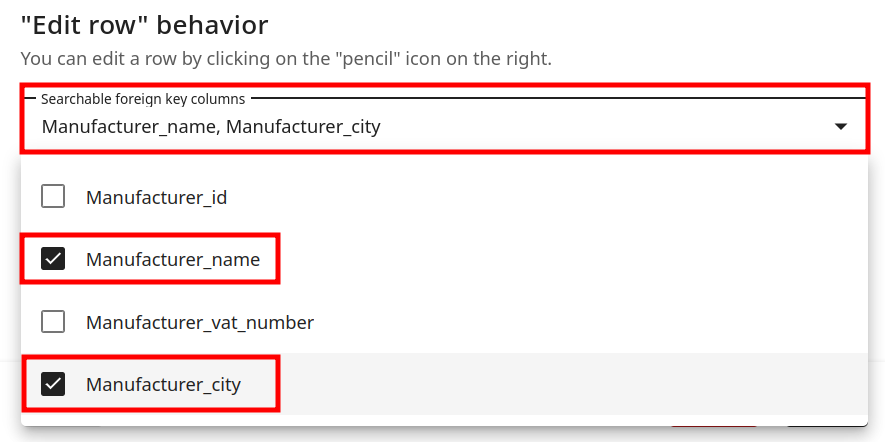
when using the Dental_devices foreign key field:
Read-only fields
This option allows you to specify which columns are visible in the table view but remain read-only in the "Edit Row" view.
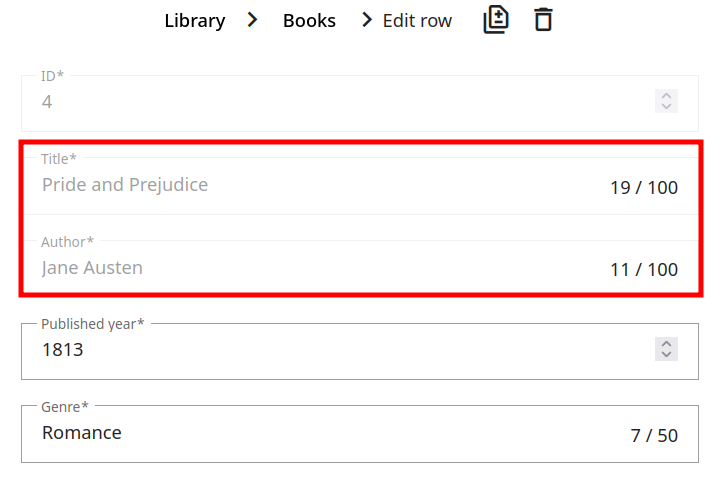
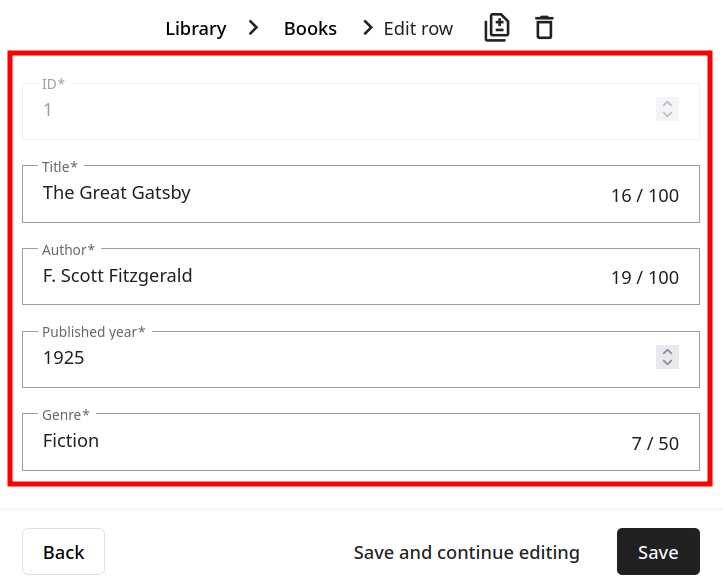
For example, when selected, title and author fields can no longer be modified: