What are dashboards
With Rocketadmin dashboards, you can create and manage custom interfaces and performance monitoring views that include data visualizations such as charts and valuable key metrics.
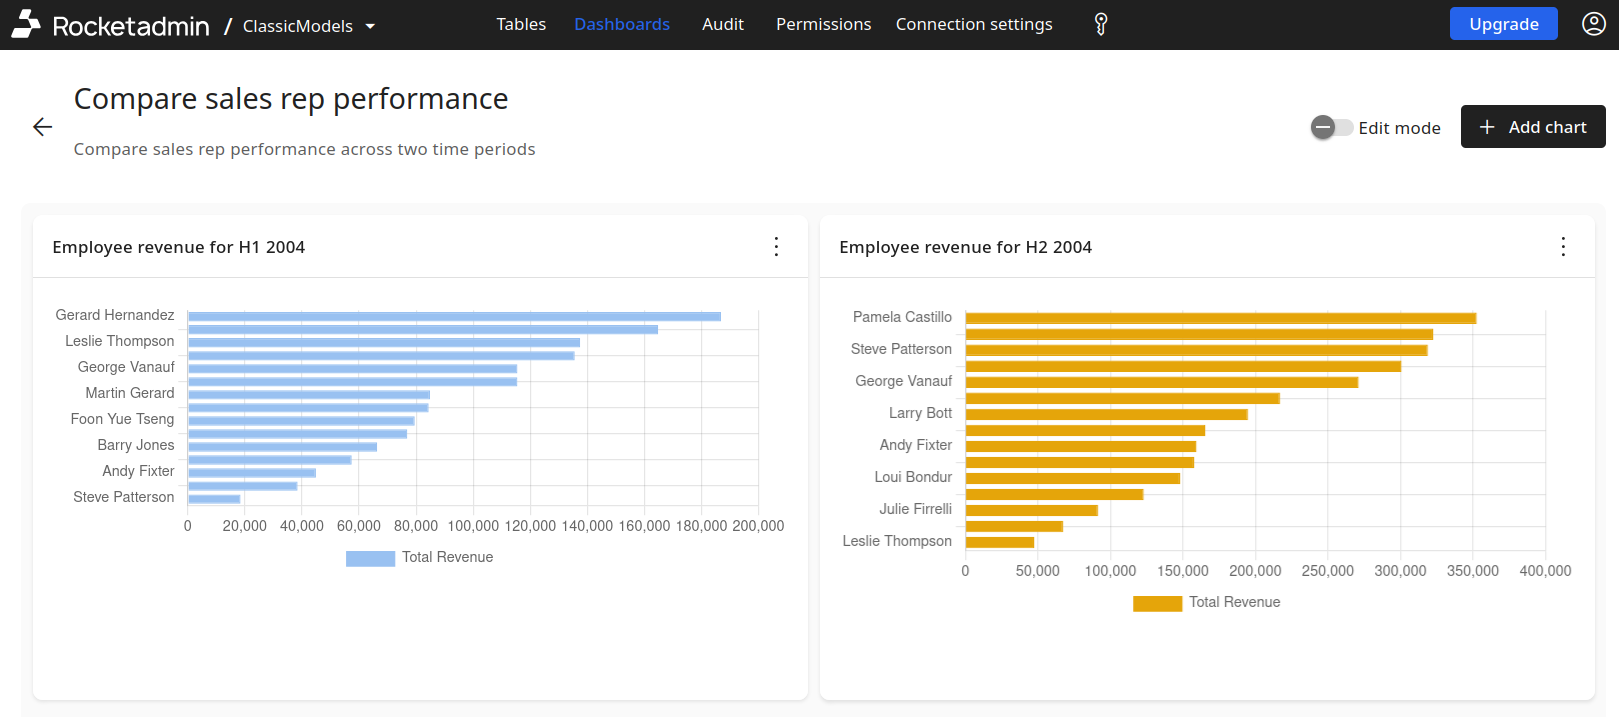
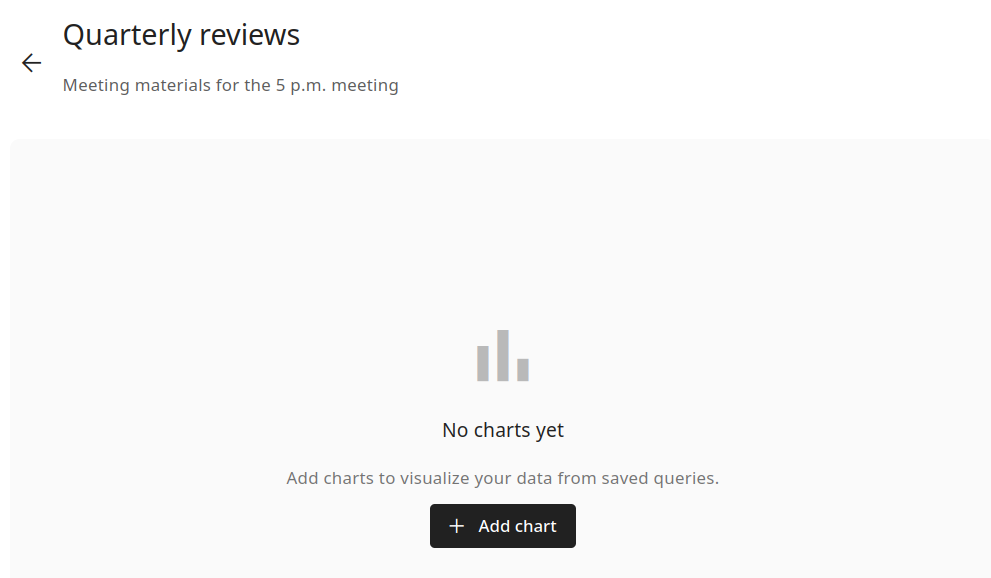
Here is an example of a dashboard which contains two panels:
Creating a dashboard
To create a dashboard:
-
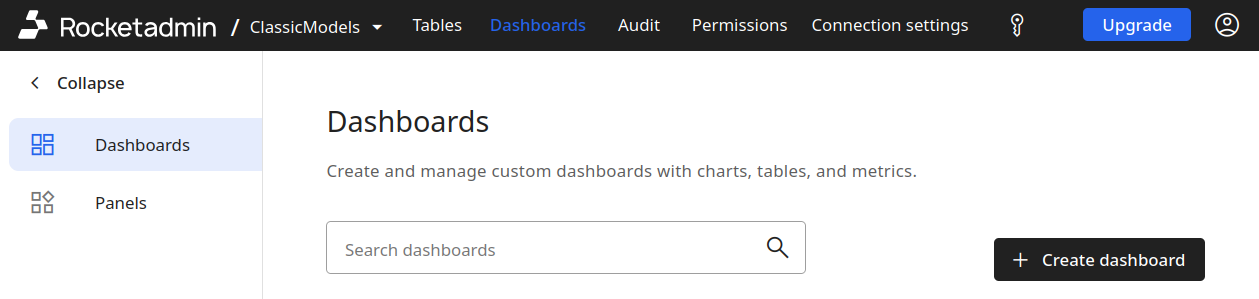
Navigate to the Dashboards menu.
-
Click the Create dashboard button.
-
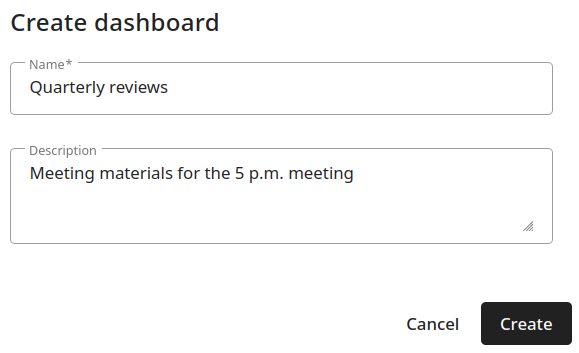
In the Create dashboard dialog box provide:
- a name
- a description (optional)
-
Click the Create button.
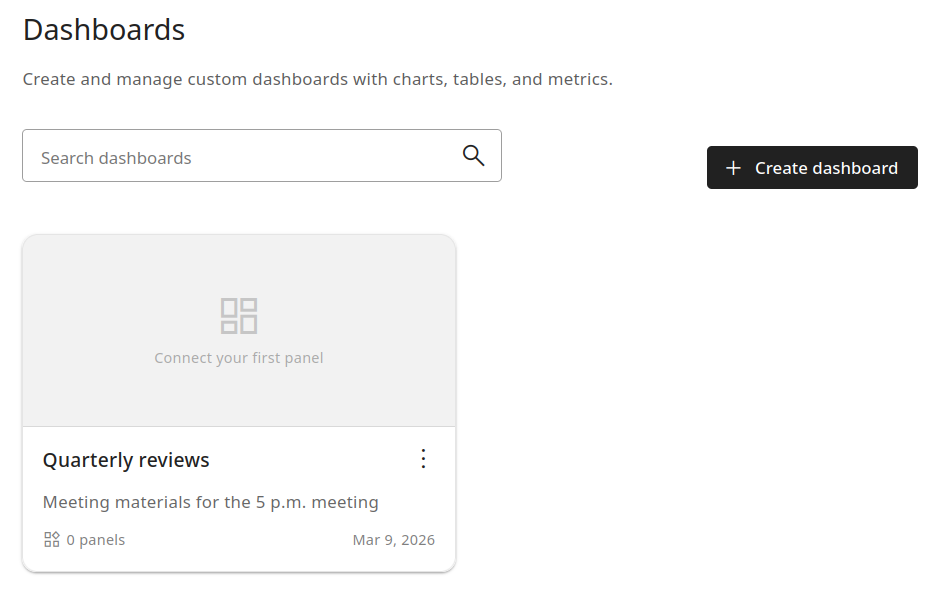
The dashboard will be created and added to the list of dashboards.
Reviewing a dashboard
From the Dashboards menu, click the dashboard you want to review (open)
or
Click the icon next to the dashboard's name:
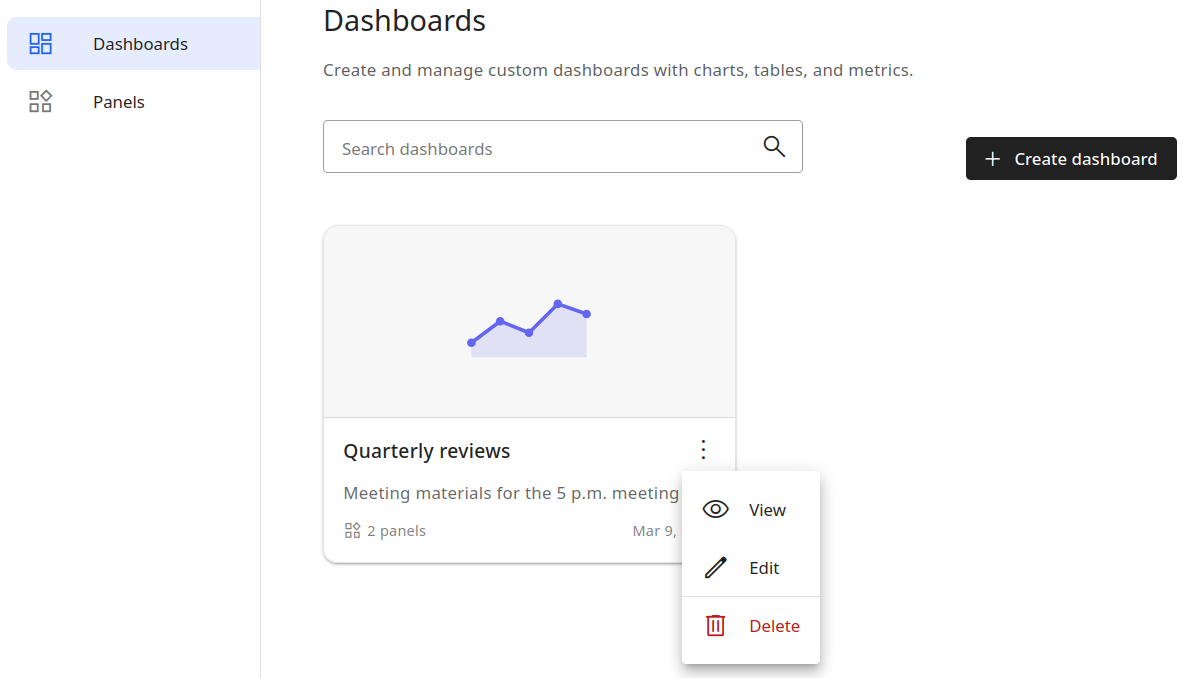
and select View.
The dashboard will be opened in view mode.
Editing dashboard details
To edit a dashboard's name and/or description:
-
Click the icon next to the dashboard's name:
-
Select Edit.
-
In the Edit dashboard dialog box modify the needed details:
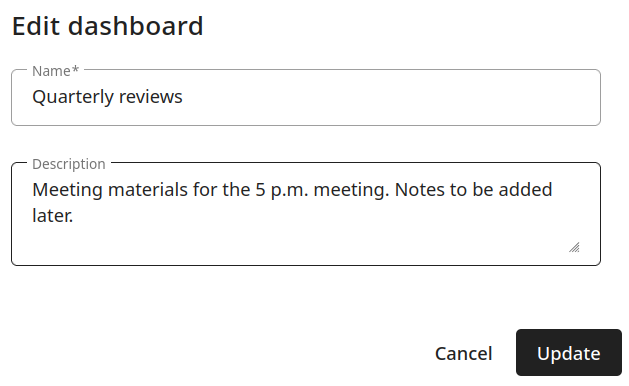
-
Click the Update button.
The changes will be applied.
Removing a dashboard
To remove a dashboard:
-
Click the icon next to the dashboard's name:
-
Select Delete.
-
The Delete dashboard dialog appears with the message: "Are you sure you want to delete <dashboard-name>?"
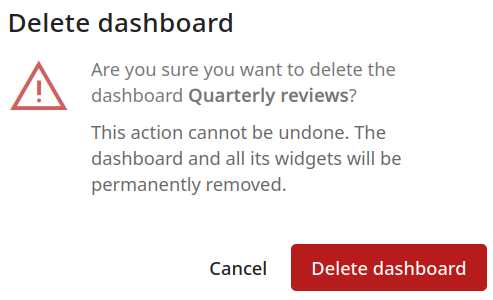
This action cannot be undone. The dashboard and all its panels will be permanently removed.
- Click the Delete dashboard button.
The dashboard will be removed from the list of dashboards.
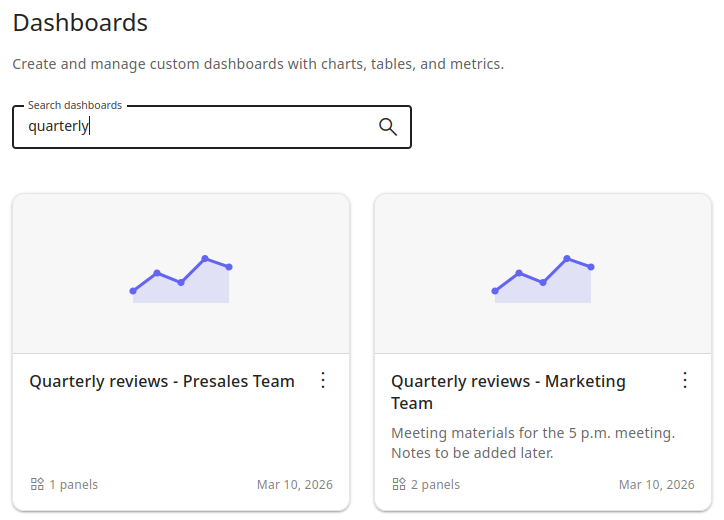
Filtering/searching for a dashboard
The integrated search functionality allows you to quickly navigate to a specific dashboard.
To locate a dashboard:
- in the Dashboards Search menu, enter (part of) the name/description of the dashboard:
The dashboard(s) matching your criteria will be displayed:
Panels management
Adding a panel to a dashboard
To add a panel to a dashboard:
-
From the Dashboards menu, click the dashboard you want to add a panel to.
-
In the dashboard's view mode, click the Add chart button:
-
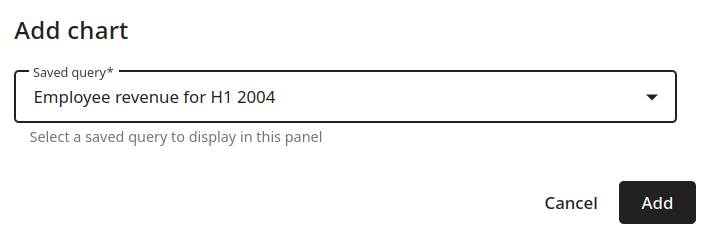
In the Add chart dialog select a panel from the list:
-
Click the Add button.
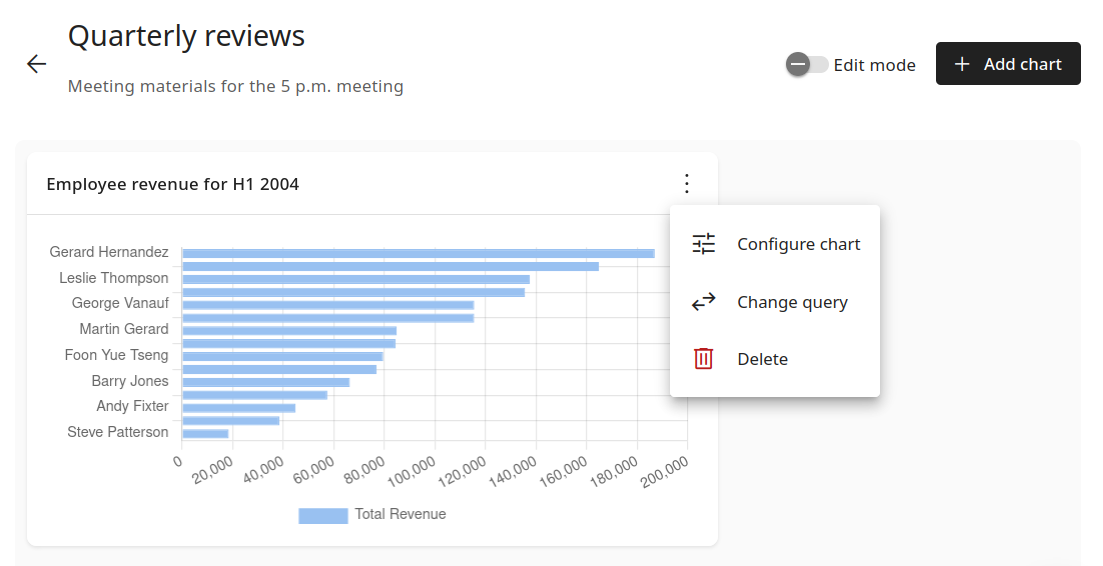
The panel will be added to the dashboard:

Removing a panel from a dashboard
To remove a panel from a dashboard:
-
From the Dashboards menu, click the dashboard you want to remove a panel from.
-
In the dashboard's view mode, click the icon next to the panel's name:
-
Select Delete.
-
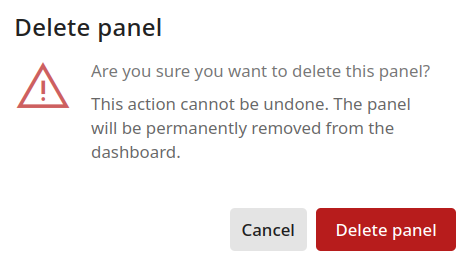
The Delete panel dialog appears with the message: "Are you sure you want to delete this panel?"
-
Click the Delete panel button.
The panel will be removed only from the dashboard. You can add it back at any time following the above steps.
Changing a panel
You can change a dashboard panel as follows:
-
From the Dashboards menu, click the dashboard for which you want to change a panel.
-
In the dashboard's view mode, click the icon next to the panel's name:
-
Select Change query.
-
In the Edit panel dialog, select a new panel from the list:
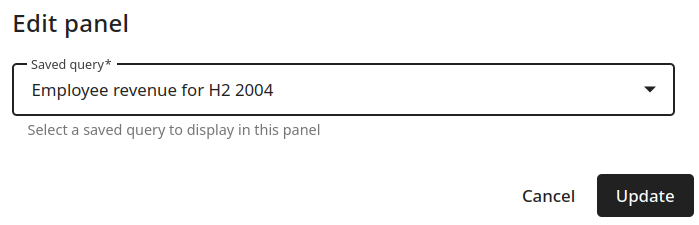
-
Click the Save button.
The panel will be replaced with the new one.
Configuring a panel
You can configure a panel as follows:
-
From the Dashboards menu, click the dashboard for which you want to configure a panel.
-
In the dashboard's view mode, click the icon next to the panel's name:
-
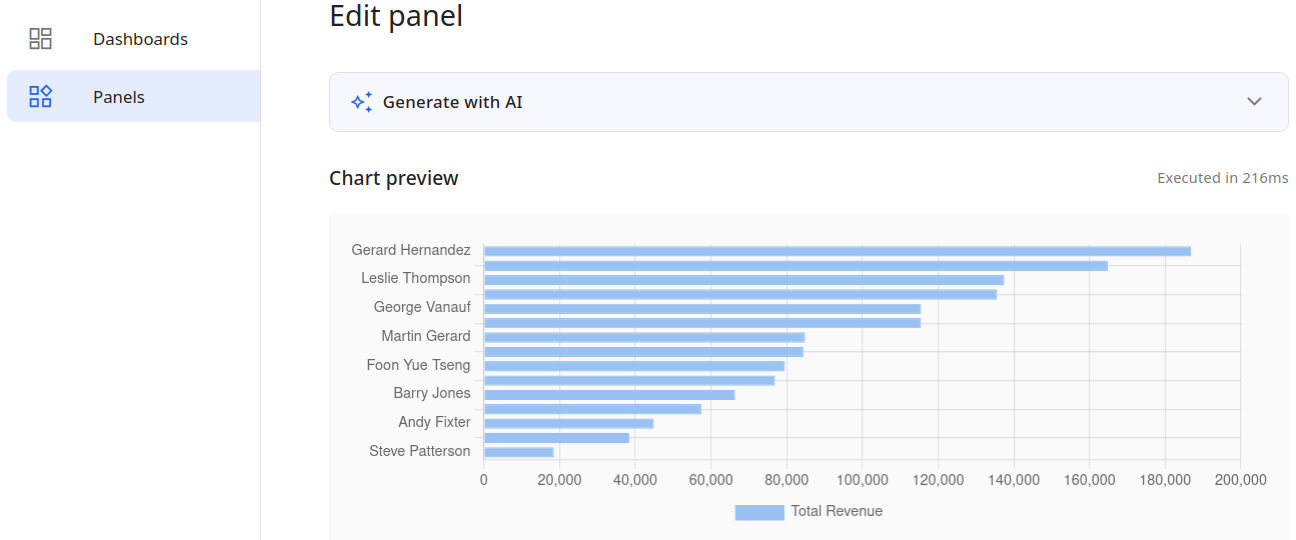
Select Configure chart.
You will be redirected to the panel's configuration page:
-
Make the necessary changes to the panel's configuration.
-
Click the Update query button.
The panel will be updated with the new configuration. To review the changes, navigate back to the Dashboards menu and open your dashboard.
Enabling edit mode
In dashboard's edit mode, you can rearrange and resize your panels.
To enable edit mode:
-
From the Dashboards menu, click a dashboard to open it for review.
-
Slide right the Edit mode button

The dashboard will be opened in edit mode:

To return to view mode, slide left the Edit mode button.